×
- Live Chat
- 1-888-905-9199


My Garage
My Account
Cart
Genuine Toyota 4Runner Hood Cable
Hood Release Cable- Select Vehicle by Model
- Select Vehicle by VIN
Select Vehicle by Model
orMake
Model
Year
Select Vehicle by VIN
For the most accurate results, select vehicle by your VIN (Vehicle Identification Number).
35 Hood Cables found
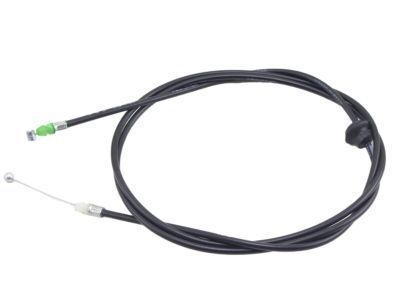
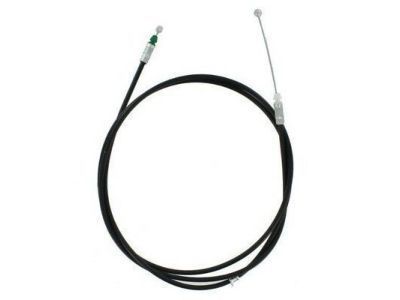
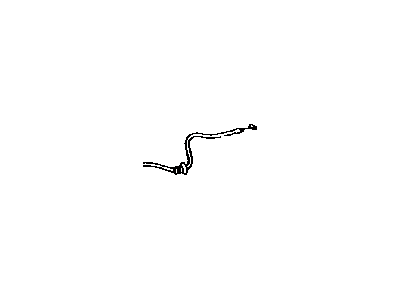
Toyota 4Runner Cable Assy, Hood Lock Control
Part Number: 53630-89111$39.00 MSRP: $54.51You Save: $15.51 (29%)Ships in 1-3 Business DaysToyota 4Runner Cable Assy, Hood Lock Control
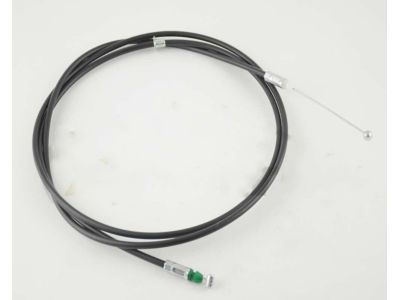
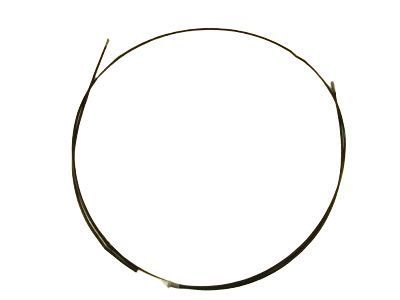
Part Number: 53630-89114$39.00 MSRP: $54.51You Save: $15.51 (29%)Ships in 1-3 Business DaysToyota 4Runner Cable Assy, Hood Lock Control
Part Number: 53630-35070$39.00 MSRP: $54.51You Save: $15.51 (29%)Ships in 1 Business DayToyota 4Runner Cable Assy, Hood Lock Control
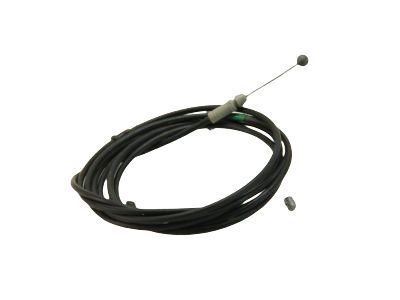
Part Number: 53630-35060$39.00 MSRP: $54.51You Save: $15.51 (29%)Ships in 1-2 Business DaysToyota 4Runner Cable Assy, Hood Lock Control
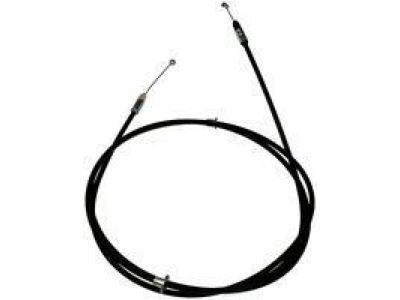
Part Number: 53630-04010$39.00 MSRP: $54.51You Save: $15.51 (29%)Ships in 1-2 Business DaysToyota 4Runner Cable Assembly, Hood Lock
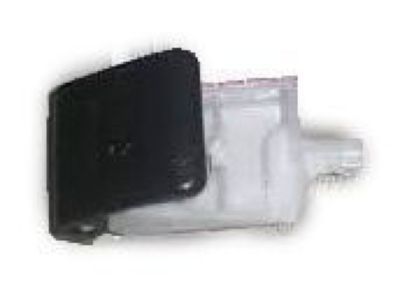
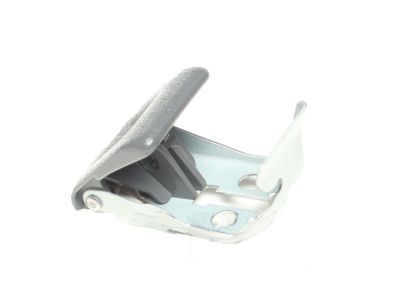
Part Number: 53630-35100$31.40 MSRP: $43.90You Save: $12.50 (29%)Ships in 1-3 Business DaysToyota 4Runner Lever Sub-Assy, Hood Lock Control
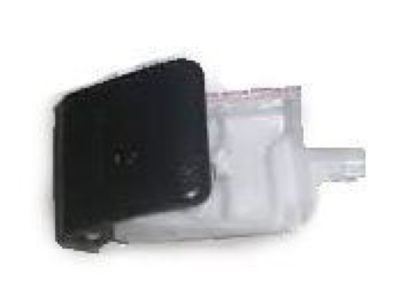
Part Number: 53601-52010-B2$46.64 MSRP: $65.19You Save: $18.55 (29%)Ships in 1-3 Business DaysToyota 4Runner Lever Sub-Assy, Hood Lock Control
Part Number: 53601-52010-C0$42.47 MSRP: $59.36You Save: $16.89 (29%)Ships in 1-3 Business DaysToyota 4Runner Lever Sub-Assy, Hood Lock Control
Part Number: 53601-89103-B0$66.73 MSRP: $94.07You Save: $27.34 (30%)Ships in 1-3 Business DaysToyota 4Runner Cable Assy, Hood Lock Control
Part Number: 53630-35020$38.69 MSRP: $54.07You Save: $15.38 (29%)Toyota 4Runner Liver Sub-Assembly, Hood
Part Number: 53601-52010-B7$45.61 MSRP: $63.76You Save: $18.15 (29%)Ships in 1-3 Business DaysToyota 4Runner Lever Sub-Assy, Hood Lock Control
Part Number: 53601-52010-E0$42.47 MSRP: $59.36You Save: $16.89 (29%)Ships in 1-3 Business DaysToyota 4Runner Lever Sub-Assy, Hood Lock Control
Part Number: 53601-10020-B3$49.93 MSRP: $69.79You Save: $19.86 (29%)Ships in 1-3 Business DaysToyota 4Runner Lever Sub-Assy, Hood Lock Control
Part Number: 53601-04010-B0$66.73 MSRP: $94.07You Save: $27.34 (30%)Ships in 1-3 Business DaysToyota 4Runner Lever Sub-Assy, Hood Lock Control
Part Number: 53601-04010-J0$66.73 MSRP: $94.07You Save: $27.34 (30%)Ships in 1-3 Business DaysToyota 4Runner Lever Sub-Assy, Hood Lock Control
Part Number: 53601-89103-02$66.73 MSRP: $94.07You Save: $27.34 (30%)Ships in 1-3 Business DaysToyota 4Runner Lever Sub-Assy, Hood Lock Control
Part Number: 53601-89103-03$66.73 MSRP: $94.07You Save: $27.34 (30%)Ships in 1-3 Business DaysToyota 4Runner Lever Sub-Assy, Hood Lock Control
Part Number: 53601-89103-04$66.73 MSRP: $94.07You Save: $27.34 (30%)Ships in 1-3 Business DaysToyota 4Runner Lever Sub-Assy, Hood Lock Control
Part Number: 53601-89103-E0$66.73 MSRP: $94.07You Save: $27.34 (30%)Ships in 1-3 Business DaysToyota 4Runner Lever Sub-Assy, Hood Lock Control
Part Number: 53601-89103-E1$66.73 MSRP: $94.07You Save: $27.34 (30%)Ships in 1-3 Business Days
| Page 1 of 2 |Next >
1-20 of 35 Results
Toyota 4Runner Hood Cable
If you are in demand for superior quality and affordable OEM Toyota 4Runner Hood Cable, then shop with us! We own a wide range of the reduced-priced genuine Toyota 4Runner Hood Cable. You can purchase in confidence as all parts come with a manufacturer's warranty. Any issues with our products? No need to worry as we have a hassle-free return policy to guide you every step of the way.
Toyota 4Runner Hood Cable Parts Questions & Experts Answers
- Q: How do you remove and install a latch and cable for the hood release on 2003 through 2009 Toyota 4Runner?A: To replace the latch, first remove the latch cover and scribe a line around it for alignment, then take out the retaining bolts securing the hood latch to the radiator support and remove the latch. Disconnect the hood cable from the latch. For installation, reverse the removal steps, ensuring the latch is adjusted so the hood engages securely when closed and the bumpers are slightly compressed. In the passenger compartment, lift the hood release handle lever upward, pull down on the cable housing end to disengage it from the handle, and if necessary, replace the handle by pulling outward on the retaining tab and pushing downward. Attach a piece of thin wire or string to the end of the cable, then in the engine compartment, disconnect the hood cable from the latch and unclip all retaining clips on the radiator support and inner fenderwell. Pull the cable forward until the wire or string is visible, then remove it from the old cable and fasten it to the new one. With the new cable attached, pull the wire or string back through the firewall until the new cable reaches the inside handle. Install the new cable into the hood release lever, ensuring the housing fits snugly into the notch in the handle bracket, and pull on the cable until the stop seats in the grommet on the firewall. Complete the installation by reversing the removal steps.
Related Toyota 4Runner Parts
Browse by Year
2024 Hood Cable 2023 Hood Cable 2022 Hood Cable 2021 Hood Cable 2020 Hood Cable 2019 Hood Cable 2018 Hood Cable 2017 Hood Cable 2016 Hood Cable 2015 Hood Cable 2014 Hood Cable 2013 Hood Cable 2012 Hood Cable 2011 Hood Cable 2010 Hood Cable 2009 Hood Cable 2008 Hood Cable 2007 Hood Cable 2006 Hood Cable 2005 Hood Cable 2004 Hood Cable 2003 Hood Cable 2002 Hood Cable 2001 Hood Cable 2000 Hood Cable 1999 Hood Cable 1998 Hood Cable 1997 Hood Cable 1996 Hood Cable 1995 Hood Cable 1994 Hood Cable 1993 Hood Cable 1992 Hood Cable 1991 Hood Cable 1990 Hood Cable 1989 Hood Cable 1988 Hood Cable 1987 Hood Cable 1986 Hood Cable 1985 Hood Cable 1984 Hood Cable
