×
- Live Chat
- 1-888-905-9199


My Garage
My Account
Cart
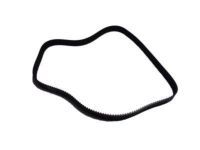
Genuine Toyota 4Runner Timing Belt
Engine Timing Belt- Select Vehicle by Model
- Select Vehicle by VIN
Select Vehicle by Model
orMake
Model
Year
Select Vehicle by VIN
For the most accurate results, select vehicle by your VIN (Vehicle Identification Number).
8 Timing Belts found
Toyota 4Runner Belt, Timing
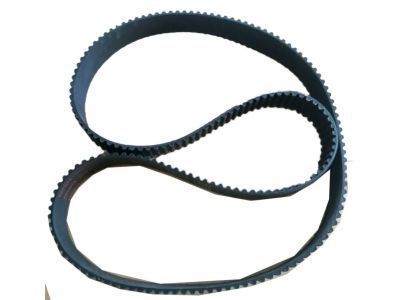
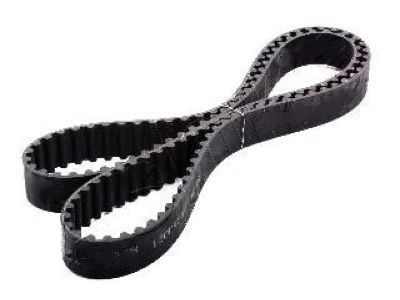
Part Number: 13568-59095$60.88 MSRP: $85.81You Save: $24.93 (30%)Ships in 1-3 Business DaysToyota 4Runner Belt, Timing
Part Number: 13568-69075$47.11 MSRP: $65.85You Save: $18.74 (29%)Ships in 1-3 Business DaysToyota 4Runner Belt, Timing
Part Number: 13568-69055$48.30 MSRP: $67.51You Save: $19.21 (29%)Ships in 1-3 Business DaysToyota 4Runner Belt, Timing
Part Number: 13568-59025$45.32 MSRP: $63.34You Save: $18.02 (29%)Ships in 1-3 Business DaysToyota 4Runner Belt, Timing
Part Number: 13568-69095$58.11 MSRP: $81.22You Save: $23.11 (29%)Ships in 1-3 Business DaysToyota 4Runner Belt, Timing
Part Number: 13568-65011$48.30 MSRP: $67.51You Save: $19.21 (29%)Ships in 1-3 Business Days
Toyota 4Runner Timing Belt
If you are in demand for superior quality and affordable OEM Toyota 4Runner Timing Belt, then shop with us! We own a wide range of the reduced-priced genuine Toyota 4Runner Timing Belt. You can purchase in confidence as all parts come with a manufacturer's warranty. Any issues with our products? No need to worry as we have a hassle-free return policy to guide you every step of the way.
Toyota 4Runner Timing Belt Parts Questions & Experts Answers
- Q: How to remove and install a Timing belt and Sprocket in V8 engine on 2003 through 2009 Toyota 4Runner?A: Once the timing belt is in place, compare all the camshaft sprockets and the crankshaft sprockets to the alignment marks before starting the engine so that there wouldn't be and and costs such as damages on the valves and lifters. First, remove the cable from the negative terminal of the battery, then remove the under-hood splash shield and drain the cooling system of the engine. Subsequently, the procedures are the withdrawal of the fan shroud and fan assembly, drivebelt, the power steering pump with the hoses still connected, alternator and air conditioning compressor with refrigerant lines connected. Move to the next step to unlatch the throttle body cover, reach and knock the drivebelt idler pulley, and work on the three hoses connected to the oil cooler pipe and finally undo the oil cooler pipe. Loosen the left and right side number 3 timing belt covers, the number 2 timing belt cover, and the fan bracket. Remove the drivebelt tensioner and then retard the crankshaft to the number one piston of TDC of the cylinder and align the marks on both the camshaft sprockets and a crankshaft sprockets. Perform the removal of the crankshaft pulley with particular attention to locking it so that the engine will not rotate then, get rid of the number one belt cover and the crankshaft sensor timing plate. Verify the crankshaft and camshaft timing marks before removing crankshaft pulley, and if reusing the belt, it should be also marked. Revise the crankshaft pulley and bolt for a short while then rotate the crankshaft as it is approximately 50 degrees in anti-clock wise direction. Take off the timing belt tensioner and make the tension between the right side camshaft sprocket and the crankshaft sprocket to disappear. Now, it is required to take the timing belt off the sprockets and if needed, the camshaft sprockets and idler pulleys must also be removed. If the crankshaft sprocket is badly worn or damaged in any way it should also be removed. Take a look at the timing belt for signs of wear and also look at the water pump. Additionally, one should check the state of the belt tensioner to determine if it has leaking oil and, equally important, check that it is working efficiently. Having cleaned the area of the timing belt, replace the idler pulleys if you have removed them, position the crankshaft timing sprocket and properly align the markings on the timing belt. After that, compress the timing belt tensioner pushrod and then place it with the help of the specified bolts with force tightening. Rotate the crankshaft through two complete revolutions and observe the relative position of the marks, if they're in the correct position, start the engine. After the timing belt and the timing plate have been correctly replaced, the rest stages of the Engine maintenance involve replacement of Crankshaft sensor timing plate, number 1 timing belt cover, crankshaft pulley, drive belt tensioner, fan bracket, A/C compressor, upper timing belt cover, left and right number 3 timing belt covers and so on, before final replacement of all the covered parts. Replace coolant, check the engine oil level, and with the engine running, inspect for leaks and listen for serious mechanical sounds.
Related Toyota 4Runner Parts
Browse by Year
2009 Timing Belt 2008 Timing Belt 2007 Timing Belt 2006 Timing Belt 2005 Timing Belt 2004 Timing Belt 2003 Timing Belt 2002 Timing Belt 2001 Timing Belt 2000 Timing Belt 1999 Timing Belt 1998 Timing Belt 1997 Timing Belt 1996 Timing Belt 1995 Timing Belt 1994 Timing Belt 1993 Timing Belt 1992 Timing Belt 1991 Timing Belt 1990 Timing Belt 1989 Timing Belt 1988 Timing Belt 1987 Timing Belt 1986 Timing Belt 1985 Timing Belt 1984 Timing Belt


