×
- Live Chat
- 1-888-905-9199


My Garage
My Account
Cart
Genuine Toyota Camry CV Boot
Axle Boot- Select Vehicle by Model
- Select Vehicle by VIN
Select Vehicle by Model
orMake
Model
Year
Select Vehicle by VIN
For the most accurate results, select vehicle by your VIN (Vehicle Identification Number).
125 CV Boots found
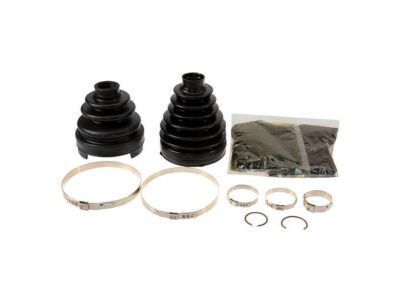
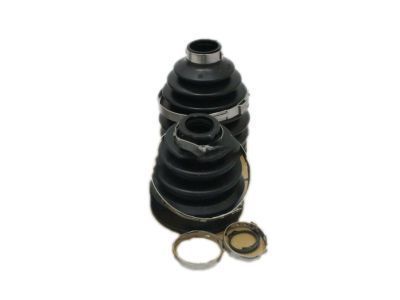
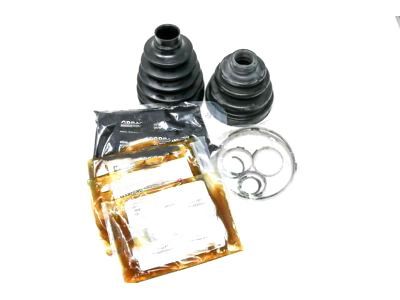
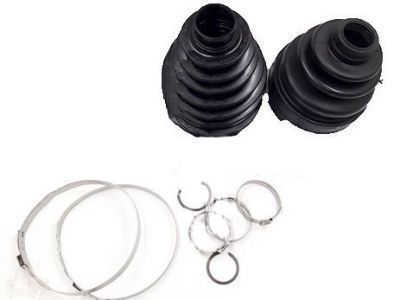
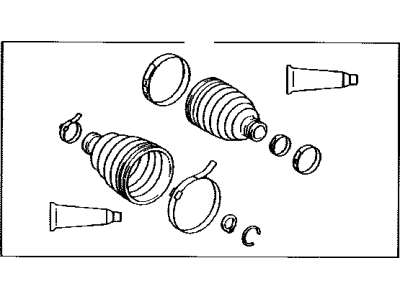
Toyota Camry Front Cv Joint Boot Kit, In Outboard, Left
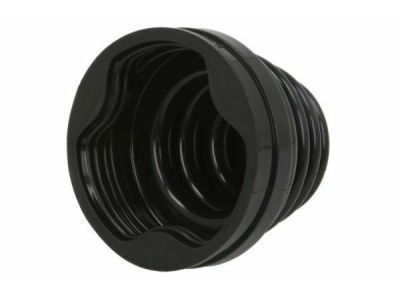
Part Number: 04428-0W030$47.71 MSRP: $66.69You Save: $18.98 (29%)Toyota Camry Front Cv Joint Boot, Left
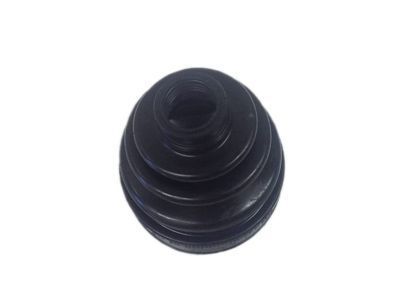
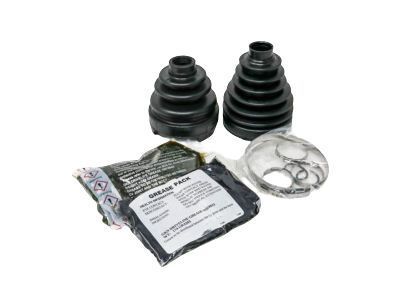
Part Number: 04438-08130$26.88 MSRP: $37.57You Save: $10.69 (29%)Toyota Camry Front Cv Joint Boot, Right
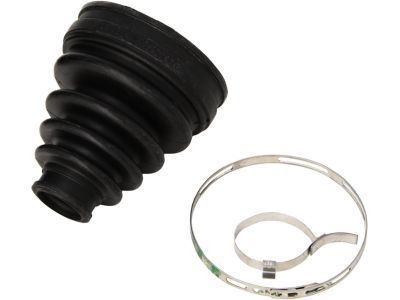
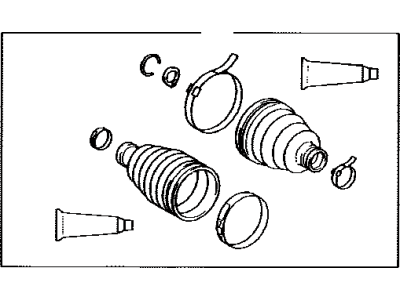
Part Number: 04438-42180$24.50 MSRP: $34.24You Save: $9.74 (29%)Ships in 1-3 Business DaysToyota Camry Front Cv Joint Boot Kit, In Outboard, Right
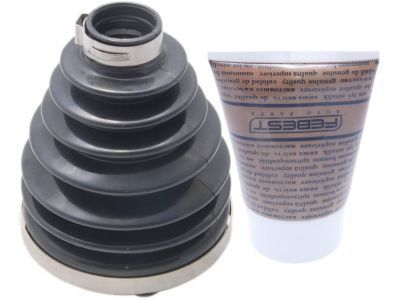
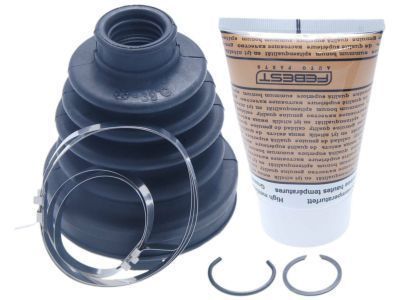
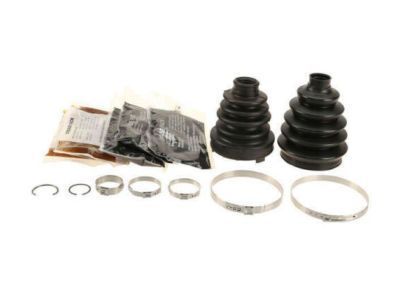
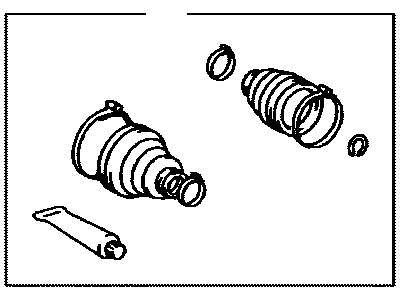
Part Number: 04428-0E060$48.30 MSRP: $67.51You Save: $19.21 (29%)Toyota Camry Front Cv Joint Boot Kit, In Outboard, Left
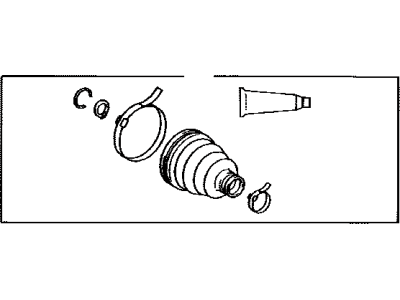
Part Number: 04428-06610$43.42 MSRP: $60.69You Save: $17.27 (29%)Ships in 1-3 Business DaysToyota Camry Front Cv Joint Boot Kit, In Outboard, Right
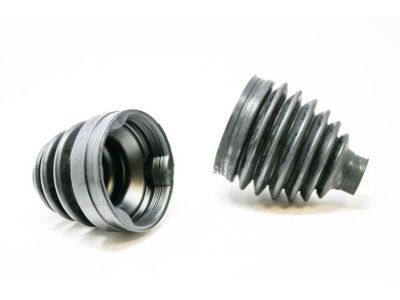
Part Number: 04428-0W070$48.78 MSRP: $68.18You Save: $19.40 (29%)Toyota Camry Front Cv Joint Boot, Left
Part Number: 04438-06400$29.74 MSRP: $41.57You Save: $11.83 (29%)Ships in 1-3 Business DaysToyota Camry Front Cv Joint Boot Kit, In Outboard, Right
Part Number: 04427-0R090$43.42 MSRP: $60.69You Save: $17.27 (29%)Ships in 1-3 Business DaysToyota Camry Front Cv Joint Boot Kit, In Outboard, Left
Part Number: 04438-0E010$48.54 MSRP: $67.85You Save: $19.31 (29%)Toyota Camry Front Cv Joint Boot Kit, In Outboard, Left
Part Number: 04428-06330$47.71 MSRP: $66.69You Save: $18.98 (29%)Ships in 1-2 Business DaysToyota Camry Front Cv Joint Boot Kit, In Outboard, Left
Part Number: 04428-42110$48.36 MSRP: $67.60You Save: $19.24 (29%)Ships in 1 Business DayToyota Camry Front Cv Joint Boot Kit, In Outboard, Right
Part Number: 04438-20070$48.34 MSRP: $67.57You Save: $19.23 (29%)Ships in 1-3 Business DaysToyota Camry Front Cv Joint Boot, Right
Part Number: 04438-12162$30.57 MSRP: $42.73You Save: $12.16 (29%)Ships in 1-3 Business DaysToyota Camry Front Cv Joint Boot Kit, In Outboard, Left
Part Number: 04428-08080$47.71 MSRP: $66.69You Save: $18.98 (29%)Ships in 1-3 Business DaysToyota Camry Front Cv Joint Boot Kit, In Outboard, Right
Part Number: 04438-08080$48.54 MSRP: $67.85You Save: $19.31 (29%)Toyota Camry Front Cv Joint Boot Kit
Part Number: 04427-0R104$43.42 MSRP: $60.69You Save: $17.27 (29%)Ships in 1-3 Business DaysToyota Camry Front Cv Joint Boot Kit, In Outboard, Right
Part Number: 04427-06290$47.59 MSRP: $66.52You Save: $18.93 (29%)Toyota Camry Front Cv Joint Boot, Left
Part Number: 04438-0R010$24.38 MSRP: $34.08You Save: $9.70 (29%)Ships in 1-3 Business DaysToyota Camry Front Cv Joint Boot Kit, In Outboard, Right
Part Number: 04427-06280$47.71 MSRP: $66.69You Save: $18.98 (29%)Ships in 1-3 Business DaysToyota Camry Front Cv Joint Boot, Right
Part Number: 04437-06270$26.88 MSRP: $37.57You Save: $10.69 (29%)Ships in 1-3 Business Days
| Page 1 of 7 |Next >
1-20 of 125 Results
Toyota Camry CV Boot
If you are in demand for superior quality and affordable OEM Toyota Camry CV Boot, then shop with us! We own a wide range of the reduced-priced genuine Toyota Camry CV Boot. You can purchase in confidence as all parts come with a manufacturer's warranty. Any issues with our products? No need to worry as we have a hassle-free return policy to guide you every step of the way.
Toyota Camry CV Boot Parts Questions & Experts Answers
- Q: How Do You Replace and Reassemble CV Boots and Joints on Toyota Camry?A: Complete rebuilt CV Boots are available on an exchange basis, which eliminates much time and work, so it's advisable to check on the cost and availability of parts before disassembling the vehicle. Begin by removing the CV Boot and mounting it in a vise with wood-lined jaws to prevent damage to the axle shaft. Inspect the CV joint for excessive play in the radial direction, indicating worn parts, and ensure smooth operation throughout the full range of motion for each CV joint. If a boot is torn, disassemble the joint, clean the components, and inspect for damage due to loss of lubrication and possible contamination. Cut off and discard the old boot clamps, then carefully pry up the edge of the outer boot and push it away from the CV joint. Pull the inner CV joint boot back from the housing and slide the housing from the tripod, marking the tripod and axleshaft for proper reassembly. Remove the tripod joint snap-ring with snap-ring pliers and use a hammer and brass punch to drive the tripod joint from the CV Boot, taking care not to damage the bearing surfaces or splines. Clean all components thoroughly with solvent, inspecting the bearing surfaces for cracks, pitting, and other signs of wear. If the inner CV joint is worn, a new inner CV joint can be installed on the old axleshaft; if the outer CV joint is worn, a new outer CV joint and axleshaft must be purchased. Check the condition of the support bearing on the intermediate shaft, ensuring it turns freely and smoothly; if not, have it replaced. To reassemble, wrap the splines on the inner end of the axleshaft with electrical or duct tape to protect the boots, then slide the clamps and boots onto the axleshaft, placing the tripod on the shaft and installing a new snap-ring. Apply grease to the tripod assembly and inside the housing, insert the tripod into the housing, and pack the remainder of the grease around it. Ensure the boots are seated in their respective grooves on the axleshaft, position the inner CV joint midway through its range of travel, equalize the pressure in the boot, and tighten the boot clamps. The CV Boot is now ready for installation.
Related Toyota Camry Parts
Browse by Year
2024 CV Boot 2023 CV Boot 2022 CV Boot 2021 CV Boot 2020 CV Boot 2019 CV Boot 2018 CV Boot 2017 CV Boot 2016 CV Boot 2015 CV Boot 2014 CV Boot 2013 CV Boot 2012 CV Boot 2011 CV Boot 2010 CV Boot 2009 CV Boot 2008 CV Boot 2007 CV Boot 2006 CV Boot 2005 CV Boot 2004 CV Boot 2003 CV Boot 2002 CV Boot 2001 CV Boot 2000 CV Boot 1999 CV Boot 1998 CV Boot 1997 CV Boot 1996 CV Boot 1995 CV Boot 1994 CV Boot 1993 CV Boot 1992 CV Boot 1991 CV Boot 1990 CV Boot 1989 CV Boot 1988 CV Boot 1987 CV Boot 1986 CV Boot 1985 CV Boot 1984 CV Boot 1983 CV Boot
