×
- Live Chat
- 1-888-905-9199


My Garage
My Account
Cart
Genuine Toyota Corolla Engine Mount
Engine Motor Mount- Select Vehicle by Model
- Select Vehicle by VIN
Select Vehicle by Model
orMake
Model
Year
Select Vehicle by VIN
For the most accurate results, select vehicle by your VIN (Vehicle Identification Number).
393 Engine Mounts found
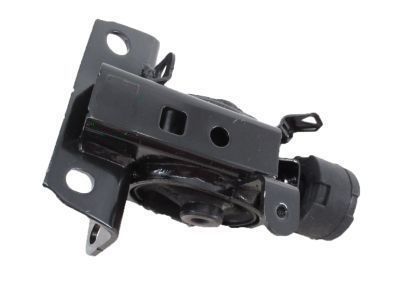
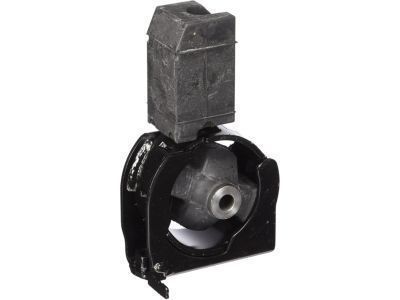
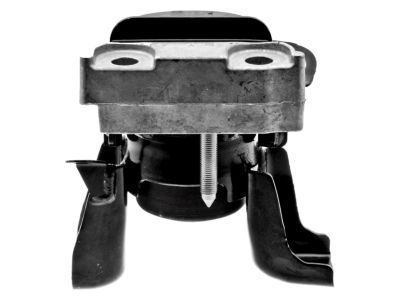
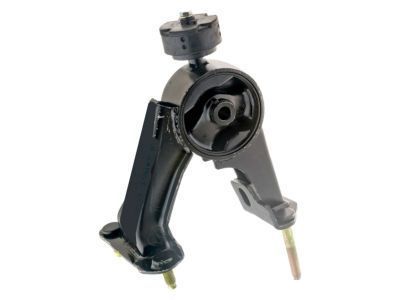
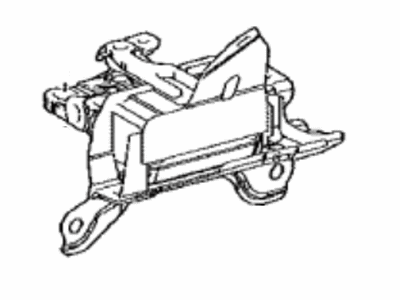
Toyota Corolla INSULATOR, Engine Mounting, LH
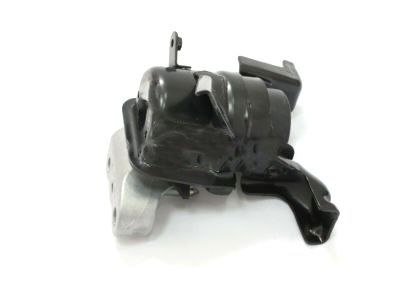
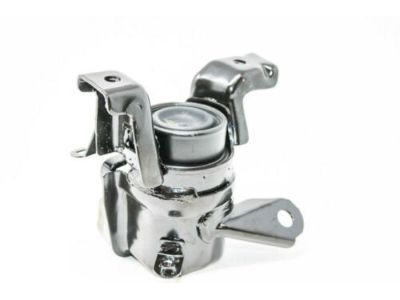
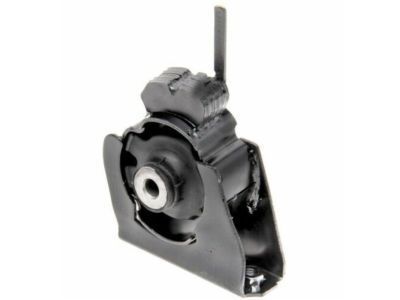
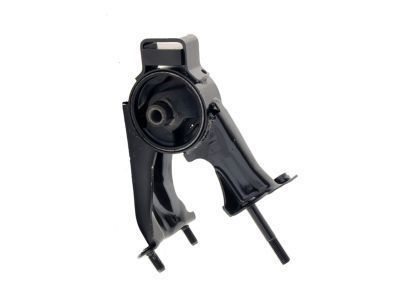
Part Number: 12372-0D110$109.26 MSRP: $154.01You Save: $44.75 (30%)Toyota Corolla Insulator, Engine Mounting, Rear
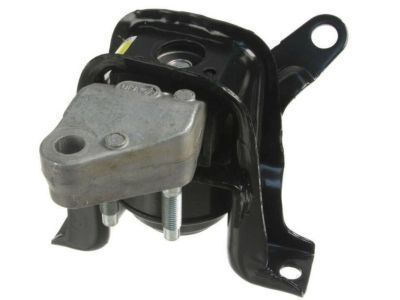
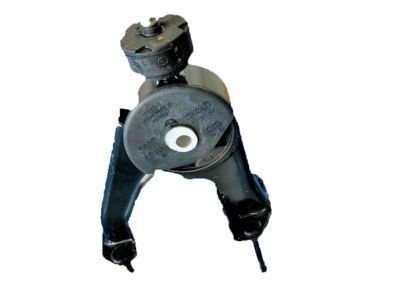
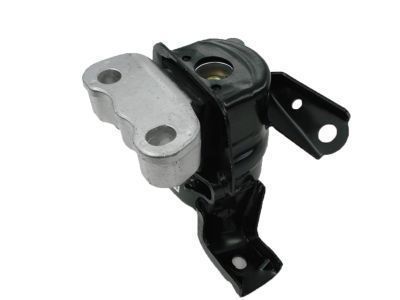
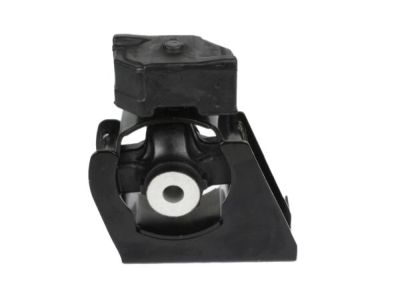
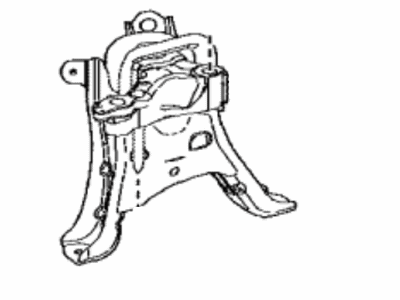
Part Number: 12371-0D110$115.39 MSRP: $162.66You Save: $47.27 (30%)Toyota Corolla Insulator Sub-Assy, Engine Mounting, RH
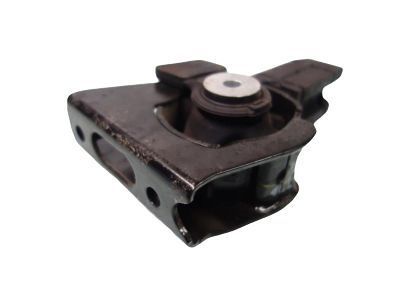
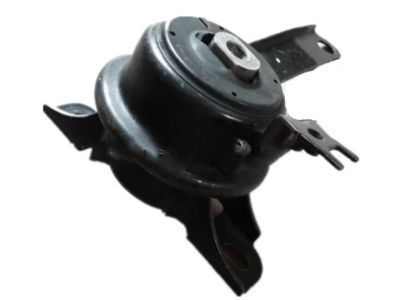
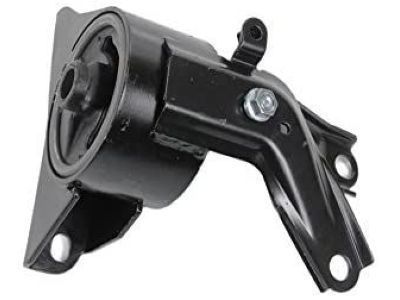
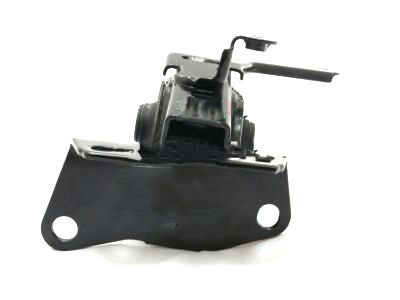
Part Number: 12305-37070$146.47 MSRP: $208.24You Save: $61.77 (30%)Ships in 1-3 Business DaysToyota Corolla Insulator Sub-Assy, Engine Mounting, RH
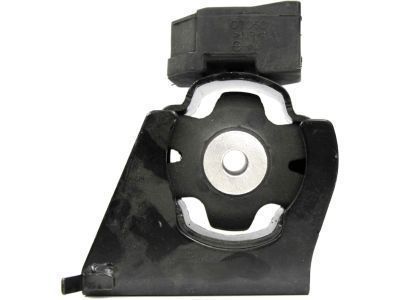
Part Number: 12305-0D023$162.15 MSRP: $230.53You Save: $68.38 (30%)Toyota Corolla INSULATOR, Engine Mounting
Part Number: 12361-0T210$81.53 MSRP: $114.92You Save: $33.39 (30%)Ships in 1-3 Business DaysToyota Corolla Insulator, Engine Mounting, Front
Part Number: 12361-0D100$99.93 MSRP: $140.87You Save: $40.94 (30%)Toyota Corolla INSULATOR Sub-Assembly
Part Number: 12305-0T051$161.21 MSRP: $229.19You Save: $67.98 (30%)Toyota Corolla Insulator, Engine Mounting, Rear
Part Number: 12371-0T040$102.41 MSRP: $144.36You Save: $41.95 (30%)Toyota Corolla INSULATOR, Engine Mounting, RH
Part Number: 12305-0D010$162.38 MSRP: $230.86You Save: $68.48 (30%)Ships in 1-2 Business DaysToyota Corolla Insulator Sub-Assy, Engine Mounting, RH
Part Number: 12305-0H020$108.31 MSRP: $152.68You Save: $44.37 (30%)Ships in 1-3 Business DaysToyota Corolla Insulator, Engine Mounting, Front
Part Number: 12361-0H120$83.53 MSRP: $117.75You Save: $34.22 (30%)Ships in 1-2 Business DaysToyota Corolla Insulator Sub-Assy, Engine Mounting, RH
Part Number: 12305-0T050$161.21 MSRP: $229.19You Save: $67.98 (30%)Toyota Corolla INSULATOR, Engine Mounting, RH
Part Number: 12305-15040$107.25 MSRP: $151.18You Save: $43.93 (30%)Ships in 1-3 Business DaysToyota Corolla Insulator, Engine Mounting, Rear
Part Number: 12371-37060$102.41 MSRP: $144.36You Save: $41.95 (30%)Ships in 1-2 Business DaysToyota Corolla Insulator, Engine Mounting, Rear
Part Number: 12371-0D100$115.39 MSRP: $162.66You Save: $47.27 (30%)Ships in 1-3 Business DaysToyota Corolla Insulator, Engine Mounting, Front
Part Number: 12361-37050$90.02 MSRP: $126.90You Save: $36.88 (30%)Ships in 1-2 Business DaysToyota Corolla INSULATOR, Engine Mounting, LH
Part Number: 12372-22200$95.92 MSRP: $135.21You Save: $39.29 (30%)Ships in 1-3 Business DaysToyota Corolla INSULATOR, Engine Mo
Part Number: 12372-24021$137.93 MSRP: $196.09You Save: $58.16 (30%)Ships in 1-3 Business DaysToyota Corolla INSULATOR Sub-Assembly
Part Number: 12305-F2010$119.56 MSRP: $169.98You Save: $50.42 (30%)Ships in 1-2 Business DaysToyota Corolla Insulator, Engine Mounting, Front
Part Number: 12361-0T060$90.02 MSRP: $126.90You Save: $36.88 (30%)
| Page 1 of 20 |Next >
1-20 of 393 Results
Toyota Corolla Engine Mount
If you are in demand for superior quality and affordable OEM Toyota Corolla Engine Mount, then shop with us! We own a wide range of the reduced-priced genuine Toyota Corolla Engine Mount. You can purchase in confidence as all parts come with a manufacturer's warranty. Any issues with our products? No need to worry as we have a hassle-free return policy to guide you every step of the way.
Toyota Corolla Engine Mount Parts Questions & Experts Answers
- Q: What should be done if engine mounts are broken or deteriorated on Toyota Corolla?A: Engine Mounts do not wear out very often but if ever there is a broken/damaged one, then the mount must be replaced as soon as possible to avoid having to replace any part of the engine-drivetrain again. To do the check, securely place jackstands under the vehicle to take its weight off and position a jack under the engine Oil Pan with a large wood block between the two, then slowly raise the engine just enough to take all the weight off the mounts. Check the mounts, because they may be cracked, looking like hardened rubber, or have the metal casing in which they are located pull away from the other casing. Insert a large screwdriver or pry bar between the inner and outer portions of the mount, and listen or look for any relative movement; if there is any sort of movement, do not proceed further and replace the mount. Check that the mount fasteners are tightened and apply rubber preservative to reduce the rate of wearing. For replacement, it is necessary to disconnect the cable from the negative terminal of the battery, lift the vehicle on jack stands and get it up high on stands and put a supporting bar beneath the engine for additional space. To remove the right engine mount, undo the three bolts holding it to the body and the three bolts/nuts holding the mount bracket to the engine bracket; if your vehicle comes with A/C, there will be a refrigerant line bracket that joins the assembly. On the left engine mount, first you have to remove four bolts that fasten the engine mount to the body and the through-bolt to the transaxle bracket while prior procedures for the manual transaxle may be required. For the front and rear engine mounts, first, unscrew the bolts holding the engine mounts to the lower frame crossmember and the through-bolt to the engine bracket. In installation, one follows a process that is the opposite of the removal of the two pieces, and, for the mount bolts and nuts, thread locking compound is applied as the two are tightened.
Related Toyota Corolla Parts
Browse by Year
2024 Engine Mount 2023 Engine Mount 2022 Engine Mount 2021 Engine Mount 2020 Engine Mount 2019 Engine Mount 2018 Engine Mount 2017 Engine Mount 2016 Engine Mount 2015 Engine Mount 2014 Engine Mount 2013 Engine Mount 2012 Engine Mount 2011 Engine Mount 2010 Engine Mount 2009 Engine Mount 2008 Engine Mount 2007 Engine Mount 2006 Engine Mount 2005 Engine Mount 2004 Engine Mount 2003 Engine Mount 2002 Engine Mount 2001 Engine Mount 2000 Engine Mount 1999 Engine Mount 1998 Engine Mount 1997 Engine Mount 1996 Engine Mount 1995 Engine Mount 1994 Engine Mount 1993 Engine Mount 1992 Engine Mount 1991 Engine Mount 1990 Engine Mount 1989 Engine Mount 1988 Engine Mount 1987 Engine Mount 1986 Engine Mount 1985 Engine Mount 1984 Engine Mount 1983 Engine Mount 1982 Engine Mount 1981 Engine Mount 1980 Engine Mount 1979 Engine Mount 1978 Engine Mount 1977 Engine Mount 1976 Engine Mount 1975 Engine Mount
