×
- Live Chat
- 1-888-905-9199


My Garage
My Account
Cart
Genuine Toyota Highlander Wheel Hub
Wheel Axle Hub- Select Vehicle by Model
- Select Vehicle by VIN
Select Vehicle by Model
orMake
Model
Year
Select Vehicle by VIN
For the most accurate results, select vehicle by your VIN (Vehicle Identification Number).
20 Wheel Hubs found
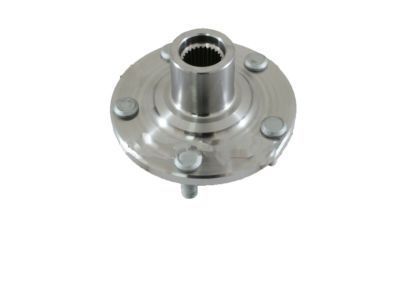
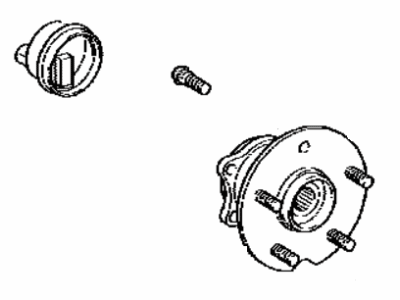
Toyota Highlander Front Axle Hub Sub-Assembly, Left
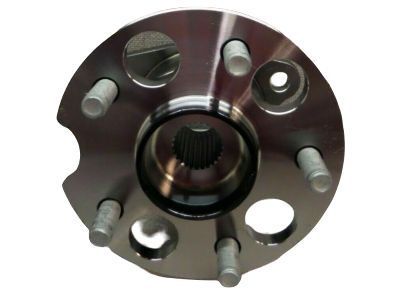
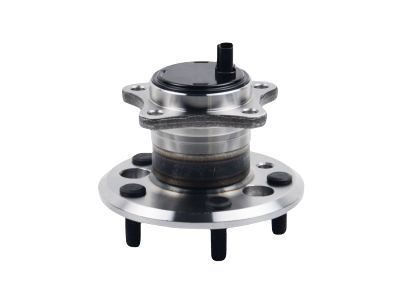
Part Number: 43502-28090$128.79 MSRP: $183.10You Save: $54.31 (30%)Ships in 1-3 Business DaysToyota Highlander Rear Axle Bearing And Hub Assembly, Right
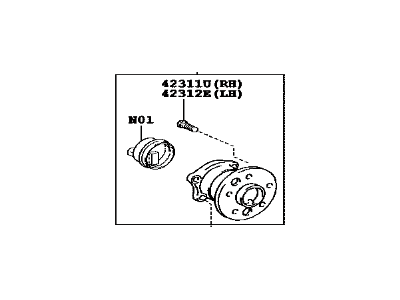
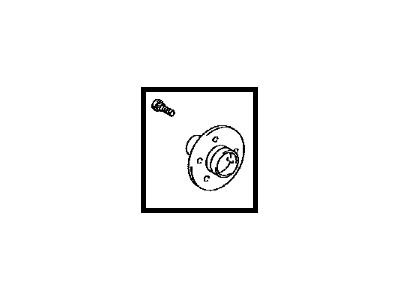
Part Number: 42410-0E050$315.86 MSRP: $452.91You Save: $137.05 (31%)Ships in 1-3 Business DaysToyota Highlander Front Axle Hub Sub-Assembly, Right
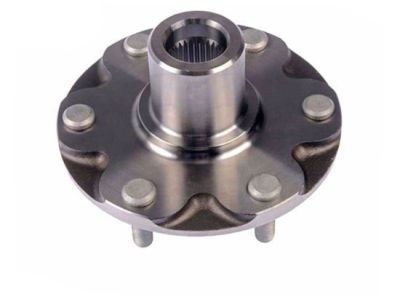
Part Number: 43502-0E010$128.50 MSRP: $182.69You Save: $54.19 (30%)Toyota Highlander Front Axle Hub Sub-Assembly, Left
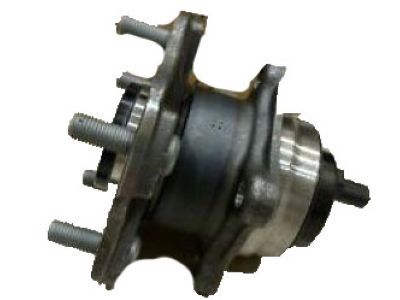
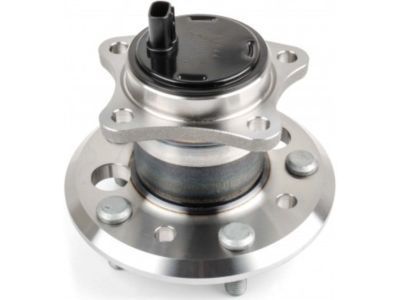
Part Number: 43502-28100$130.09 MSRP: $184.95You Save: $54.86 (30%)Toyota Highlander Rear Axle Bearing And Hub Assembly, Left
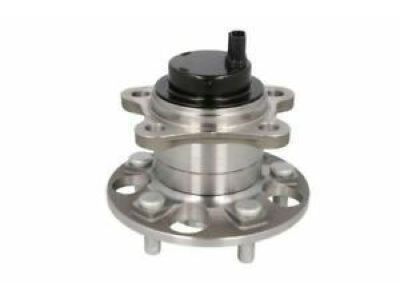
Part Number: 42410-48041$315.86 MSRP: $452.91You Save: $137.05 (31%)Ships in 1-3 Business DaysToyota Highlander Rear Axle Bearing And Hub Assembly, Left
Part Number: 42450-0E050$421.03 MSRP: $619.75You Save: $198.72 (33%)Ships in 1-3 Business DaysToyota Highlander Rear Axle Bearing And Hub Assembly, Left
Part Number: 42460-48010$453.46 MSRP: $667.48You Save: $214.02 (33%)Ships in 1-3 Business DaysToyota Highlander Rear Axle Bearing And Hub Assembly, Right
Part Number: 42450-48010$453.46 MSRP: $667.48You Save: $214.02 (33%)Ships in 1-3 Business DaysToyota Highlander Rear Axle Bearing And Hub Assembly, Left
Part Number: 42460-48040$529.05 MSRP: $778.76You Save: $249.71 (33%)Ships in 1-3 Business DaysToyota Highlander Bearing And Hub Assembly
Part Number: 43550-0E020$273.63 MSRP: $392.37You Save: $118.74 (31%)Ships in 1-3 Business DaysToyota Highlander Rear Axle Bearing And Hub Assembly, Left
Part Number: 42410-0E031$266.38 MSRP: $381.98You Save: $115.60 (31%)Ships in 1-3 Business DaysToyota Highlander Hub & BRG Assembly, Rr A
Part Number: 42450-0E090$369.84 MSRP: $544.40You Save: $174.56 (33%)Ships in 1-3 Business DaysToyota Highlander Rear Axle Hub And Bearing Assembly
Part Number: 42450-0E080$369.84 MSRP: $544.40You Save: $174.56 (33%)Ships in 1-3 Business DaysToyota Highlander Rear Axle Bearing And Hub Assembly, Left
Part Number: 42460-0E030$529.05 MSRP: $778.76You Save: $249.71 (33%)Ships in 1-3 Business DaysToyota Highlander Rear Axle Bearing And Hub Assembly, Left
Part Number: 42410-48040$315.86 MSRP: $452.91You Save: $137.05 (31%)Ships in 1-3 Business DaysToyota Highlander Rear Axle Bearing And Hub Assembly, Right
Part Number: 42450-0E040$529.05 MSRP: $778.76You Save: $249.71 (33%)Ships in 1-3 Business DaysToyota Highlander Rear Axle Bearing And Hub Assembly, Right
Part Number: 42450-48030$505.31 MSRP: $743.82You Save: $238.51 (33%)Ships in 1-3 Business DaysToyota Highlander Rear Axle Bearing And Hub Assembly, Left
Part Number: 42460-48030$505.31 MSRP: $743.82You Save: $238.51 (33%)Ships in 1-3 Business DaysToyota Highlander Rear Axle Bearing And Hub Assembly, Right
Part Number: 42450-48040$529.05 MSRP: $778.76You Save: $249.71 (33%)Ships in 1-3 Business DaysToyota Highlander Front Axle Hub Sub-Assembly, Left
Part Number: 43502-02090$154.43 MSRP: $219.54You Save: $65.11 (30%)
Toyota Highlander Wheel Hub
If you are in demand for superior quality and affordable OEM Toyota Highlander Wheel Hub, then shop with us! We own a wide range of the reduced-priced genuine Toyota Highlander Wheel Hub. You can purchase in confidence as all parts come with a manufacturer's warranty. Any issues with our products? No need to worry as we have a hassle-free return policy to guide you every step of the way.
Toyota Highlander Wheel Hub Parts Questions & Experts Answers
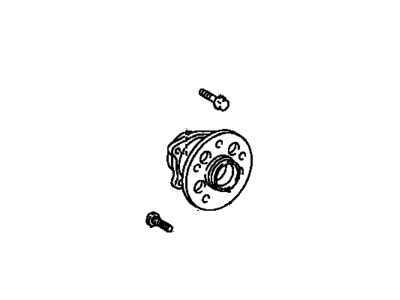
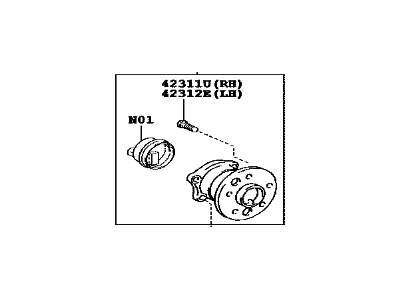
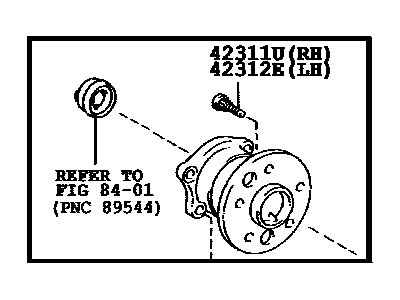
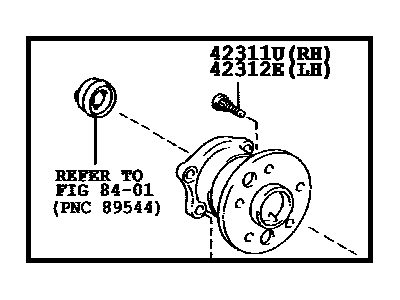
- Q: How to remove and install the rear hub and bearing assembly on Toyota Highlander?A: The following procedure applies to 2WD models only; for 4WD models, special tools and expertise are required to press the hub and bearing from the rear axle carrier, so this job should be left to a professional shop. However, the axle carrier and hub may be removed and the assembly taken to a dealer service department or other repair shop. The rear hub and bearing assembly is not serviceable; if found to be defective, it must be replaced as a unit. To begin removal, loosen the wheel lug nuts, raise the vehicle, and support it securely on jackstands before removing the wheel. Next, remove the disc from the hub and disconnect the wheel speed sensor electrical connector. Then, remove the four hub-to-axle carrier bolts by turning the hub flange to expose each bolt. After that, remove the hub and bearing assembly from its seat, maneuvering it out through the parking brake assembly. For installation, position the hub and bearing assembly on the axle carrier and align the holes in the backing plate before installing the bolts, using a magnet to guide them into position. Once all four bolts are installed, tighten them to the specified torque, then install the disc and caliper, followed by the wheel. Finally, lower the vehicle and tighten the lug nuts to the specified torque.
Related Toyota Highlander Parts
Browse by Year
2024 Wheel Hub 2023 Wheel Hub 2022 Wheel Hub 2021 Wheel Hub 2020 Wheel Hub 2019 Wheel Hub 2018 Wheel Hub 2017 Wheel Hub 2016 Wheel Hub 2015 Wheel Hub 2014 Wheel Hub 2013 Wheel Hub 2012 Wheel Hub 2011 Wheel Hub 2010 Wheel Hub 2009 Wheel Hub 2008 Wheel Hub 2007 Wheel Hub 2006 Wheel Hub 2005 Wheel Hub 2004 Wheel Hub 2003 Wheel Hub 2002 Wheel Hub 2001 Wheel Hub
