
My Garage
My Account
Cart
Genuine Toyota Land Cruiser Brake Master Cylinder
- Select Vehicle by Model
- Select Vehicle by VIN
Select Vehicle by Model
orMake
Model
Year
Select Vehicle by VIN
For the most accurate results, select vehicle by your VIN (Vehicle Identification Number).
53 Brake Master Cylinders found
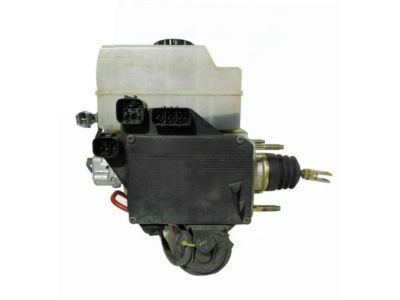
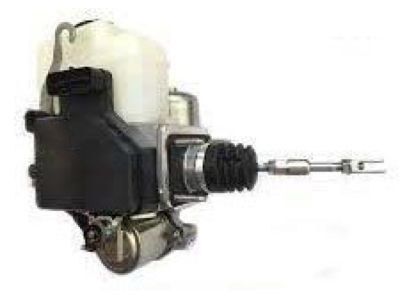
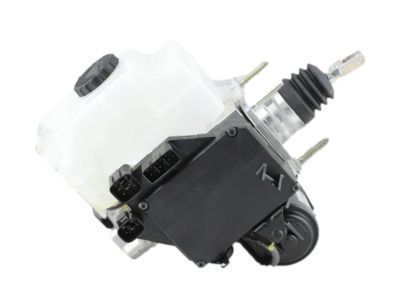
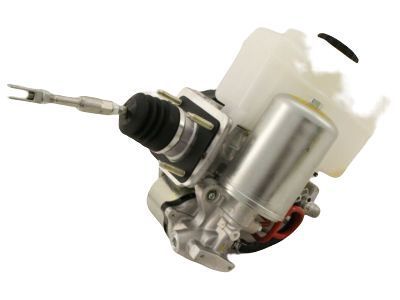
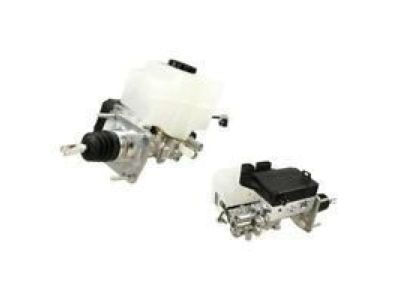
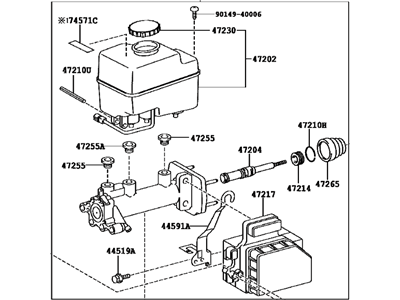
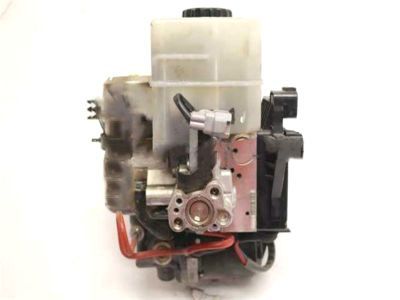
Toyota Land Cruiser Brake Booster Assy, W/Master Cylinder
Part Number: 47050-60010$1333.67 MSRP: $1991.35You Save: $657.68 (34%)Ships in 1-3 Business DaysToyota Land Cruiser Brake Booster Assy, W/Master Cylinder
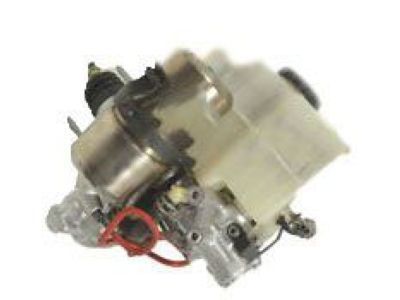
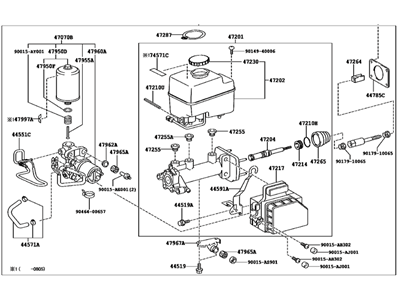
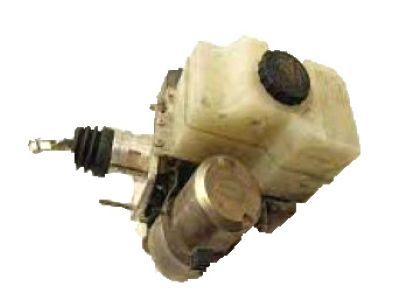
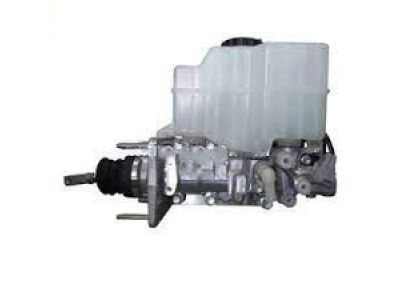
Part Number: 47050-60043$1343.70 MSRP: $2006.33You Save: $662.63 (34%)Ships in 1-3 Business DaysToyota Land Cruiser Brake Booster Assy, W/Master Cylinder
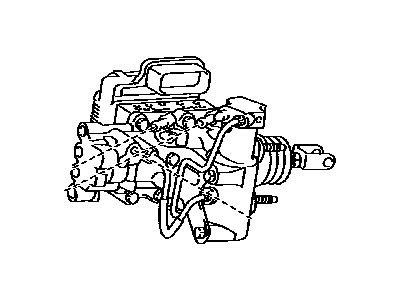
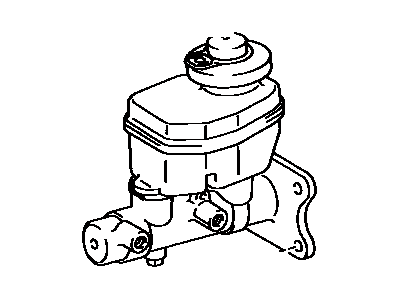
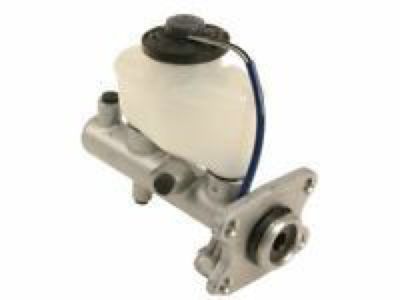
Part Number: 47050-60170$1375.44 MSRP: $2053.73You Save: $678.29 (34%)Ships in 1-3 Business DaysToyota Land Cruiser Brake Master Cylinder Sub-Assembly
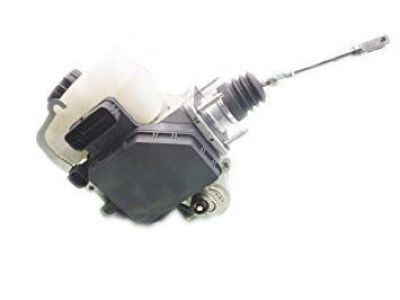
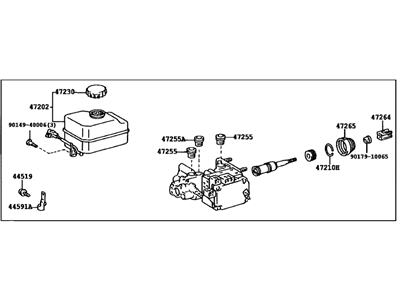
Part Number: 47201-60551$230.48 MSRP: $330.49You Save: $100.01 (31%)Ships in 1-3 Business DaysToyota Land Cruiser Brake Booster Assy, W/Master Cylinder
Part Number: 47050-60012$1432.82 MSRP: $2139.40You Save: $706.58 (34%)Ships in 1-3 Business DaysToyota Land Cruiser Brake Booster Assy, W/Master Cylinder
Part Number: 47050-60042$1343.70 MSRP: $2006.33You Save: $662.63 (34%)Ships in 1-3 Business DaysToyota Land Cruiser Brake Master Cylinder Sub-Assembly
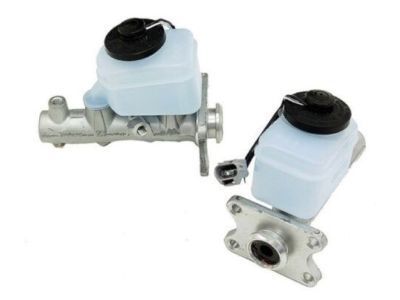
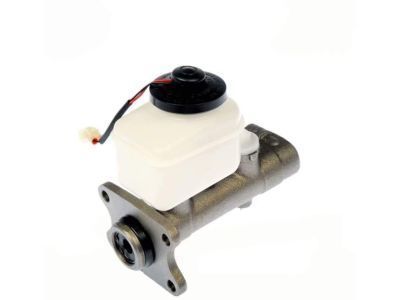
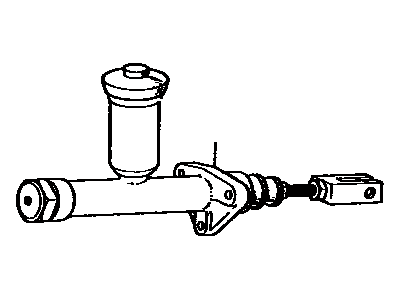
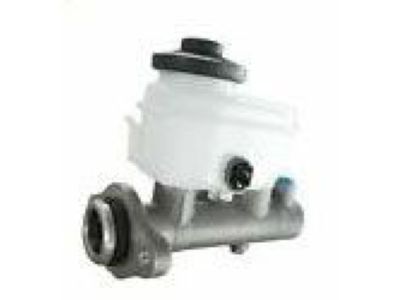
Part Number: 47201-60540$230.48 MSRP: $330.49You Save: $100.01 (31%)Ships in 1-3 Business DaysToyota Land Cruiser Brake Master Cylinder Assembly W/O Booster
Part Number: 47200-35011$110.20 MSRP: $155.34You Save: $45.14 (30%)Ships in 1-3 Business DaysToyota Land Cruiser Brake Cylinder Assembly
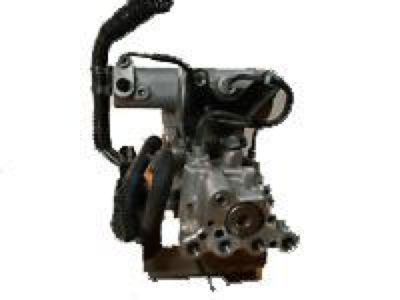
Part Number: 47050-60500$1236.42 MSRP: $1846.14You Save: $609.72 (34%)Ships in 1-3 Business DaysToyota Land Cruiser Brake Master Cylinder Sub-Assembly
Part Number: 47025-60043$1183.61 MSRP: $1767.30You Save: $583.69 (34%)Ships in 1-3 Business DaysToyota Land Cruiser Brake Master Cylinder Sub-Assembly
Part Number: 47025-60041$1183.61 MSRP: $1767.30You Save: $583.69 (34%)Ships in 1-3 Business DaysToyota Land Cruiser Brake Cylinder Assembly
Part Number: 47050-60510$1236.42 MSRP: $1846.14You Save: $609.72 (34%)Ships in 1-3 Business DaysToyota Land Cruiser Brake Cylinder Assembly
Part Number: 47050-60290$1375.44 MSRP: $2053.73You Save: $678.29 (34%)Ships in 1-3 Business DaysToyota Land Cruiser Brake Master Cylinder Sub-Assembly
Part Number: 47025-60190$1183.61 MSRP: $1767.30You Save: $583.69 (34%)Ships in 1-3 Business DaysToyota Land Cruiser Brake Cylinder Assembly
Part Number: 47050-60640$1236.42 MSRP: $1846.14You Save: $609.72 (34%)Ships in 1-3 Business DaysToyota Land Cruiser Brake Cylinder Assembly
Part Number: 47050-60320$1291.89 MSRP: $1928.98You Save: $637.09 (34%)Ships in 1-3 Business DaysToyota Land Cruiser Brake Master Cylinder Sub-Assembly
Part Number: 47025-60042$1183.61 MSRP: $1767.30You Save: $583.69 (34%)Ships in 1-3 Business DaysToyota Land Cruiser Brake Cylinder Assembly
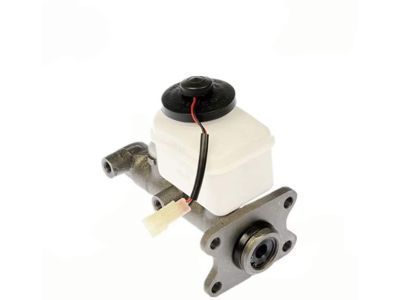
Part Number: 47050-60630$1091.60 MSRP: $1629.90You Save: $538.30 (34%)Ships in 1-3 Business DaysToyota Land Cruiser Brake Master Cylinder Assembly W/O Booster
Part Number: 47201-60030$215.56 MSRP: $309.10You Save: $93.54 (31%)Ships in 1-3 Business DaysToyota Land Cruiser Brake Booster Assy, W/Master Cylinder
Part Number: 47050-60041$1353.72 MSRP: $2021.30You Save: $667.58 (34%)
| Page 1 of 3 |Next >
1-20 of 53 Results
Toyota Land Cruiser Brake Master Cylinder
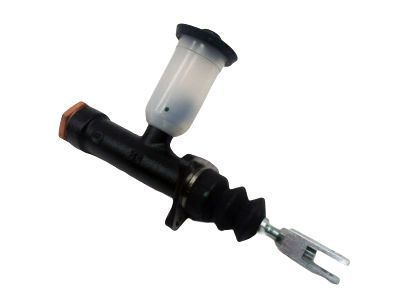
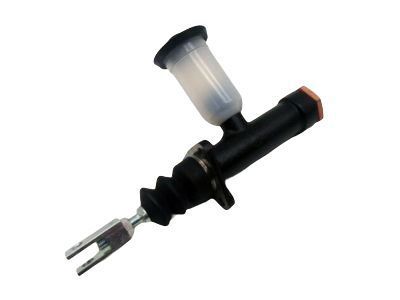
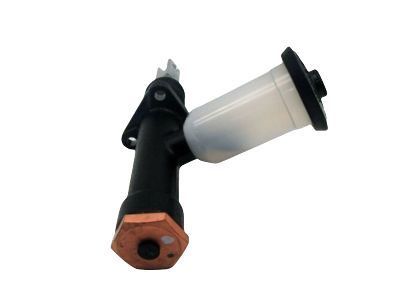
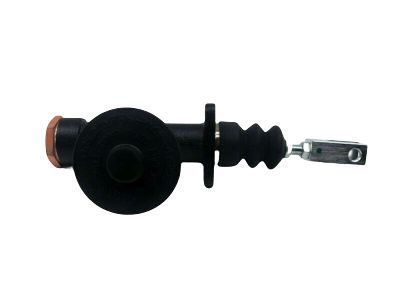
If you are in demand for superior quality and affordable OEM Toyota Land Cruiser Brake Master Cylinder, then shop with us! We own a wide range of the reduced-priced genuine Toyota Land Cruiser Brake Master Cylinder. You can purchase in confidence as all parts come with a manufacturer's warranty. Any issues with our products? No need to worry as we have a hassle-free return policy to guide you every step of the way.
Toyota Land Cruiser Brake Master Cylinder Parts Questions & Experts Answers
- Q: How to Overhaul the Brake Master Cylinder on a Toyota Land Cruiser?A:Before deciding to overhaul the Brake Master Cylinder, check on the availability and cost of a new or factory rebuilt unit and also the availability of a rebuild kit. The Brake Master Cylinder is located in the engine compartment, mounted on the power brake booster. Remove as much fluid as possible from the reservoir with a syringe, placing rags under the fittings and preparing caps or plastic bags to cover the ends of the lines once disconnected, as brake fluid will damage paint. Loosen the fittings at the ends of the brake lines where they enter the Brake Master Cylinder, unplug the electrical connector if equipped, and completely loosen the brake line fittings using a flare-nut wrench to prevent rounding off the flats. Pull the brake lines away from the Brake Master Cylinder and plug the ends to prevent contamination. Disconnect the electrical connector if equipped, then remove the nuts attaching the Brake Master Cylinder to the power booster and pull the Brake Master Cylinder off the studs, being careful not to spill fluid. Two different types of Brake Master Cylinders were used during production years, with earlier models having a small reservoir and later models equipped with a large reservoir; the procedure is illustrated with a large reservoir Brake Master Cylinder, but the steps are similar for the small reservoir type. Obtain the proper rebuild kit before attempting the overhaul, which will contain necessary replacement parts and any specific instructions. Remove the reservoir and inspect the reservoir grommet for leakage indications near the base. For small reservoir models, remove the set bolt inside the reservoir and use pliers to release the hose clamp, while for large reservoir models, remove the set screw and pull straight up to detach the reservoir. Place the cylinder in a vise and use a punch or Phillips screwdriver to fully depress the pistons until they bottom against the other end of the Brake Master Cylinder, holding the pistons in this position to remove the stop bolt on the side. Depress the pistons again and remove the snap-ring at the end of the Brake Master Cylinder, allowing the internal components to be removed from the bore. Make a note of the proper order of the components for reassembly, paying particular attention to the different springs. Inspect the bore of the Brake Master Cylinder for score marks or damage, as any issues will require a new Brake Master Cylinder. Replace all parts included in the rebuild kit, cleaning reused parts with new brake fluid, brake system cleaner, or denatured alcohol, avoiding petroleum-based solvents. During reassembly, lubricate all parts liberally with clean brake fluid, push the assembled components into the bore, bottoming them against the end of the Brake Master Cylinder, and install the stop bolt. Install the new snap-ring, ensuring it is seated properly in the groove, and install new reservoir grommets and the reservoir in reverse order of removal. Before installation, bench bleed the Brake Master Cylinder by mounting it in a vise, inserting threaded plugs into the brake line outlet holes, and filling the reservoir with the recommended brake fluid. Remove one plug and push the piston assembly into the bore to expel air, replacing the plug before releasing pressure on the piston to prevent air from being drawn back in. Repeat until only brake fluid is expelled, then proceed to the other outlet hole. An alternative method involves covering the hole with a finger instead of replacing the plug, ensuring air does not enter. For installation, place the Brake Master Cylinder over the studs on the power brake booster and tighten the nuts finger-tight. Thread the brake line fittings into the Brake Master Cylinder, adjusting the position slightly for easier threading, and then tighten the mounting nuts and brake line fittings. Fill the Brake Master Cylinder reservoir with fluid, then bleed the Brake Master Cylinder and brake system by having an assistant depress the brake pedal while loosening the fitting to allow air and fluid to escape, repeating until the fluid is free of air bubbles. Finally, check the operation of the brake system carefully before driving the vehicle.
Related Toyota Land Cruiser Parts
Browse by Year
2021 Brake Master Cylinder 2020 Brake Master Cylinder 2019 Brake Master Cylinder 2018 Brake Master Cylinder 2017 Brake Master Cylinder 2016 Brake Master Cylinder 2015 Brake Master Cylinder 2014 Brake Master Cylinder 2013 Brake Master Cylinder 2012 Brake Master Cylinder 2011 Brake Master Cylinder 2010 Brake Master Cylinder 2009 Brake Master Cylinder 2008 Brake Master Cylinder 2007 Brake Master Cylinder 2006 Brake Master Cylinder 2005 Brake Master Cylinder 2004 Brake Master Cylinder 2003 Brake Master Cylinder 2002 Brake Master Cylinder 2001 Brake Master Cylinder 2000 Brake Master Cylinder 1999 Brake Master Cylinder 1998 Brake Master Cylinder 1997 Brake Master Cylinder 1996 Brake Master Cylinder 1995 Brake Master Cylinder 1994 Brake Master Cylinder 1993 Brake Master Cylinder 1992 Brake Master Cylinder 1991 Brake Master Cylinder 1990 Brake Master Cylinder 1989 Brake Master Cylinder 1988 Brake Master Cylinder 1987 Brake Master Cylinder 1986 Brake Master Cylinder 1985 Brake Master Cylinder 1984 Brake Master Cylinder 1983 Brake Master Cylinder 1982 Brake Master Cylinder 1981 Brake Master Cylinder 1980 Brake Master Cylinder 1979 Brake Master Cylinder 1978 Brake Master Cylinder 1977 Brake Master Cylinder 1976 Brake Master Cylinder 1975 Brake Master Cylinder 1974 Brake Master Cylinder 1973 Brake Master Cylinder 1972 Brake Master Cylinder 1971 Brake Master Cylinder 1970 Brake Master Cylinder 1969 Brake Master Cylinder
