
My Garage
My Account
Cart
Genuine Toyota Land Cruiser Tie Rod End
Steering Rod End- Select Vehicle by Model
- Select Vehicle by VIN
Select Vehicle by Model
orMake
Model
Year
Select Vehicle by VIN
For the most accurate results, select vehicle by your VIN (Vehicle Identification Number).
34 Tie Rod Ends found
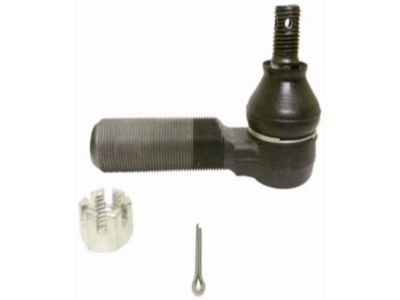
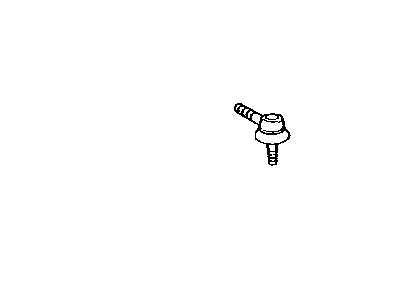
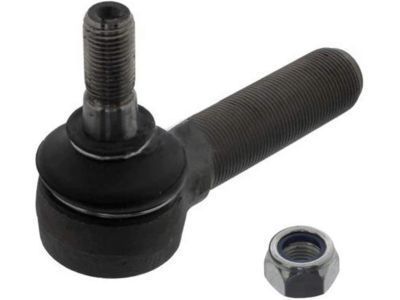
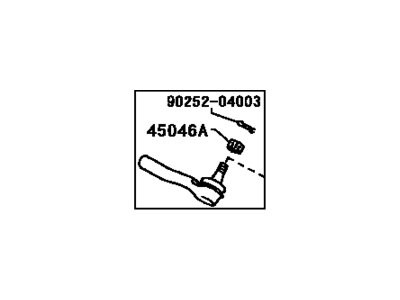
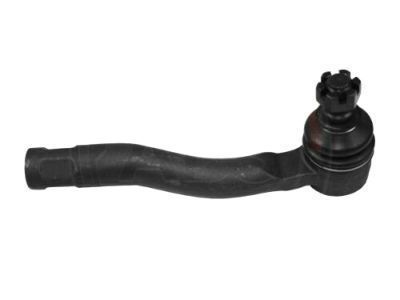
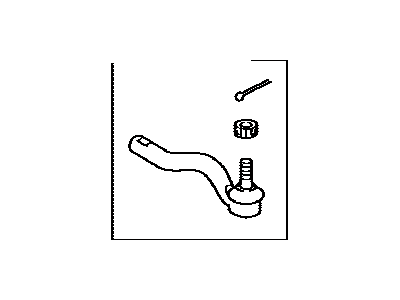
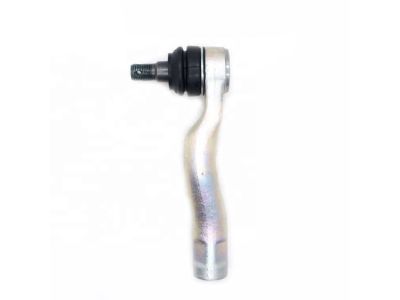
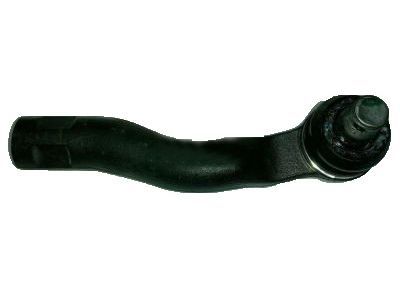
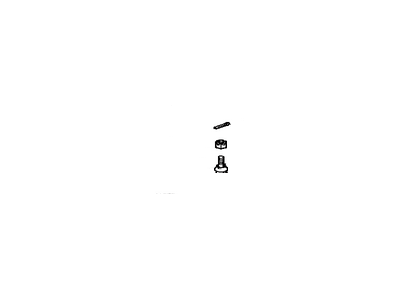
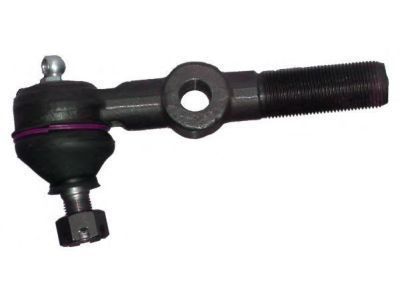
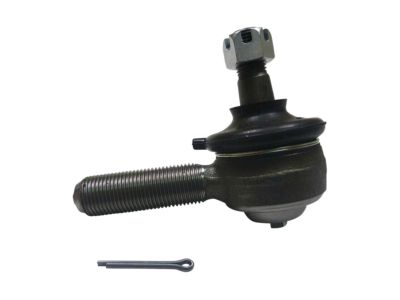
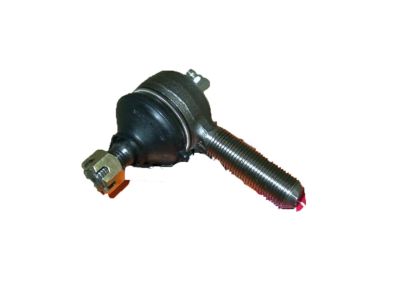
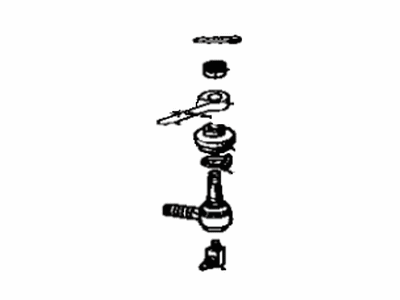
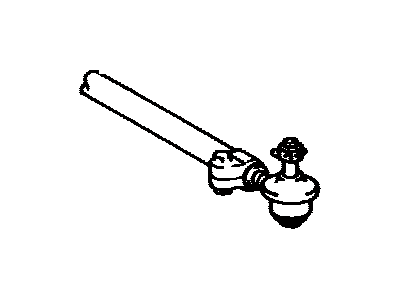
Toyota Land Cruiser Left Tie Rod End Sub-Assembly
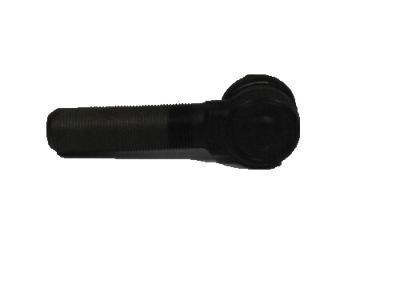
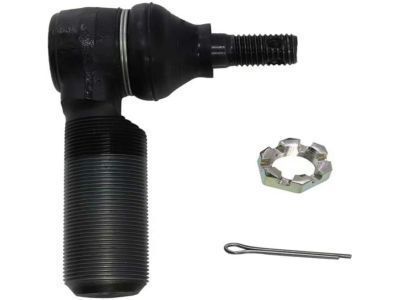
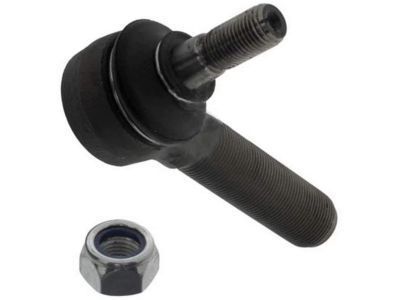
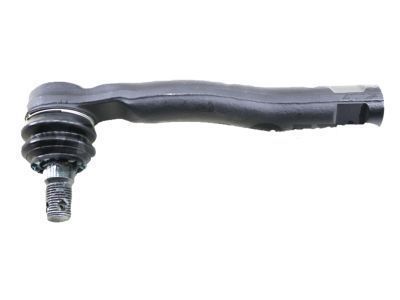
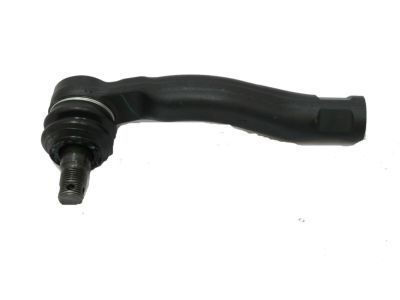
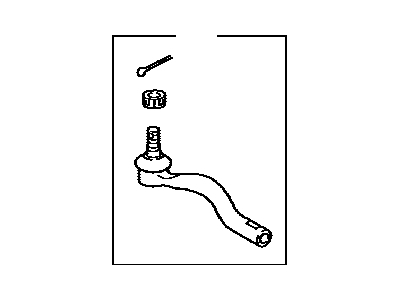
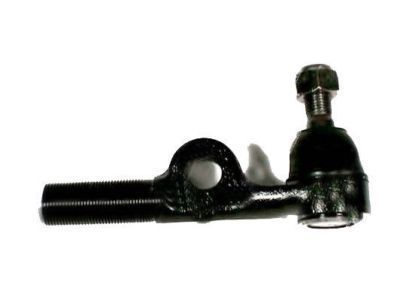
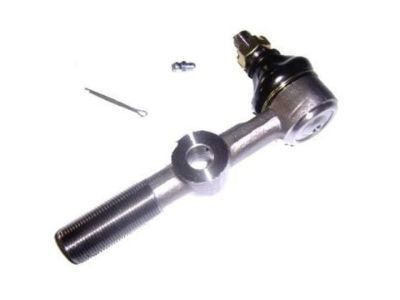
Part Number: 45046-69135$62.41 MSRP: $87.98You Save: $25.57 (30%)Ships in 1-2 Business DaysToyota Land Cruiser Right Tie Rod End Sub-Assembly
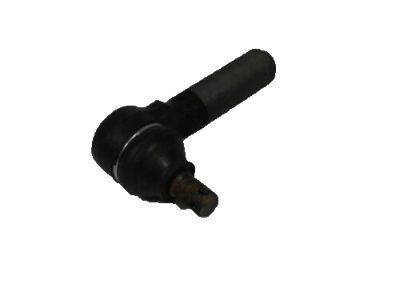
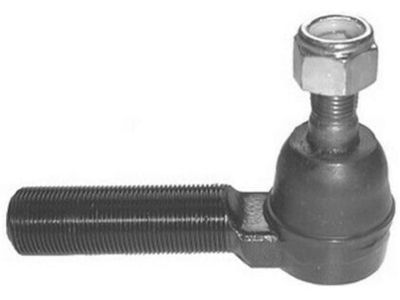
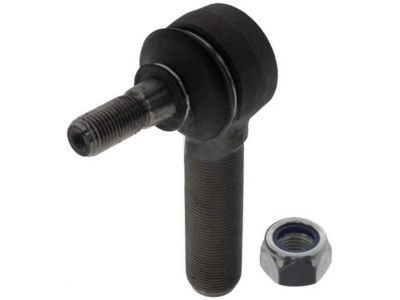
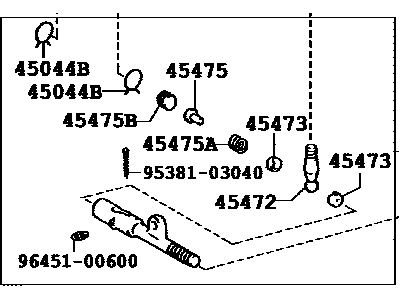
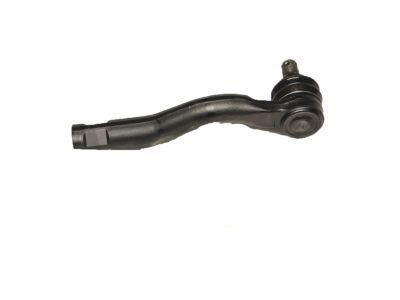
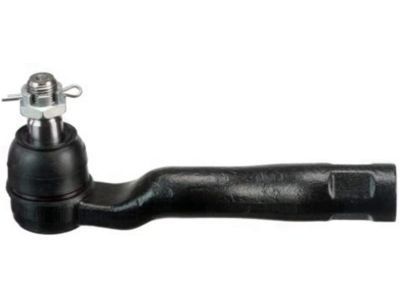
Part Number: 45047-69085$62.41 MSRP: $87.98You Save: $25.57 (30%)Ships in 1-3 Business DaysToyota Land Cruiser Steering Relay Rod End Sub-Assembly Left Hand
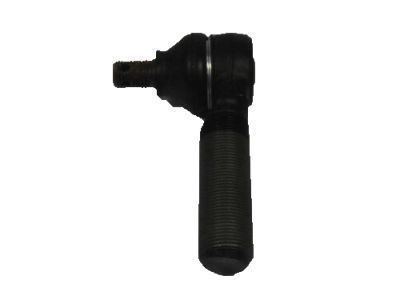
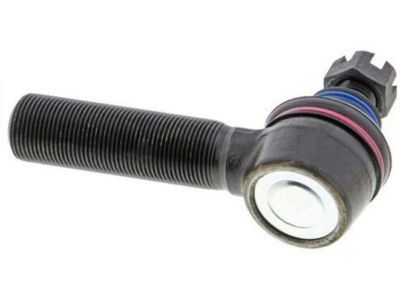
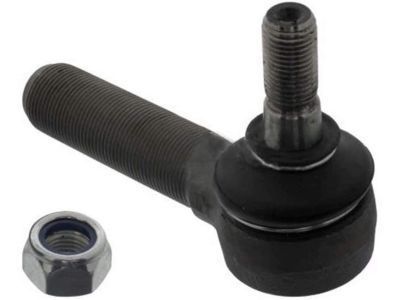
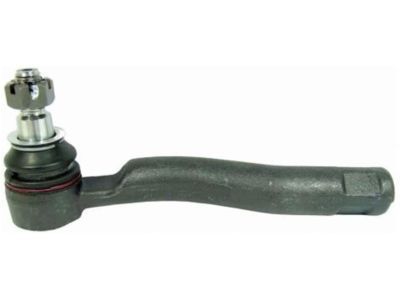
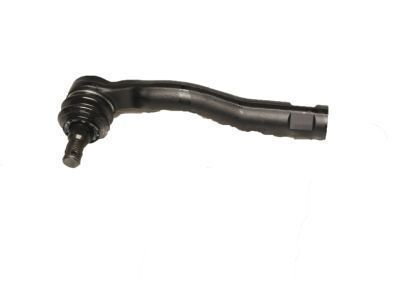
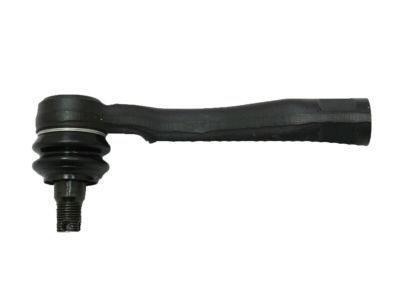
Part Number: 45045-69065$67.72 MSRP: $95.46You Save: $27.74 (30%)Ships in 1-2 Business DaysToyota Land Cruiser Left Tie Rod End Sub-Assembly
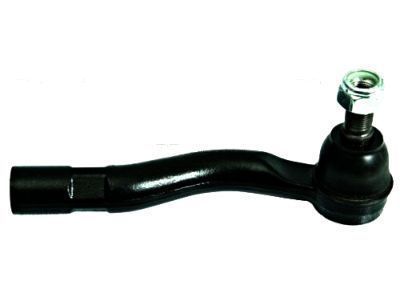
Part Number: 45047-69100$78.69 MSRP: $110.93You Save: $32.24 (30%)Ships in 1-3 Business DaysToyota Land Cruiser Right Tie Rod End Sub-Assembly
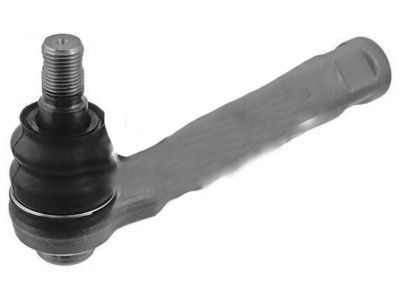
Part Number: 45046-69195$78.69 MSRP: $110.93You Save: $32.24 (30%)Ships in 1-3 Business DaysToyota Land Cruiser Right Tie Rod End Sub-Assembly
Part Number: 45046-69205$69.84 MSRP: $98.45You Save: $28.61 (30%)Ships in 1-2 Business DaysToyota Land Cruiser Left Tie Rod End Sub-Assembly
Part Number: 45047-69115$69.84 MSRP: $98.45You Save: $28.61 (30%)Ships in 1-3 Business DaysToyota Land Cruiser Tie Rod End Sub-Assembly , Left
Part Number: 45047-69146$52.23 MSRP: $73.01You Save: $20.78 (29%)Ships in 1-2 Business DaysToyota Land Cruiser Right Tie Rod End Sub-Assembly
Part Number: 45046-69236$52.23 MSRP: $73.01You Save: $20.78 (29%)Ships in 1-2 Business DaysToyota Land Cruiser Left Tie Rod End Sub-Assembly
Part Number: 45047-69145$52.23 MSRP: $73.01You Save: $20.78 (29%)Ships in 1-3 Business DaysToyota Land Cruiser Right Tie Rod End Sub-Assembly
Part Number: 45046-69235$52.23 MSRP: $73.01You Save: $20.78 (29%)Ships in 1-3 Business DaysToyota Land Cruiser Right Tie Rod End Sub-Assembly
Part Number: 45046-69115$93.92 MSRP: $132.38You Save: $38.46 (30%)Ships in 1-3 Business DaysToyota Land Cruiser Steering Relay Rod End Sub-Assembly Left Hand
Part Number: 45044-69055$107.72 MSRP: $151.84You Save: $44.12 (30%)Ships in 1 Business DayToyota Land Cruiser Right Tie Rod End Sub-Assembly
Part Number: 45046-69055$75.74 MSRP: $106.77You Save: $31.03 (30%)Ships in 1-3 Business DaysToyota Land Cruiser Steering Relay Rod End Sub-Assembly Left Hand
Part Number: 45046-69025$93.09 MSRP: $131.22You Save: $38.13 (30%)Ships in 1-3 Business DaysToyota Land Cruiser Left Tie Rod End Sub-Assembly
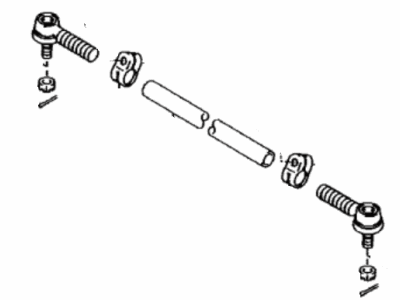
Part Number: 45046-69035$71.85 MSRP: $101.28You Save: $29.43 (30%)Ships in 1-3 Business DaysToyota Land Cruiser Tie Rod Set Right Hand
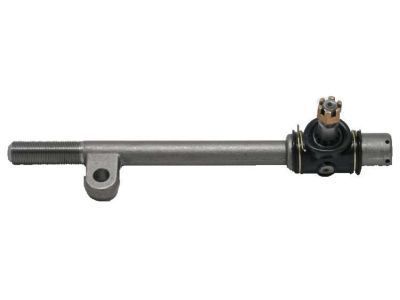
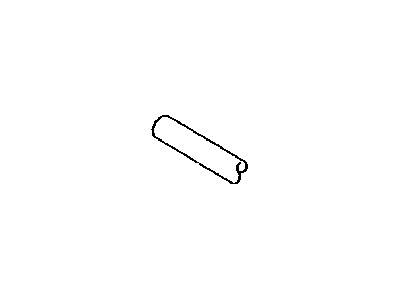
Part Number: 45460-69155$339.64 MSRP: $487.01You Save: $147.37 (31%)Ships in 1-3 Business DaysToyota Land Cruiser Rod, Steering Tie
Part Number: 45461-60110$217.37 MSRP: $311.70You Save: $94.33 (31%)Ships in 1-3 Business DaysToyota Land Cruiser Rod Assembly, Tie
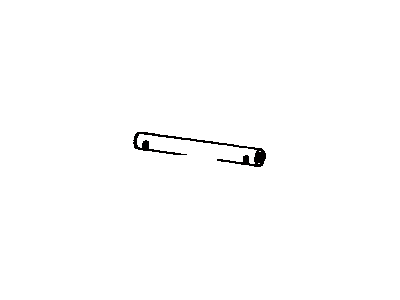
Part Number: 45460-69135$347.76 MSRP: $498.66You Save: $150.90 (31%)Ships in 1-3 Business DaysToyota Land Cruiser Rod, Steering Tie
Part Number: 45461-60100$191.04 MSRP: $273.94You Save: $82.90 (31%)
| Page 1 of 2 |Next >
1-20 of 34 Results
Toyota Land Cruiser Tie Rod End
If you are in demand for superior quality and affordable OEM Toyota Land Cruiser Tie Rod End, then shop with us! We own a wide range of the reduced-priced genuine Toyota Land Cruiser Tie Rod End. You can purchase in confidence as all parts come with a manufacturer's warranty. Any issues with our products? No need to worry as we have a hassle-free return policy to guide you every step of the way.
Toyota Land Cruiser Tie Rod End Parts Questions & Experts Answers
- Q: How to inspect and replace the Drag Link,Pitman Arm and Tie Rod End on Toyota Land Cruiser?A:Steering linkage couples the steering gear to the front wheels so that the two wheels will be parallel to each other. It accommodates the Pitman arm that is connected to the steering gear shaft and moves the drag link to transfer motion to the Steering Knuckle through a tube, clamps and two tie-rod ends. There is also a steering damper included to reduce shimmy and any other unwanted forces. To check, center and align the position of the wheels, as well as lock the steering wheel, and then using a jack raise the car to lift one side of it and affix a dial indicator on the edge of the wheel. B shake the wheel a bit and ensure that the gauge reading is less than 6.0 mm; if the latter is more feel for loose linkage. Lift the car on jackstands to look for troubled parts. Before removing the tie-rod end you will need to follow the loosening of the wheel lug nuts, lifting of the vehicle and the removing of the wheel. Untighten the castle nut on the ballstud without taking it of, then using the ballstud puller, pull off the ballstud off the steering knuckle. If a tie-rod end has to be replaced, the number of threads that are visible should be noted in order to reform the part, lubricate the new part, and then screw it back to the original number. Replace the new tie-rod end into position and make sure it is firmly fixed then tighten the nut. Fit new cotter pins and tight the clamp nuts. After reconstruction is complete, raise the car and take off the tires, then ins Affiliate tighten the bolts, and check the front end alignment. For drag link removal, you need to lift the vehicle so you can then remove the steering damper for you to disconnect the two ends of drag link from the Pitman arm as well as the steering knuckle. If replacements are required it's the same process as identifying the thread count. Reinstallation is done in the reverse sequence, with all the fasteners being tighten at the end. Regarding the Pitman arm on the truck, the first step is to free the drag link by unthreading the nut on it and then using a removal tool to free it and also align the marks before replacing the part. Last, disconnect the steering damper from the center link, remove it from the frame bracket, and regain it and fix the bolts and nuts with right strength.
Related Toyota Land Cruiser Parts
Browse by Year
2021 Tie Rod End 2020 Tie Rod End 2019 Tie Rod End 2018 Tie Rod End 2017 Tie Rod End 2016 Tie Rod End 2015 Tie Rod End 2014 Tie Rod End 2013 Tie Rod End 2012 Tie Rod End 2011 Tie Rod End 2010 Tie Rod End 2009 Tie Rod End 2008 Tie Rod End 2007 Tie Rod End 2006 Tie Rod End 2005 Tie Rod End 2004 Tie Rod End 2003 Tie Rod End 2002 Tie Rod End 2001 Tie Rod End 2000 Tie Rod End 1999 Tie Rod End 1998 Tie Rod End 1997 Tie Rod End 1996 Tie Rod End 1995 Tie Rod End 1994 Tie Rod End 1993 Tie Rod End 1992 Tie Rod End 1991 Tie Rod End 1990 Tie Rod End 1989 Tie Rod End 1988 Tie Rod End 1987 Tie Rod End 1986 Tie Rod End 1985 Tie Rod End 1984 Tie Rod End 1983 Tie Rod End 1982 Tie Rod End 1981 Tie Rod End 1980 Tie Rod End 1979 Tie Rod End 1978 Tie Rod End 1977 Tie Rod End 1976 Tie Rod End 1975 Tie Rod End 1974 Tie Rod End 1973 Tie Rod End 1972 Tie Rod End 1971 Tie Rod End 1970 Tie Rod End 1969 Tie Rod End

