×
- Live Chat
- 1-888-905-9199


My Garage
My Account
Cart
Genuine Toyota MR2 Control Arm
Suspension Arm- Select Vehicle by Model
- Select Vehicle by VIN
Select Vehicle by Model
orMake
Model
Year
Select Vehicle by VIN
For the most accurate results, select vehicle by your VIN (Vehicle Identification Number).
4 Control Arms found
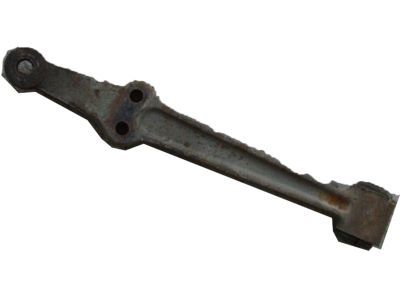
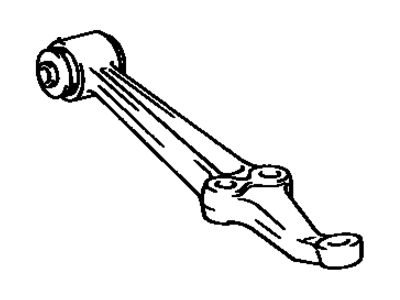
Toyota MR2 Control Arm
If you are in demand for superior quality and affordable OEM Toyota MR2 Control Arm, then shop with us! We own a wide range of the reduced-priced genuine Toyota MR2 Control Arm. You can purchase in confidence as all parts come with a manufacturer's warranty. Any issues with our products? No need to worry as we have a hassle-free return policy to guide you every step of the way.
Toyota MR2 Control Arm Parts Questions & Experts Answers
- Q: How to remove and install the front control arm and Ball Joint on Toyota MR2?A: Subsequently, loosen the wheel lug nuts but do not take them out, the next step is to lift the front side of the vehicle and support it on jackstands. After that, remove tire and wheel assembly, then shut down the car; unscrew and lock the cotter pin and slacken the castellated nut up to the degree that it does not touch the lower ball joint stud. To disconnect the lower arm from the balljoint, one must use a two-jaw puller while at the same time holding the castle nut in such a manner that will enable it to catch the lower arm once puller is used to separate it, the castle nut should then be removed. Originally, the strut bar is connected to the lower arm using two nuts; remove both nuts to isolate it from the lower arm and body, the final bolt provides connection between the lower arm and the body, remove that bolt and the lower arm will be isolated from the body. For fitting, loosely fix the strut bar to the lower arm and the arm to the body, affix the lower arm to the balljoint, tighten the castle nut up to the required torque and fit a new cotter key. Screw the strut bar to the lower arm of the vehicle as well as the arm to the body of the vehicle to the required torque; fit the tire and wheel assembly, where the lug nuts are fastened just enough to be finger tightened before the car is lowered to the ground and the lug nuts are tightened to the recommended torque. As for the advice, it is better to align the wheels after putting everything together on the suspension. For ball joint removal, after the removal of the control arm, remove the two bolts joining the ball joint to the Steering Knuckle and detach the ball joint from the knuckle. To remove the balljoint, turn all the indicated nuts in a counterclockwise direction, then to install the balljoint, reverse the process and tighten the nuts beyond the standard but up to the prescribed torque.


