×
- Live Chat
- 1-888-905-9199


My Garage
My Account
Cart
Genuine Toyota MR2 Intake Manifold
Engine Intake Manifold- Select Vehicle by Model
- Select Vehicle by VIN
Select Vehicle by Model
orMake
Model
Year
Select Vehicle by VIN
For the most accurate results, select vehicle by your VIN (Vehicle Identification Number).
6 Intake Manifolds found
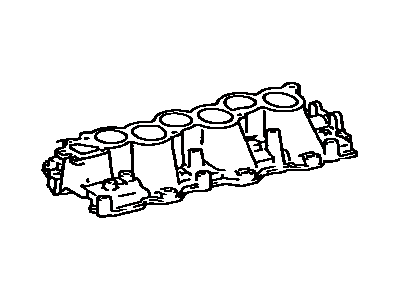
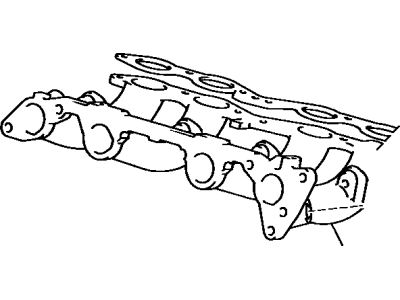
Toyota MR2 Manifold, Intake
Part Number: 17101-16040$242.07 MSRP: $347.12You Save: $105.05 (31%)Ships in 1-3 Business Days
Toyota MR2 Intake Manifold
If you are in demand for superior quality and affordable OEM Toyota MR2 Intake Manifold, then shop with us! We own a wide range of the reduced-priced genuine Toyota MR2 Intake Manifold. You can purchase in confidence as all parts come with a manufacturer's warranty. Any issues with our products? No need to worry as we have a hassle-free return policy to guide you every step of the way.
Toyota MR2 Intake Manifold Parts Questions & Experts Answers
- Q: How to remove and reinstall the intake manifold and air control valve on Toyota MR2?A: Disconnect the cable from the negative terminal of the battery, then raise the vehicle and place it on jackstands. Remove the engine under cover bolts and the under cover, which is located directly underneath the gap between the front underside of the engine and the rear edge of the vehicle pan, by taking out all ten bolts. Drain the engine coolant and remove the duct between the air flow meter and the throttle body. Disconnect the link rod from the throttle cable assembly and remove the accelerator cable bracket. Label and disconnect the four vacuum hoses from the top of the throttle body, as well as the upper and lower BVSV vacuum hoses, the upper and lower EVAP BVSV hoses, the hose between the EGR valve and the EGR vacuum modulator, and the hose between the vacuum transmitting pipe assembly and the air control valve actuator. To prevent confusion during reinstallation, label each vacuum line and the metal pipe from which it is disconnected. Remove the vacuum transmitting pipe assembly mounting bolts from the throttle body, intake manifold, and cylinder head, then take out the vacuum transmitting pipe assembly. Disconnect the threaded EGR pipe fitting and, if necessary, use a thread penetrant to loosen it. Remove the two EGR valve and pipe assembly mounting bolts from the head and the two bolts from the plenum to take out the EGR valve and pipe assembly. Remove the PCV hose from between the rear cylinder cover and the plenum, then disconnect the brake booster hose and, if applicable, the cruise control vacuum hose from the intake manifold, along with the auxiliary air valve hose from underneath the throttle body. Disconnect the electrical connectors from the four fuel injectors, the cold start valve, and the vacuum switching valve for the pressure regulator. Disconnect the cold start valve banjo fitting and the vacuum control hose from the pressure regulator. Remove the pulsation damper and the fuel feed line banjo fitting, noting the two crush washers, and screw the pulsation damper back into the delivery pipe. Disconnect the threaded fuel return line fitting from the pressure regulator before removing the three delivery pipe bolts and the delivery pipe assembly. Ensure that the fuel injectors do not fall from the delivery pipe when detached from the cylinder head. Remove the wire harness retaining strap bolt, fuel feed line retaining bracket bolt, and wire harness ground bolt from the top of the intake manifold. Take out the five bolts from the top side and the four bolts from the underside of the intake manifold, then remove the intake manifold and air control valve assemblies from the cylinder head. It is easier to remove these assemblies one at a time due to tight clearance; loosen the air control valve actuator bracket screws to allow the actuator to drop down far enough for the intake manifold to be removed separately. If reusing the same intake manifold and air control valve, carefully scrape away all old gasket material with a razor blade and measure both for flatness before reinstalling. Installation is the reverse of removal, ensuring to tighten the air control valve/intake manifold bolts to the specified torque.


