×
- Live Chat
- 1-888-905-9199


My Garage
My Account
Cart
Genuine Toyota Prius Engine Control Module
Engine Control Computer- Select Vehicle by Model
- Select Vehicle by VIN
Select Vehicle by Model
orMake
Model
Year
Select Vehicle by VIN
For the most accurate results, select vehicle by your VIN (Vehicle Identification Number).
55 Engine Control Modules found
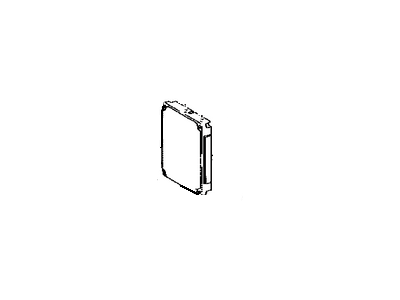
Toyota Prius Ecm Ecu Engine Control Module
Part Number: 89661-47250$535.83 MSRP: $788.75You Save: $252.92 (33%)Ships in 1-3 Business DaysToyota Prius Ecm Ecu Engine Control Module
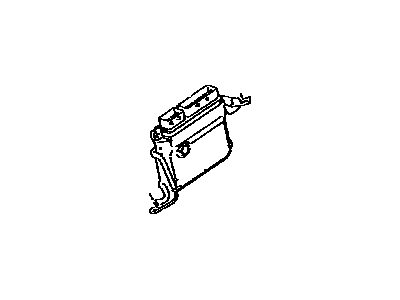
Part Number: 89660-47751$538.43 MSRP: $792.57You Save: $254.14 (33%)Ships in 1-3 Business DaysToyota Prius Ecm Ecu Engine Control Module
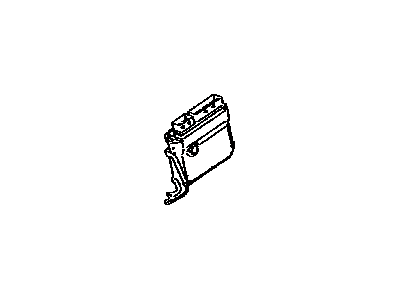
Part Number: 89661-47A00$560.91 MSRP: $825.65You Save: $264.74 (33%)Ships in 1-3 Business DaysToyota Prius Ecm Ecu Engine Control Module
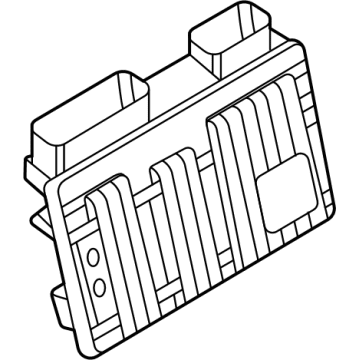
Part Number: 89661-47161$554.03 MSRP: $815.52You Save: $261.49 (33%)Ships in 1-3 Business DaysToyota Prius Ecm Ecu Engine Control Module
Part Number: 89661-47C40$560.02 MSRP: $824.34You Save: $264.32 (33%)Ships in 1-3 Business DaysToyota Prius Ecm Ecu Engine Control Module
Part Number: 89661-47643$581.60 MSRP: $856.11You Save: $274.51 (33%)Ships in 1-3 Business DaysToyota Prius Ecm Ecu Engine Control Module
Part Number: 89661-47653$581.60 MSRP: $856.11You Save: $274.51 (33%)Ships in 1-3 Business DaysToyota Prius Computer, Engine Con
Part Number: 89661-47C80$581.60 MSRP: $856.11You Save: $274.51 (33%)Ships in 1-3 Business DaysToyota Prius COMPUTER, ENGINE CON
Part Number: 89661-47E30$561.75 MSRP: $826.89You Save: $265.14 (33%)Ships in 1-2 Business DaysToyota Prius Ecm Ecu Engine Control Module
Part Number: 89660-47590$538.43 MSRP: $792.57You Save: $254.14 (33%)Ships in 1-3 Business DaysToyota Prius Ecm Ecu Engine Control Module
Part Number: 89661-47140$554.03 MSRP: $815.52You Save: $261.49 (33%)Ships in 1-3 Business DaysToyota Prius Ecm Ecu Engine Control Module
Part Number: 89661-47160$554.03 MSRP: $815.52You Save: $261.49 (33%)Ships in 1-3 Business DaysToyota Prius Ecm Ecu Engine Control Module
Part Number: 89661-47A10$559.23 MSRP: $823.18You Save: $263.95 (33%)Ships in 1-3 Business DaysToyota Prius Computer, Engine Con
Part Number: 89661-47C70$560.02 MSRP: $824.34You Save: $264.32 (33%)Ships in 1-3 Business DaysToyota Prius COMPUTER, ENGINE CON
Part Number: 89661-47E40$560.02 MSRP: $824.34You Save: $264.32 (33%)Ships in 1-2 Business DaysToyota Prius Ecm Ecu Engine Control Module
Part Number: 89661-47641$581.60 MSRP: $856.11You Save: $274.51 (33%)Ships in 1-3 Business DaysToyota Prius Ecm Ecu Engine Control Module
Part Number: 89661-47642$581.60 MSRP: $856.11You Save: $274.51 (33%)Ships in 1-3 Business DaysToyota Prius Ecm Ecu Engine Control Module
Part Number: 89661-47101$610.30 MSRP: $898.36You Save: $288.06 (33%)Ships in 1-3 Business DaysToyota Prius Ecm Ecu Engine Control Module
Part Number: 89661-47054$1058.23 MSRP: $1557.72You Save: $499.49 (33%)Ships in 1-3 Business DaysToyota Prius Ecm Ecu Engine Control Module
Part Number: 89660-47550$425.58 MSRP: $626.45You Save: $200.87 (33%)Ships in 1-3 Business Days
| Page 1 of 3 |Next >
1-20 of 55 Results
Toyota Prius Engine Control Module
If you are in demand for superior quality and affordable OEM Toyota Prius Engine Control Module, then shop with us! We own a wide range of the reduced-priced genuine Toyota Prius Engine Control Module. You can purchase in confidence as all parts come with a manufacturer's warranty. Any issues with our products? No need to worry as we have a hassle-free return policy to guide you every step of the way.
Toyota Prius Engine Control Module Parts Questions & Experts Answers
- Q: How to remove and install Engine Control Module on Toyota Prius?A: To avoid electrostatic discharge damage to the ECM, handle it only by its case and do not touch the electrical terminals during removal and installation. If available, ground yourself to the vehicle with an anti-static ground strap. The ECM is located inside the passenger compartment behind the glove box on 2009 and earlier models, while on 2010 and later models, it is found in the engine compartment. Begin by disconnecting the cable from the negative terminal of the auxiliary 12-volt battery and perform the initialization procedure when reconnecting it. For 2001 through 2003 models, remove the glove compartment door, unplug the four electrical connectors while ensuring the ignition switch is OFF, remove the retaining bolts from the ECM bracket, and carefully take out the ECM, grounding yourself to avoid static electricity damage. Installation is the reverse of removal. For 2004 through 2009 models, remove the entire section of the instrument panel that obstructs access to the ECM, remove the right heater duct, disconnect the eight wiring plugs, unbolt the ECM brackets, and carefully remove the ECM while grounding yourself. Make marks to indicate positions of the brackets for reassembly, and installation is the reverse of removal. For 2010 and later models, remove the two mounting bolts of the coolant reserve tank and move it aside for access to the ECM, remove the relay block cover, disconnect the wiring harnesses, detach the engine compartment wiring harness from the relay block, remove the side cover, unbolt and remove the engine compartment ground cable, release the two wiring harness retainers, disconnect the two ECM wiring harness connectors, detach the two wiring harness clamps, unbolt the ECM, and remove it along with its brackets, with installation being the reverse of removal.
Related Toyota Prius Parts
Browse by Year
2024 Engine Control Module 2023 Engine Control Module 2022 Engine Control Module 2021 Engine Control Module 2020 Engine Control Module 2019 Engine Control Module 2018 Engine Control Module 2017 Engine Control Module 2016 Engine Control Module 2015 Engine Control Module 2014 Engine Control Module 2013 Engine Control Module 2012 Engine Control Module 2011 Engine Control Module 2010 Engine Control Module 2009 Engine Control Module 2008 Engine Control Module 2007 Engine Control Module 2006 Engine Control Module 2005 Engine Control Module 2004 Engine Control Module 2003 Engine Control Module 2002 Engine Control Module 2001 Engine Control Module
