
My Garage
My Account
Cart
Genuine Toyota Prius Piston
Engine Pistons- Select Vehicle by Model
- Select Vehicle by VIN
Select Vehicle by Model
orMake
Model
Year
Select Vehicle by VIN
For the most accurate results, select vehicle by your VIN (Vehicle Identification Number).
8 Pistons found
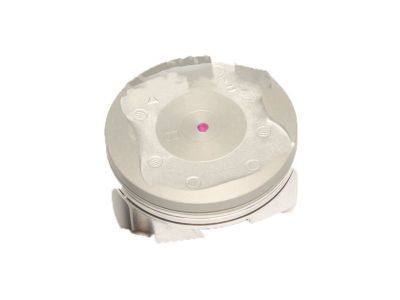
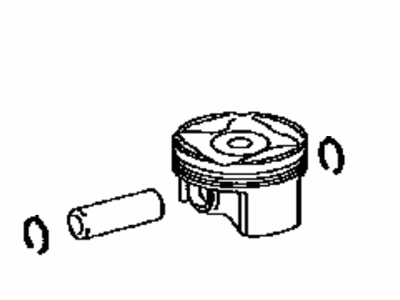
Toyota Prius Piston Sub-Assembly with Pin
Part Number: 13101-37120$86.36 MSRP: $121.74You Save: $35.38 (30%)Ships in 1-3 Business DaysToyota Prius Piston Sub-Assembly with Pin
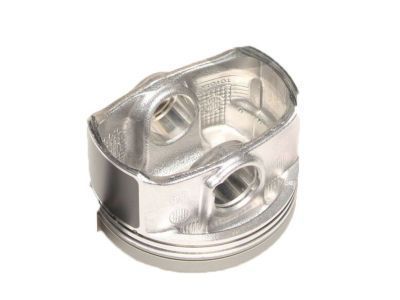
Part Number: 13101-37240$77.87 MSRP: $109.77You Save: $31.90 (30%)Ships in 1-3 Business DaysToyota Prius Piston Sub-Assembly with Pin
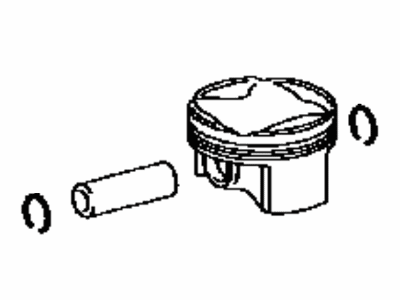
Part Number: 13101-37250$81.53 MSRP: $114.92You Save: $33.39 (30%)Ships in 1-3 Business DaysToyota Prius Piston Sub-Assembly with Pin
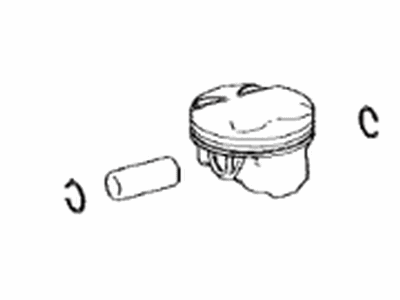
Part Number: 13101-21110$97.93 MSRP: $138.04You Save: $40.11 (30%)Ships in 1-3 Business DaysToyota Prius Piston Sub-Assembly with Pin
Part Number: 13101-21060$67.60 MSRP: $95.30You Save: $27.70 (30%)Ships in 1-3 Business DaysToyota Prius Piston Sub-Assembly with Pin
Part Number: 13101-37260$81.53 MSRP: $114.92You Save: $33.39 (30%)Ships in 1-3 Business DaysToyota Prius Piston Sub-Assembly with Pin
Part Number: 13101-37270$81.53 MSRP: $114.92You Save: $33.39 (30%)Ships in 1-3 Business DaysToyota Prius Piston Sub-Assembly with Pin
Part Number: 13101-24050$127.58 MSRP: $181.37You Save: $53.79 (30%)Ships in 1-3 Business Days
Toyota Prius Piston
If you are in demand for superior quality and affordable OEM Toyota Prius Piston, then shop with us! We own a wide range of the reduced-priced genuine Toyota Prius Piston. You can purchase in confidence as all parts come with a manufacturer's warranty. Any issues with our products? No need to worry as we have a hassle-free return policy to guide you every step of the way.
Toyota Prius Piston Parts Questions & Experts Answers
- Q: How to remove and install Piston on Toyota Prius?A:Before disassembling the piston and connecting rod, the cylinder head, an upper part of the oil pan, and the oil pan itself should be unbolted. Feel with your finger nail if there is a ridge at the top of ring lands when the ring is at the top of its travel, if this is present then it has to be machined using a special tool to eliminate it due to the effects it has on the life of the piston. After bringing out the ridges, turn the Engine Y so the crankshaft stood up and then unbolt the upper oil pan. Finally, before removing the connecting rods, measure the end play with feeler gauges, which should not exceed the service limit; if in this case you have to replace the connecting rods. There must be a sign that will help to differentiate between the two, so Loosen and remove the connecting rod cap and bearing insert but ensure that the insert does not fall. Afterwards, carefully and forcefully push out the connecting rod/piston assembly through the top of the engine, with the help of hammer handle for few more cylinders. After their removal they should be refitted finger tight in order not to damage the caps and inserts. The pistons and connecting rod here are now prepared for inspections and for possible reconditioning if ever the components are worn out. When replacing piston rings, one must examine the end gap of the rings, to get the side of the piston ring clearances right. Orient the piston/connecting rod assemblies and new ring sets in order that matching can be done when installing. Place the top ring on the first cylinder and align it with the inside walls and then try to establish the end gap with the feeler gauges. If the gap is wrong then move it slightly by shaving down the ring ends. Do this for every ring and make sure it is put in the proper piston and cylinder it belongs to. After the end gaps have been confirmed, place the rings on the pistons, the oil control ring in the middle and the remaining two above it which aligns in the right manner. Ensure there is no debris on the cylinder walls and the cylinder edges are refined, while the crankshaft should be properly fit in before installing. Remove metal chips and lubricants from the bearing surfaces and fitted a new upper bearing insert without applying lubrication. Orientation should be made so that the gaps of the piston ring are an equal 90-degree apart, next apply oil on the outer side of the piston and on the grooves of the rings before enclosing it with the help of a piston ring compressor. Place piston/connecting rod assembly with the marked side up and align the piston with the cylinder. Push the piston/connecting rod combination gently into the cylinder and at the same time centre the connecting rodJournal on the connecting rod big end. After the installation, use Plastigage to measure the oil clearance of the connecting rod bearing and after that, clean the surfaces and wipe off the oil. If the clearance is not as specified, check the bearing sizes, journal diameter etc. Next, wipe away any Plastigage material, followed by applying fresh grease or assembly lube to the bearing surfaces, reconnect the connecting rod and cap with the new bolts and torque them progressively. This is done until one is left with the remaining assemblies all of which should be cleaned and properly oriented. Last but not least, turn the crankshaft and examine if it binds or not and at the same time re-measure the connecting rod end-play with necessary re-adjustments.
