
My Garage
My Account
Cart
Genuine Toyota RAV4 Brake Master Cylinder
- Select Vehicle by Model
- Select Vehicle by VIN
Select Vehicle by Model
orMake
Model
Year
Select Vehicle by VIN
For the most accurate results, select vehicle by your VIN (Vehicle Identification Number).
36 Brake Master Cylinders found
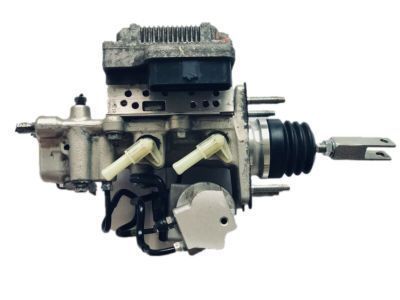
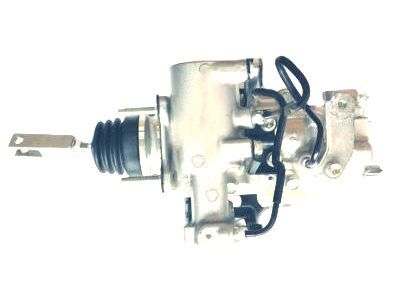
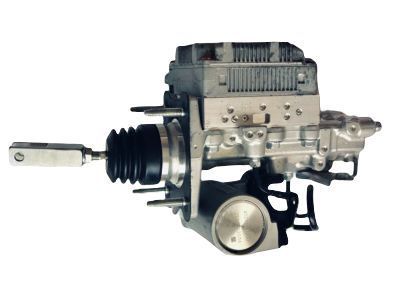
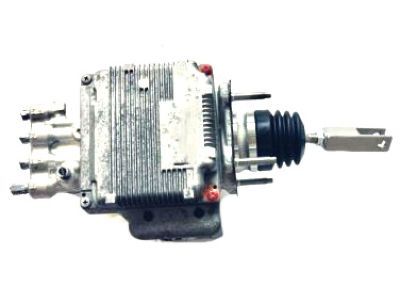
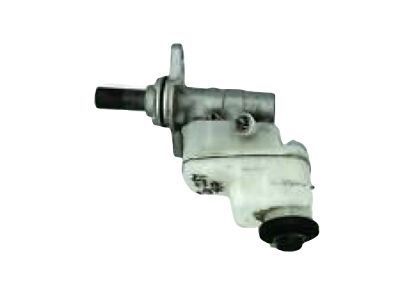
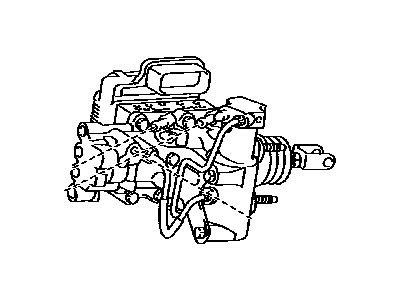
Toyota RAV4 Brake Cylinder Assembly
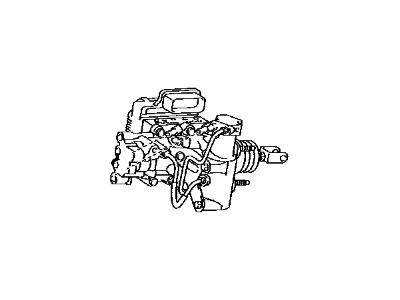
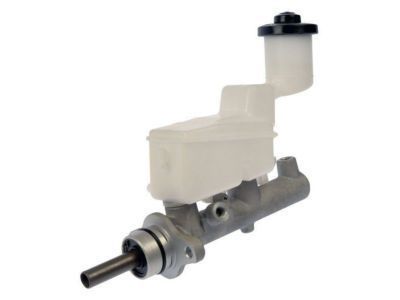
Part Number: 47050-42100$1290.89 MSRP: $1927.48You Save: $636.59 (34%)Ships in 1-3 Business DaysToyota RAV4 Brake Master Cylinder Sub-Assembly W/Plate
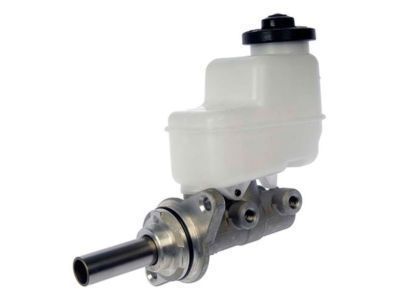
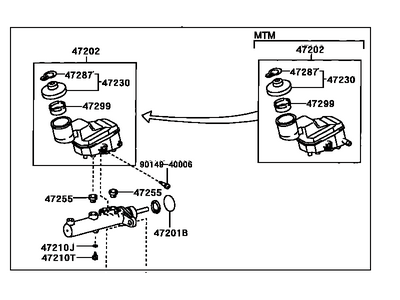
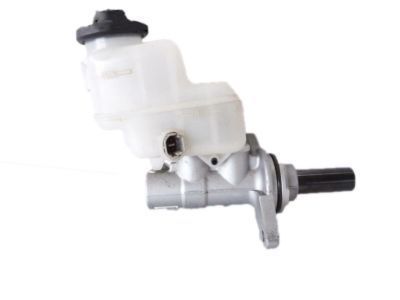
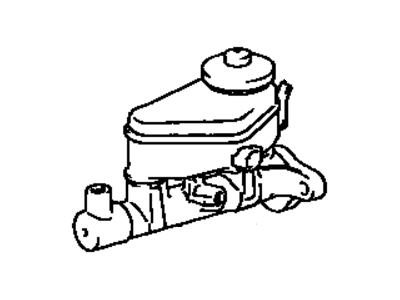
Part Number: 47201-42340$242.54 MSRP: $347.79You Save: $105.25 (31%)Ships in 1-2 Business DaysToyota RAV4 Brake Master Cylinder Sub-Assembly W/Plate
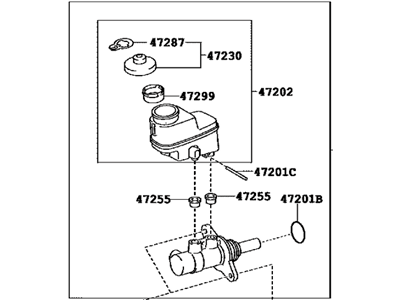
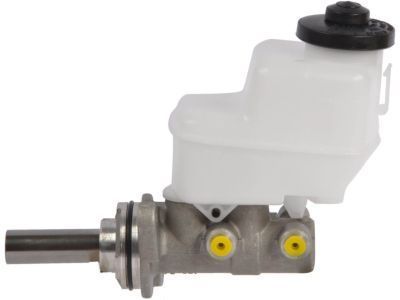
Part Number: 47201-42382$239.76 MSRP: $343.80You Save: $104.04 (31%)Ships in 1-3 Business DaysToyota RAV4 Brake Master Cylinder Sub-Assembly
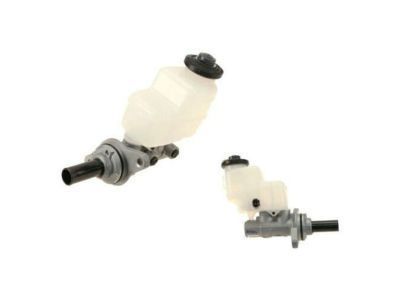
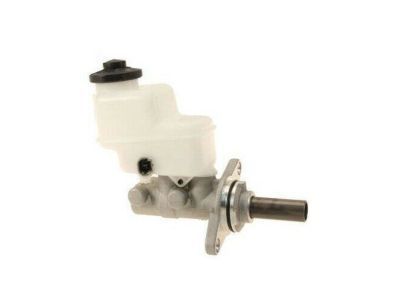
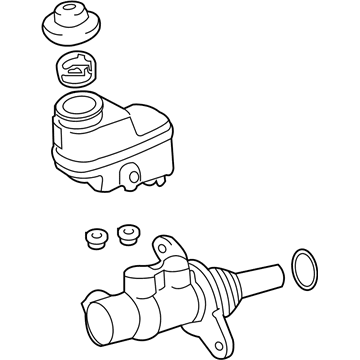
Part Number: 47201-42260$287.44 MSRP: $412.16You Save: $124.72 (31%)Ships in 1 Business DayToyota RAV4 Brake Master Cylinder Sub-Assembly
Part Number: 47201-0R082$184.08 MSRP: $263.96You Save: $79.88 (31%)Ships in 1-3 Business DaysToyota RAV4 Brake Master Cylinder Sub-Assembly W/Plate
Part Number: 47201-42380$239.76 MSRP: $343.80You Save: $104.04 (31%)Ships in 1-3 Business DaysToyota RAV4 Brake Master Cylinder Sub-Assembly
Part Number: 47201-0R070$202.41 MSRP: $290.24You Save: $87.83 (31%)Ships in 1-3 Business DaysToyota RAV4 Brake Master Cylinder Sub-Assembly
Part Number: 47201-0R130$180.95 MSRP: $259.47You Save: $78.52 (31%)Ships in 1-3 Business DaysToyota RAV4 Brake Master Cylinder Sub-Assembly
Part Number: 47201-42240$193.44 MSRP: $277.38You Save: $83.94 (31%)Ships in 1-3 Business DaysToyota RAV4 Brake Cylinder Assembly
Part Number: 47050-42190$1236.42 MSRP: $1846.14You Save: $609.72 (34%)Ships in 1-3 Business DaysToyota RAV4 Brake Cylinder Assembly
Part Number: 47050-42191$1227.84 MSRP: $1833.33You Save: $605.49 (34%)Ships in 1-3 Business DaysToyota RAV4 Brake Master Cylinder Sub-Assembly
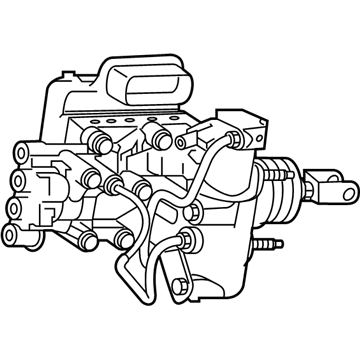
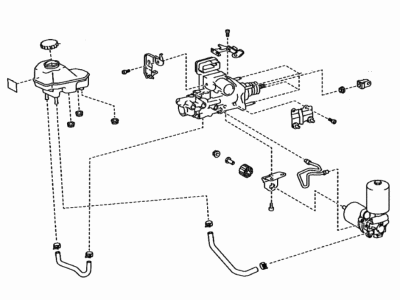
Part Number: 47201-42241$231.76 MSRP: $332.32You Save: $100.56 (31%)Ships in 1-3 Business DaysToyota RAV4 Brake Booster Assembly with Master Cylinder
Part Number: 47210-42020$842.32 MSRP: $1080.31You Save: $237.99 (23%)Ships in 1-3 Business DaysToyota RAV4 Brake Master Cylinder Sub-Assembly
Part Number: 47201-42440$180.95 MSRP: $259.47You Save: $78.52 (31%)Ships in 1-3 Business DaysToyota RAV4 Brake Cylinder Assembly
Part Number: 47050-42320$1361.52 MSRP: $2032.94You Save: $671.42 (34%)Ships in 1-3 Business DaysToyota RAV4 Brake Master Cylinder Sub-Assembly W/Plate
Part Number: 47201-0R080$184.08 MSRP: $263.96You Save: $79.88 (31%)Ships in 1-3 Business DaysToyota RAV4 Brake Master Cylinder Sub-Assembly
Part Number: 47201-42091$184.82 MSRP: $265.02You Save: $80.20 (31%)Ships in 1-3 Business DaysToyota RAV4 Brake Master Cylinder Sub-Assembly
Part Number: 47201-42200$202.76 MSRP: $290.73You Save: $87.97 (31%)
| Page 1 of 2 |Next >
1-20 of 36 Results
Toyota RAV4 Brake Master Cylinder
If you are in demand for superior quality and affordable OEM Toyota RAV4 Brake Master Cylinder, then shop with us! We own a wide range of the reduced-priced genuine Toyota RAV4 Brake Master Cylinder. You can purchase in confidence as all parts come with a manufacturer's warranty. Any issues with our products? No need to worry as we have a hassle-free return policy to guide you every step of the way.
Toyota RAV4 Brake Master Cylinder Parts Questions & Experts Answers
- Q: How to perform the removal and installation of the Brake Master Cylinder and reservoir on a Toyota Rav4?A:With the engine off, pump the brake pedal several times to deplete the vacuum in the power brake booster. Begin by removing the air filter housing cover and unplugging the electrical connector for the fluid level warning switch. Use a suction gun, large syringe, or poultry baster to remove as much fluid as possible from the reservoir, placing rags under the fittings and preparing caps or plastic bags to cover the ends of the lines once disconnected. Pull the brake lines away from the Brake Master Cylinder and plug the ends to prevent contamination. Remove the two nuts attaching the Brake Master Cylinder to the power booster, carefully pulling the Brake Master Cylinder off the studs while avoiding fluid spillage. Discard the old gasket between the Brake Master Cylinder and the power brake booster, and check the O-ring on the end of the Brake Master Cylinder, replacing it if cracked or hardened. Before installing a new or rebuilt Brake Master Cylinder, check the clearance between the booster pushrod and the pocket in the Brake Master Cylinder piston, adjusting the length of the power brake booster pushrod if necessary. Bench bleed the Brake Master Cylinder by mounting it in a vise and attaching a pair of bleeder tubes to the outlet ports, filling the reservoir with the recommended brake fluid. Slowly push the pistons into the Brake Master Cylinder to expel air into the reservoir, repeating until no more air bubbles are present. Remove the bleed tubes one at a time, installing plugs in the open ports to prevent leakage and air entry, then install the reservoir cap. Install the Brake Master Cylinder over the studs on the power brake booster, tightening the nuts only finger-tight and using a new gasket. Thread the brake line fittings into the Brake Master Cylinder, ensuring they thread in easily without stripping. Tighten the mounting nuts and brake line fittings securely, then plug in the electrical connector to the fluid level warning switch. Fill the Brake Master Cylinder reservoir with fluid, then bleed the Brake Master Cylinder and the brake system by having an assistant depress the brake pedal while loosening the fitting to allow air and fluid to escape, repeating until the fluid is clear of air bubbles. Check the operation of the brake system carefully before driving the vehicle. If the brake fluid reservoir becomes damaged or leaks between the reservoir and the Brake Master Cylinder body, it can be replaced separately, and the grommets on the reservoir can be replaced if necessary. Remove as much fluid as possible from the reservoir, placing rags under the Brake Master Cylinder to absorb any fluid that may spill out. Remove the screw retaining the reservoir to the Brake Master Cylinder, then drive out the roll pin with a hammer and punch. Pull the reservoir out of the Brake Master Cylinder body and remove the grommets, replacing them if they are hard, cracked, or damaged. Lubricate the new grommets with clean brake fluid, press them into place, push the reservoir into the grommets, and secure it with the screw. Refill the reservoir with the recommended brake fluid and check for leaks, then bleed the Brake Master Cylinder followed by the remainder of the system.
Related Toyota RAV4 Parts
Browse by Year
2024 Brake Master Cylinder 2023 Brake Master Cylinder 2022 Brake Master Cylinder 2021 Brake Master Cylinder 2020 Brake Master Cylinder 2019 Brake Master Cylinder 2018 Brake Master Cylinder 2017 Brake Master Cylinder 2016 Brake Master Cylinder 2015 Brake Master Cylinder 2014 Brake Master Cylinder 2013 Brake Master Cylinder 2012 Brake Master Cylinder 2011 Brake Master Cylinder 2010 Brake Master Cylinder 2009 Brake Master Cylinder 2008 Brake Master Cylinder 2007 Brake Master Cylinder 2006 Brake Master Cylinder 2005 Brake Master Cylinder 2004 Brake Master Cylinder 2003 Brake Master Cylinder 2002 Brake Master Cylinder 2001 Brake Master Cylinder 2000 Brake Master Cylinder 1999 Brake Master Cylinder 1998 Brake Master Cylinder 1997 Brake Master Cylinder 1996 Brake Master Cylinder
