
My Garage
My Account
Cart
Genuine Toyota RAV4 Coil Springs
Strut Spring- Select Vehicle by Model
- Select Vehicle by VIN
Select Vehicle by Model
orMake
Model
Year
Select Vehicle by VIN
For the most accurate results, select vehicle by your VIN (Vehicle Identification Number).
181 Coil Springs found
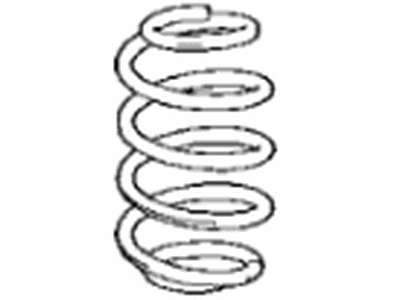
Toyota RAV4 Rear Coil Spring
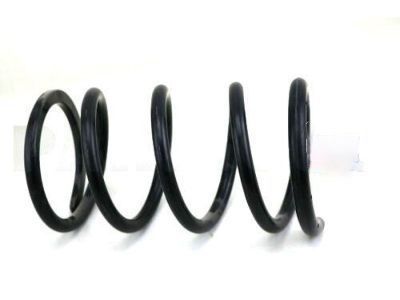
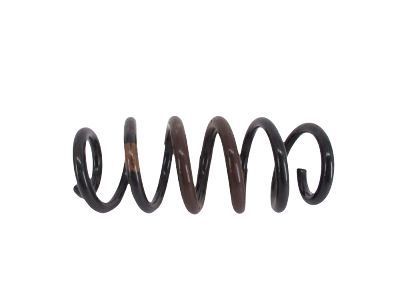
Part Number: 48231-42110$106.90 MSRP: $150.68You Save: $43.78 (30%)Ships in 1-3 Business DaysToyota RAV4 Rear Coil Spring
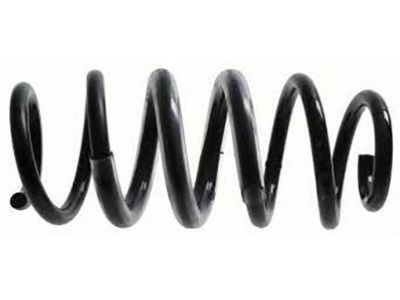
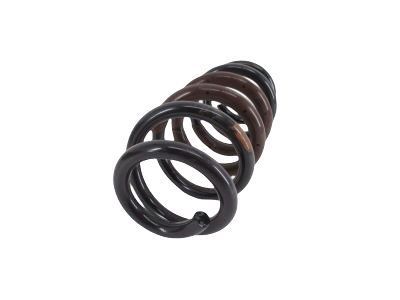
Part Number: 48231-42180$92.03 MSRP: $129.73You Save: $37.70 (30%)Ships in 1-3 Business DaysToyota RAV4 Rear Coil Spring
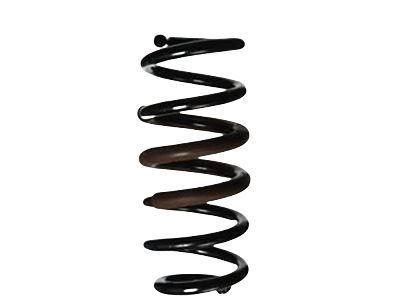
Part Number: 48231-0R020$92.03 MSRP: $129.73You Save: $37.70 (30%)Ships in 1-3 Business DaysToyota RAV4 Rear Coil Spring
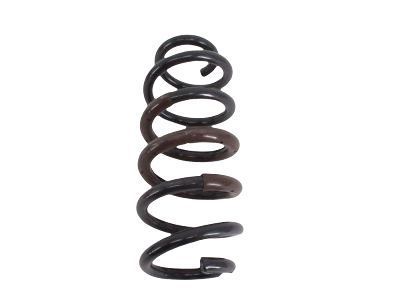
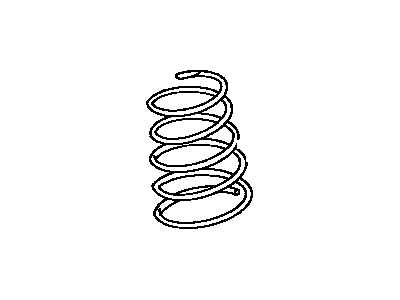
Part Number: 48231-0R050$98.40 MSRP: $138.70You Save: $40.30 (30%)Ships in 1-3 Business DaysToyota RAV4 Rear Coil Spring
Part Number: 48231-42210$94.15 MSRP: $132.72You Save: $38.57 (30%)Ships in 1-3 Business DaysToyota RAV4 Rear Coil Spring
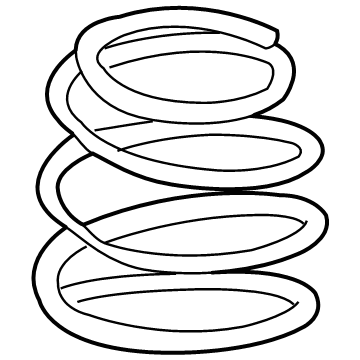
Part Number: 48231-42130$106.90 MSRP: $150.68You Save: $43.78 (30%)Ships in 1-3 Business DaysToyota RAV4 Front Coil Spring
Part Number: 48131-0R190$72.79 MSRP: $102.62You Save: $29.83 (30%)Ships in 1-3 Business DaysToyota RAV4 Rear Coil Spring
Part Number: 48231-0R281$77.03 MSRP: $108.59You Save: $31.56 (30%)Ships in 1-3 Business DaysToyota RAV4 Rear Coil Spring
Part Number: 48231-0R261$72.44 MSRP: $102.12You Save: $29.68 (30%)Ships in 1-3 Business DaysToyota RAV4 Front Coil Spring
Part Number: 48131-42430$96.43 MSRP: $135.93You Save: $39.50 (30%)Ships in 1-3 Business DaysToyota RAV4 Front Coil Spring
Part Number: 48131-0R330$67.37 MSRP: $94.96You Save: $27.59 (30%)Ships in 1-3 Business DaysToyota RAV4 Rear Coil Spring
Part Number: 48231-42010$65.91 MSRP: $92.92You Save: $27.01 (30%)Ships in 1-3 Business DaysToyota RAV4 Front Coil Spring
Part Number: 48131-42A80$73.15 MSRP: $103.11You Save: $29.96 (30%)Ships in 1-3 Business DaysToyota RAV4 Front Coil Spring
Part Number: 48131-42181$75.98 MSRP: $107.10You Save: $31.12 (30%)Ships in 1-3 Business DaysToyota RAV4 Rear Coil Spring
Part Number: 48231-42021$77.03 MSRP: $108.59You Save: $31.56 (30%)Ships in 1-3 Business DaysToyota RAV4 Front Coil Spring
Part Number: 48131-42A60$79.87 MSRP: $112.59You Save: $32.72 (30%)Ships in 1-3 Business DaysToyota RAV4 Front Coil Spring
Part Number: 48131-0R040$84.59 MSRP: $119.25You Save: $34.66 (30%)Ships in 1-3 Business DaysToyota RAV4 Front Coil Spring
Part Number: 48131-0R100$90.49 MSRP: $127.56You Save: $37.07 (30%)Ships in 1-3 Business DaysToyota RAV4 Rear Coil Spring
Part Number: 48231-42171$85.66 MSRP: $120.74You Save: $35.08 (30%)Ships in 1-3 Business Days
| Page 1 of 10 |Next >
1-20 of 181 Results
Toyota RAV4 Coil Springs
If you are in demand for superior quality and affordable OEM Toyota RAV4 Coil Springs, then shop with us! We own a wide range of the reduced-priced genuine Toyota RAV4 Coil Springs. You can purchase in confidence as all parts come with a manufacturer's warranty. Any issues with our products? No need to worry as we have a hassle-free return policy to guide you every step of the way.
Toyota RAV4 Coil Springs Parts Questions & Experts Answers
- Q: How to Remove and Replace Coil Springs on a Toyota Rav4?A:Loosen the wheel lug nuts, raise the vehicle, and support it securely on jackstands while blocking the front wheels to prevent rolling, then remove the wheel. Detach the stabilizer bar link from the lower suspension arm. Support the lower suspension arm with a floor jack, unbolt the outer end of the lower suspension arm from the knuckle, and slowly lower the arm until the coil spring is extended, then remove the coil spring. Check the spring for cracks and chips, replacing the springs as a set if any defects are found, and also inspect the upper insulator for damage and deterioration, replacing it if necessary. For installation, reverse the removal process, ensuring the lower end of the coil spring is positioned in the depressed area of the arm, and tighten all fasteners to the specified torque values, using the floor jack to raise the suspension to simulate normal ride height before tightening.
Related Toyota RAV4 Parts
Browse by Year
2024 Coil Springs 2023 Coil Springs 2022 Coil Springs 2021 Coil Springs 2020 Coil Springs 2019 Coil Springs 2018 Coil Springs 2017 Coil Springs 2016 Coil Springs 2015 Coil Springs 2014 Coil Springs 2013 Coil Springs 2012 Coil Springs 2011 Coil Springs 2010 Coil Springs 2009 Coil Springs 2008 Coil Springs 2007 Coil Springs 2006 Coil Springs 2005 Coil Springs 2004 Coil Springs 2003 Coil Springs 2002 Coil Springs 2001 Coil Springs 2000 Coil Springs 1999 Coil Springs 1998 Coil Springs 1997 Coil Springs 1996 Coil Springs
