×
- Live Chat
- 1-888-905-9199


My Garage
My Account
Cart
Genuine Toyota Sienna Alternator
Generator- Select Vehicle by Model
- Select Vehicle by VIN
Select Vehicle by Model
orMake
Model
Year
Select Vehicle by VIN
For the most accurate results, select vehicle by your VIN (Vehicle Identification Number).
8 Alternators found
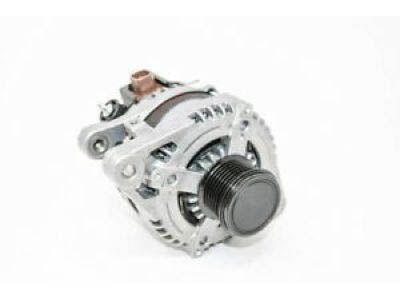
Toyota Sienna Alternator Assembly W/Regulator
Part Number: 27060-0P241$289.24 MSRP: $387.48You Save: $98.24 (26%)Ships in 1-3 Business DaysToyota Sienna Alternator Assembly W/Regulator
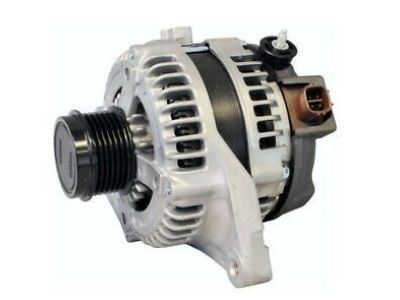
Part Number: 27060-0V080$320.15 MSRP: $459.07You Save: $138.92 (31%)Toyota Sienna Alternator Assembly
Part Number: 27060-0A040$253.49 MSRP: $339.33You Save: $85.84 (26%)Ships in 1-3 Business DaysToyota Sienna Alternator Assembly
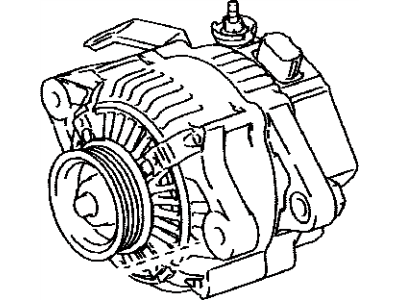
Part Number: 27060-0P240$289.24 MSRP: $387.48You Save: $98.24 (26%)Ships in 1-3 Business DaysToyota Sienna Alternator Assembly
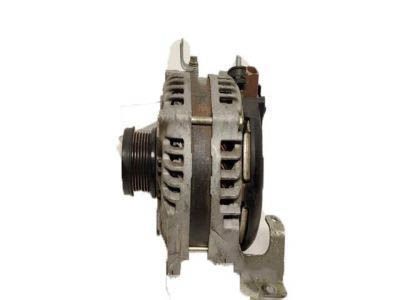
Part Number: 27060-0A110$715.05 MSRP: $1052.55You Save: $337.50 (33%)Ships in 1-3 Business DaysToyota Sienna Alternator Assembly
Part Number: 27060-0A100$407.86 MSRP: $600.36You Save: $192.50 (33%)Ships in 1-3 Business DaysToyota Sienna Alternator Assembly
Part Number: 27060-0A130$472.85 MSRP: $696.04You Save: $223.19 (33%)Ships in 1-3 Business DaysToyota Sienna Alternator Assembly W/Regulator
Part Number: 27060-0P420$346.56 MSRP: $510.13You Save: $163.57 (33%)
Toyota Sienna Alternator
If you are in demand for superior quality and affordable OEM Toyota Sienna Alternator, then shop with us! We own a wide range of the reduced-priced genuine Toyota Sienna Alternator. You can purchase in confidence as all parts come with a manufacturer's warranty. Any issues with our products? No need to worry as we have a hassle-free return policy to guide you every step of the way.
Toyota Sienna Alternator Parts Questions & Experts Answers
- Q: How to remove and install the alternator on Toyota Sienna?A: To expel the alternator on 2006 and prior years you have to initially disconnecting the negative cable from the battery then reaming the electrical connectors from the alternator. Relax the alternator setting and centering screws, with the former removing the centering bolt, and the latter removing the lock bolt followed by the pivot bolt, and finally tightening the setting screw in anti clock wise direction until the drive belt tension is released and the belt can be removed. To detach the alternator from the engine bracket and the adjustment bracket, unscrew the adjustment and pivot bolts. Starting with the 2007 models, first, remove the engine cover, then open the hood, and loosen the lug nuts on the right front wheel, using the car's jack and jack stands, raise the Ford properly, then, remove the right front wheel. First, remove the engine lower splash shield and the right inner fender splash shield, next drain the engine coolant, and remove both air filter inlet tubes and the battery. Move on to the front bumper and energy absorber, then to the radiator and cooling fan unit, and, finally, cut the serpentine drive belt. The wiring, that is connected to the alternator including the air conditioning compressor wiring, should be disconnected, the bolts from the front of the alternator should be removed as well as the bolt at the rear bracket, the remaining wiring harness clamp should be disconnected and the alternator should then be lifted off. When fitting a new or rebuilt alternator, the terminal number size and location and ,identification marks, should be the same to that of the old unit. If needed, replace the pulley from the old alternator to a new one; also, find out the policy for pulley installation from the shop. This is done in the reverse procedure to removal and after reinstalling, you should tension the drive belt and check the charging voltage of the alternator.
Related Toyota Sienna Parts
Browse by Year
2020 Alternator 2019 Alternator 2018 Alternator 2017 Alternator 2016 Alternator 2015 Alternator 2014 Alternator 2013 Alternator 2012 Alternator 2011 Alternator 2010 Alternator 2009 Alternator 2008 Alternator 2007 Alternator 2006 Alternator 2005 Alternator 2004 Alternator 2003 Alternator 2002 Alternator 2001 Alternator 2000 Alternator 1999 Alternator 1998 Alternator


