×
- Live Chat
- 1-888-905-9199


My Garage
My Account
Cart
Genuine Toyota Supra Hood Cable
Hood Release Cable- Select Vehicle by Model
- Select Vehicle by VIN
Select Vehicle by Model
orMake
Model
Year
Select Vehicle by VIN
For the most accurate results, select vehicle by your VIN (Vehicle Identification Number).
15 Hood Cables found
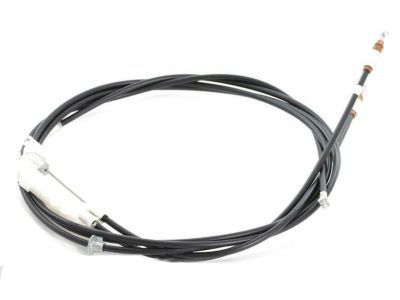
Toyota Supra Cable Assy, Hood Lock Control
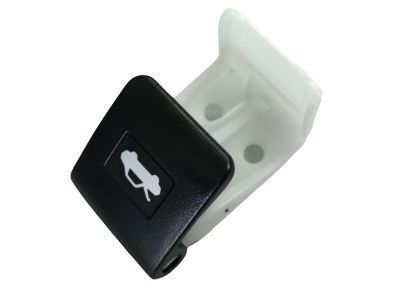
Part Number: 53630-14300$69.55 MSRP: $98.03You Save: $28.48 (30%)Ships in 1 Business DayToyota Supra Lever Sub-Assy, Hood Lock Control
Part Number: 53601-20081-C0$57.87 MSRP: $80.88You Save: $23.01 (29%)Ships in 1-3 Business DaysToyota Supra Lever Sub-Assy, Hood Lock Control
Part Number: 53601-20060-46$63.00 MSRP: $88.81You Save: $25.81 (30%)Ships in 1-3 Business DaysToyota Supra Lever Sub-Assy, Hood Lock Control
Part Number: 53601-89102-12$66.73 MSRP: $94.07You Save: $27.34 (30%)Ships in 1-3 Business DaysToyota Supra Lever Sub-Assy, Hood Lock Control
Part Number: 53601-89102-22$67.06 MSRP: $94.53You Save: $27.47 (30%)Ships in 1-3 Business DaysToyota Supra Lever Sub-Assy, Hood Lock Control
Part Number: 53601-20060-15$68.51 MSRP: $96.57You Save: $28.06 (30%)Ships in 1-3 Business DaysToyota Supra Lever Sub-Assy, Hood Lock Control
Part Number: 53601-20060-24$68.51 MSRP: $96.57You Save: $28.06 (30%)Ships in 1-3 Business DaysToyota Supra Lever Sub-Assy, Hood Lock Control
Part Number: 53601-20060-32$68.51 MSRP: $96.57You Save: $28.06 (30%)Ships in 1-3 Business DaysToyota Supra Lever Sub-Assy, Hood Lock Control
Part Number: 53601-20060-33$68.51 MSRP: $96.57You Save: $28.06 (30%)Ships in 1-3 Business DaysToyota Supra Lever Sub-Assy, Hood Lock Control
Part Number: 53601-89102-16$42.03 MSRP: $58.76You Save: $16.73 (29%)Ships in 1-3 Business DaysToyota Supra Lever Sub-Assy, Hood Lock Control
Part Number: 53601-89102-23$42.03 MSRP: $58.76You Save: $16.73 (29%)Ships in 1-3 Business DaysToyota Supra Lever Sub-Assy, Hood Lock Control
Part Number: 53601-89102-24$42.03 MSRP: $58.76You Save: $16.73 (29%)Ships in 1-3 Business Days
Toyota Supra Hood Cable
If you are in demand for superior quality and affordable OEM Toyota Supra Hood Cable, then shop with us! We own a wide range of the reduced-priced genuine Toyota Supra Hood Cable. You can purchase in confidence as all parts come with a manufacturer's warranty. Any issues with our products? No need to worry as we have a hassle-free return policy to guide you every step of the way.
Toyota Supra Hood Cable Parts Questions & Experts Answers
- Q: How do you remove and install the Hood Cable and latch on Toyota Supra?A: To epair the hood, begin by releasing the three screws which are located on the dashboard left under the cover. Subsequently, use a screwdriver for the removal of the two tiny screws that do not require the application of force, then remove the outer fuse box cover, set aside the fuses and then pull out the kick panel cover using its two small screws. To release the cable just pull the small spaken handle towards you and unscrew the bolts to release the lever, pull the lever back and disconnect the cable form it. Then, disconnect the left front inner fender panel to determine the position of the cable path. The same with the main middle bolt this will require the removal of the under-hood cable, after that both ends will have to be pulled through the wheel well. For installation, carry out the steps in the reverse order making sure that the latch release mechanism works well, safety catch is in the right position and the hood well secured when shut. Fine tune the hood latch; allow removal of the mounting bolts and the latch repositioned in the desirable position. Regarding the liftgate, first, disconnect the rear and left side of the luggage compartment trim. Next, still to the existing driver seat, uninstall the sill plate, and then retract the carpet where the cable and the release lever are fitted. It is necessary to disconnect the cable from the latch, take out the nut which fixes the release lever and disconnect the cable from the lever. Connect the end of the new cable to the end of the old one and feed both through from the release lever end, gently pulling off the top of the left rear armrest cover to help in this process. Remove the three mounting bolts of the rear latch and then disconnect the light connector. The process of installation is carried out in the opposite sequence to the process of removal.


