
My Garage
My Account
Cart
Genuine Toyota Supra Window Regulator
Electric Power Window Regulator- Select Vehicle by Model
- Select Vehicle by VIN
Select Vehicle by Model
orMake
Model
Year
Select Vehicle by VIN
For the most accurate results, select vehicle by your VIN (Vehicle Identification Number).
8 Window Regulators found
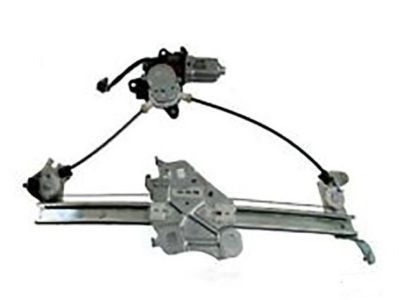
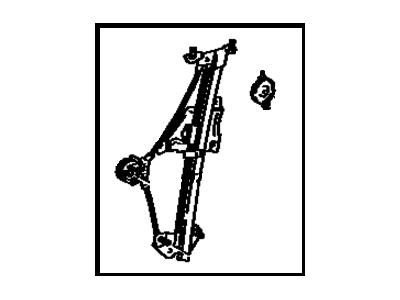
Toyota Supra Regulator Assy, Front Door Window, LH
Part Number: 69820-14180$432.67 MSRP: $636.88You Save: $204.21 (33%)Ships in 1 Business DayToyota Supra Regulator Sub-Assy, Front Door Window, LH
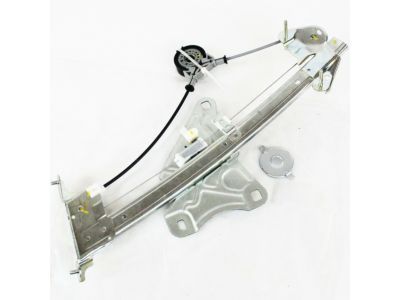
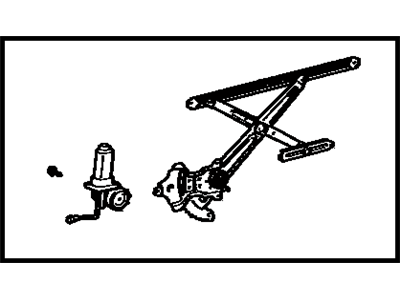
Part Number: 69802-14111$119.56 MSRP: $169.98You Save: $50.42 (30%)Ships in 1-3 Business DaysToyota Supra Regulator Sub-Assy, Front Door Window, RH
Part Number: 69801-14111$119.56 MSRP: $169.98You Save: $50.42 (30%)Ships in 1-2 Business DaysToyota Supra Regulator Sub-Assy, Front Door Window, LH
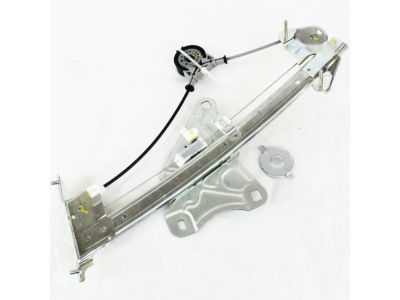
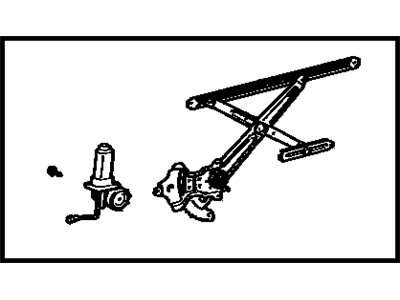
Part Number: 69802-14110$119.56 MSRP: $169.98You Save: $50.42 (30%)Ships in 1-3 Business DaysToyota Supra Regulator Assy, Front Door Window, RH
Part Number: 69810-14190$432.67 MSRP: $636.88You Save: $204.21 (33%)Ships in 1-3 Business DaysToyota Supra Regulator Sub-Assy, Front Door Window, RH
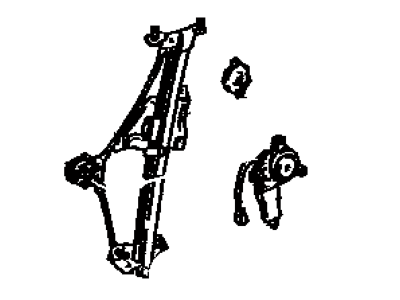
Part Number: 69801-14110$119.56 MSRP: $169.98You Save: $50.42 (30%)Ships in 1-3 Business Days
Toyota Supra Window Regulator
If you are in demand for superior quality and affordable OEM Toyota Supra Window Regulator, then shop with us! We own a wide range of the reduced-priced genuine Toyota Supra Window Regulator. You can purchase in confidence as all parts come with a manufacturer's warranty. Any issues with our products? No need to worry as we have a hassle-free return policy to guide you every step of the way.
Toyota Supra Window Regulator Parts Questions & Experts Answers
- Q: How to remove and install the Window Regulator on Toyota Supra?A: For the purpose of gaining access to the area of interest, one needs to pop the hood, and then, depending on the make and year of a car, perform the following actions, Ok, first, take off the door trim panel and service hole cover and, for the cars manufactured between 1982 and 1986, also take off the upper trim panel of the door. Subsequently, take out the door mirror, and scratch or paint on the two window-to-glass channel nuts before throwing them away. Take out the retaining screws to undo the upper stopper, trim support, and inner stabilizer of the frame. Angling and pulling the window glass away from the glass channel studs, lift the glass and remove it from the door. If necessary, unbolt the regulator and displacing it out of the door opening after first taking out the mounting bolts. For reinstallation, apply multi-purpose grease on the sliding areas of the regulator and also the spring and gears; then, revert the process of removal. When incorporating the belt molding, it is appropriate to hand pound it down gently. It goes without saying that before the trim panel is set on, door glass should be checked to proper functioning and any adjustments made as necessary. Also check that the door opening to body alignment and installed position is acceptable, the glass to belt moulding contact and to TRIM SUPPORTS adjust as necessary. Slide the glass left and right and tilt the upper tip of the glass guide if it needs to be aligned. The direction at which the glass has been inclined can easily be changed by moving around the equalizer, while the upper glass contact can be changed by the two glass guide's tip adjuster bolts. Lastly, splay the front and rear upper stoppers in order to set the upper position of the glass, wherein when closed, the roller of the inner stabilizer will just lightly touch on the glass.
