×
- Live Chat
- 1-888-905-9199


My Garage
My Account
Cart
Genuine Toyota Tacoma Shock Absorber
Suspension Shock Absorber- Select Vehicle by Model
- Select Vehicle by VIN
Select Vehicle by Model
orMake
Model
Year
Select Vehicle by VIN
For the most accurate results, select vehicle by your VIN (Vehicle Identification Number).
116 Shock Absorbers found
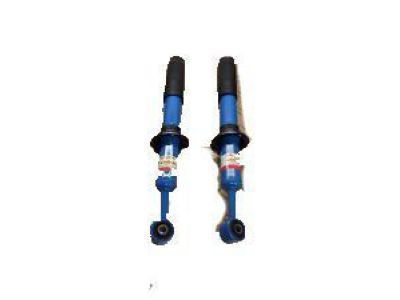
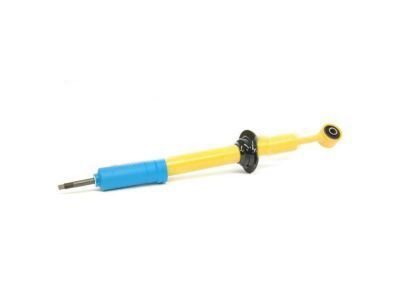
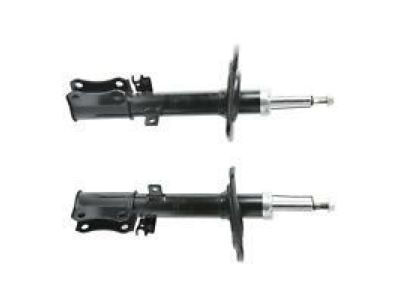
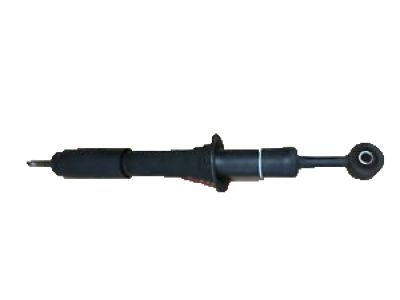
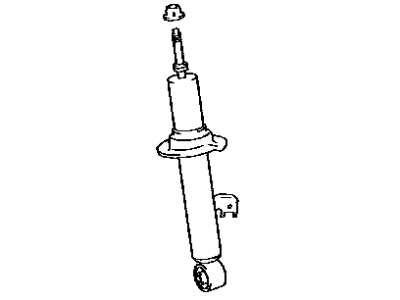
Toyota Tacoma Shock Absorber Assembly Front Right
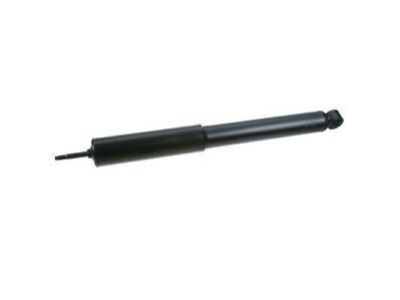
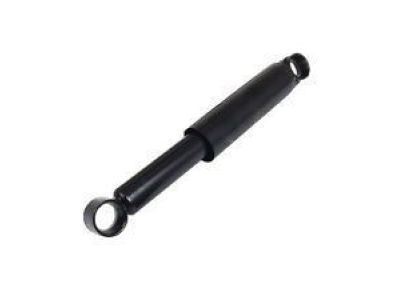
Part Number: 48510-8Z253$108.78 MSRP: $153.35You Save: $44.57 (30%)Ships in 1-3 Business DaysToyota Tacoma Shock Absorber Assembly Rear Left
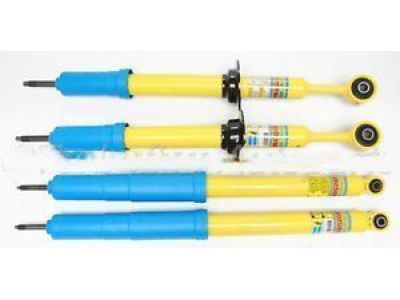
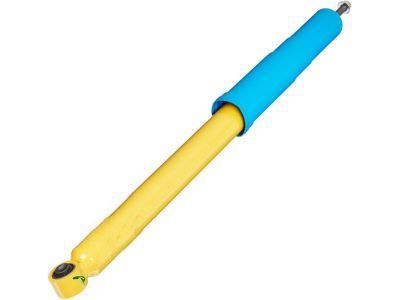
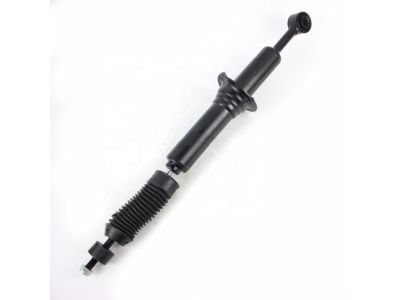
Part Number: 48530-A9680$42.59 MSRP: $59.53You Save: $16.94 (29%)Ships in 1-3 Business DaysToyota Tacoma Shock Absorber Assembly Front Left
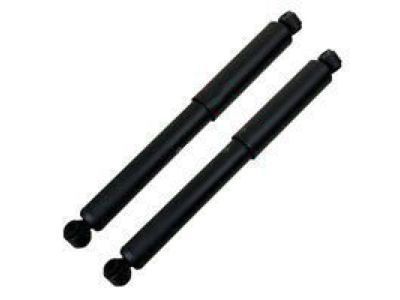
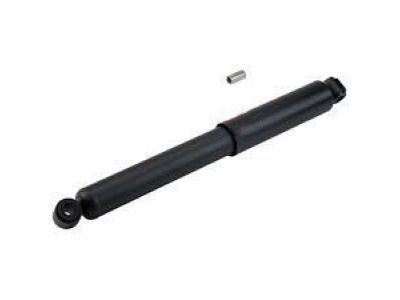
Part Number: 48510-09U61$107.49 MSRP: $151.52You Save: $44.03 (30%)Ships in 1-3 Business DaysToyota Tacoma Shock Absorber Assembly Rear Left
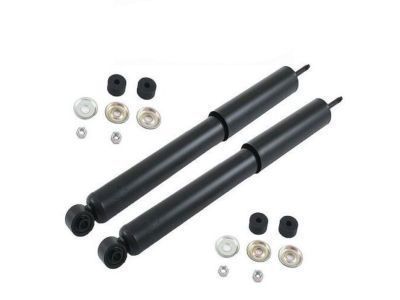
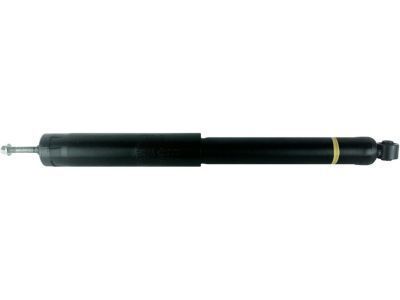
Part Number: 48540-09530$43.30 MSRP: $60.53You Save: $17.23 (29%)Ships in 1-3 Business DaysToyota Tacoma Shock Absorber Assembly Rear Right
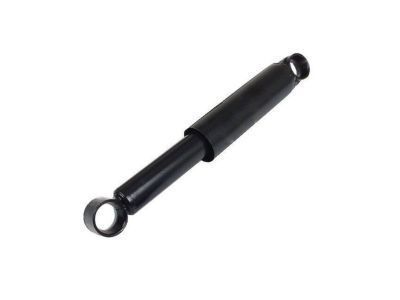
Part Number: 48531-A9020$60.05 MSRP: $84.65You Save: $24.60 (30%)Ships in 1-3 Business DaysToyota Tacoma Shock Absorber Assembly Rear Right
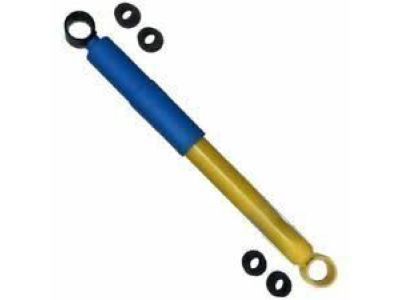
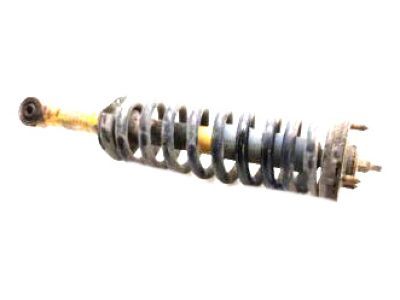
Part Number: 48530-09E40$44.02 MSRP: $61.53You Save: $17.51 (29%)Ships in 1-3 Business DaysToyota Tacoma Shock Absorber Assembly Rear Left
Part Number: 48530-A9340$62.29 MSRP: $87.81You Save: $25.52 (30%)Ships in 1-2 Business DaysToyota Tacoma Shock Absorber Assembly Rear Left
Part Number: 48541-A9010$63.47 MSRP: $89.48You Save: $26.01 (30%)Ships in 1-3 Business DaysToyota Tacoma Shock Absorber Assembly Front Right
Part Number: 48510-A9630$117.63 MSRP: $165.82You Save: $48.19 (30%)Ships in 1-2 Business DaysToyota Tacoma Shock Absorber Assembly Rear Left
Part Number: 48541-A9020$56.04 MSRP: $78.33You Save: $22.29 (29%)Ships in 1-3 Business DaysToyota Tacoma Shock Absorber Assembly Rear Right
Part Number: 48531-80695$58.18 MSRP: $81.32You Save: $23.14 (29%)Ships in 1-2 Business DaysToyota Tacoma Shock Absorber Assembly Rear Left
Part Number: 48541-39335$56.04 MSRP: $78.33You Save: $22.29 (29%)Ships in 1-2 Business DaysToyota Tacoma Shock Absorber Assembly Rear Left
Part Number: 48530-09895$77.99 MSRP: $109.93You Save: $31.94 (30%)Ships in 1-3 Business DaysToyota Tacoma Shock Absorber Assembly Front Left
Part Number: 48510-09U50$122.37 MSRP: $173.97You Save: $51.60 (30%)Ships in 1-3 Business DaysToyota Tacoma Shock Absorber Assembly Front Left
Part Number: 48510-09L80$129.27 MSRP: $183.78You Save: $54.51 (30%)Ships in 1-2 Business DaysToyota Tacoma Shock Absorber Assembly Rear Right
Part Number: 48530-09Q40$45.92 MSRP: $64.19You Save: $18.27 (29%)Ships in 1-2 Business DaysToyota Tacoma Shock Absorber Assembly Front Left
Part Number: 48510-A9050$103.59 MSRP: $146.02You Save: $42.43 (30%)Ships in 1-2 Business DaysToyota Tacoma Shock Absorber Assembly
Part Number: 48510-8Z447$132.20 MSRP: $187.94You Save: $55.74 (30%)Ships in 1-3 Business DaysToyota Tacoma Shock Absorber Assembly
Part Number: 48510-8Z448$133.37 MSRP: $189.60You Save: $56.23 (30%)Ships in 1-3 Business DaysToyota Tacoma Shock Absorber Assembly
Part Number: 48530-8Z078$46.87 MSRP: $65.52You Save: $18.65 (29%)
| Page 1 of 6 |Next >
1-20 of 116 Results
Toyota Tacoma Shock Absorber
If you are in demand for superior quality and affordable OEM Toyota Tacoma Shock Absorber, then shop with us! We own a wide range of the reduced-priced genuine Toyota Tacoma Shock Absorber. You can purchase in confidence as all parts come with a manufacturer's warranty. Any issues with our products? No need to worry as we have a hassle-free return policy to guide you every step of the way.
Toyota Tacoma Shock Absorber Parts Questions & Experts Answers
- Q: How to remove and replace front shock absorbers and coil springs on 2005 through 2009 Toyota Tacoma?A: In the case of the shocks or coil springs it is imperative to think twice before proceeding to perform any work on them; as these are not field repairable items, and if they leak fluid, cause loss of damping ability, or have cosmetic and visible tells such as chips or cracks, they must be replaced. Spare complete assemblies could perhaps be availed from an exchange basis depending on individual circumstances, thus requires that the cost and availability of the particular part before embarking on a wiping exercise of the vehicle be considered. Start by removing the front wheel lugs, preferably by taking the vehicle on a raise using jack stands and detaching the wheels. On 4×4 and Pre-Runner versions, unbolt the lower engine splash guard and the stabilizer bar along with links; it's necessary to disconnect the links from the steering stock. Taking into consideration the models with 2WD, you must disconnect the brake hose connected to the shock absorber, as well as unweld the upper Control Arm. After that, unlock the two nuts on the lower mounting of the shock absorber assembly to the lower control arm while paying attention to the driveaxle to cover it while pushing the bolt in as far as possible. Whilst loosening the upper mounting nuts, support the shock absorber assembly and avoid to turn the damper rod nut of the spring-in status. Once the shock absorber assembly has been detached, check on it and the coil spring for damages, and replace data that is damaged. Clamp the shock/coil assembly in a bench vise without bending/damaging the shock body and thereafter mount a spring compressor using the manufacturer's guide and compress the spring just to the extent that one can wiggle it. As the damper rod remains in the eye, unscrew the damper rod nut; then withdraw the components above the spring starting with the one on the top. After that, dismantle the compressed spring assembly and check all rubber elements, washers and suspension support for the signs of the wear and apply the new parts if needed. Introducing starts counter to the process of disassembling, guaranteeing that the coil spring gets into its rightful position nicely, and then, after a new nut to the damper rod has been tightened to a fixed torque, the spring tension is released. Lastly, installation is the process of doing the complete opposite to removal and after putting all fasteners as tight as possible up to the torque that is recommended, the brake hose bracket is secured properly.
Related Toyota Tacoma Parts
Browse by Year
2025 Shock Absorber 2024 Shock Absorber 2023 Shock Absorber 2022 Shock Absorber 2021 Shock Absorber 2020 Shock Absorber 2019 Shock Absorber 2018 Shock Absorber 2017 Shock Absorber 2016 Shock Absorber 2015 Shock Absorber 2014 Shock Absorber 2013 Shock Absorber 2012 Shock Absorber 2011 Shock Absorber 2010 Shock Absorber 2009 Shock Absorber 2008 Shock Absorber 2007 Shock Absorber 2006 Shock Absorber 2005 Shock Absorber 2004 Shock Absorber 2003 Shock Absorber 2002 Shock Absorber 2001 Shock Absorber 2000 Shock Absorber 1999 Shock Absorber 1998 Shock Absorber 1997 Shock Absorber 1996 Shock Absorber 1995 Shock Absorber
