
My Garage
My Account
Cart
Genuine Toyota Tundra Car Speakers
Audio Speakers- Select Vehicle by Model
- Select Vehicle by VIN
Select Vehicle by Model
orMake
Model
Year
Select Vehicle by VIN
For the most accurate results, select vehicle by your VIN (Vehicle Identification Number).
51 Car Speakers found
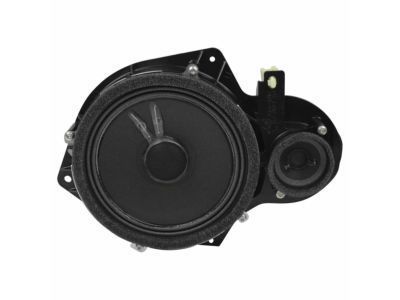
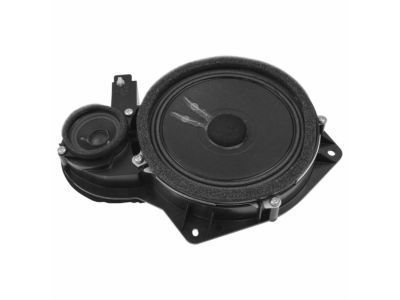
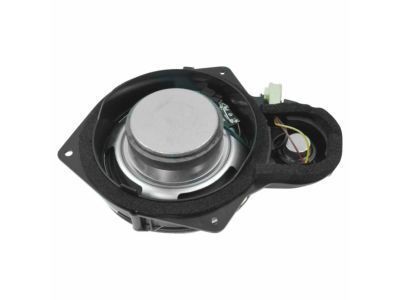
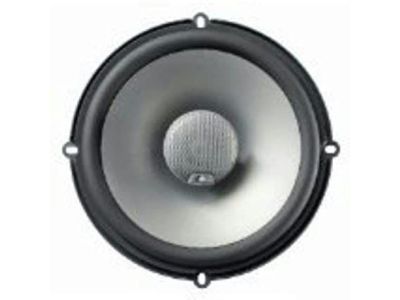
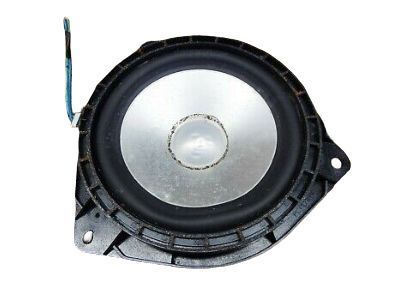
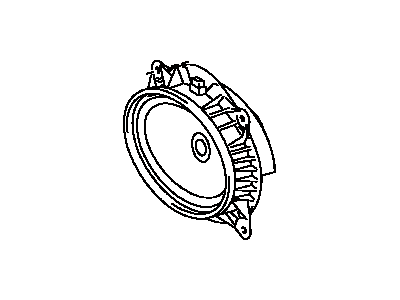
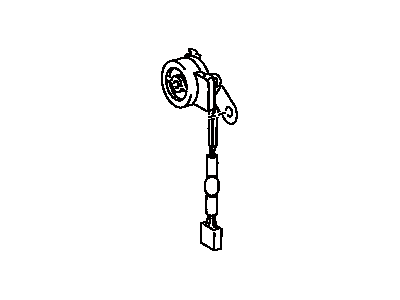
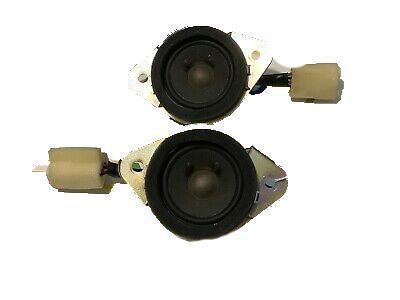
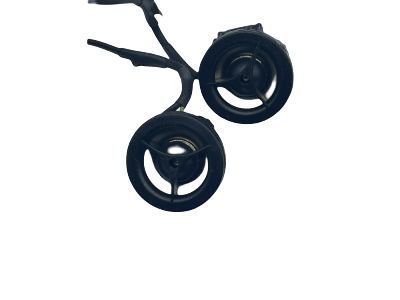
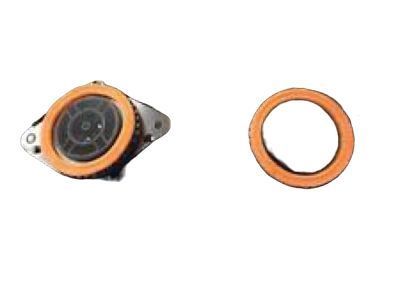
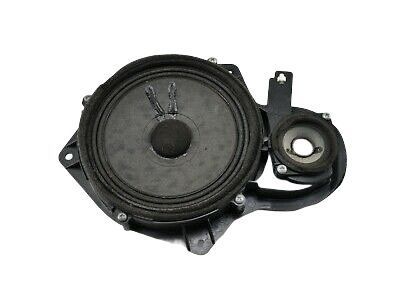
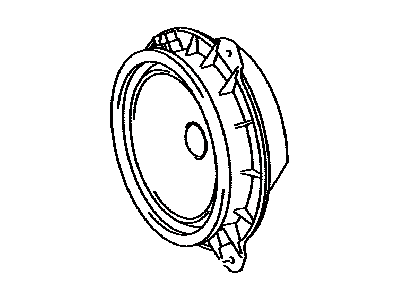
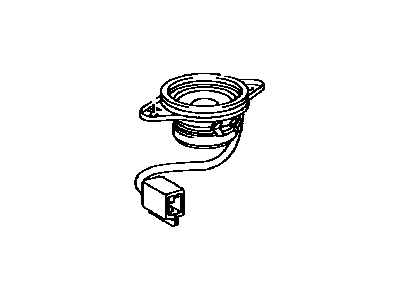
Toyota Tundra Front Speaker Assembly
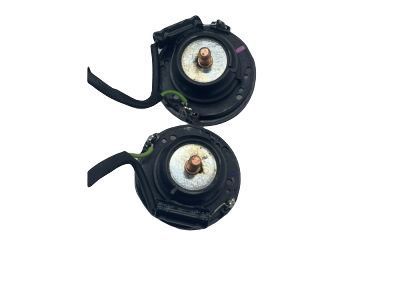
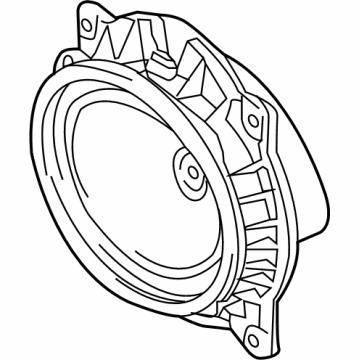
Part Number: 86160-AF060$261.22 MSRP: $363.04You Save: $101.82 (29%)Ships in 1-3 Business DaysToyota Tundra Front Speaker Assembly
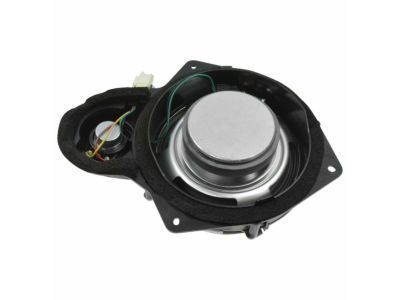
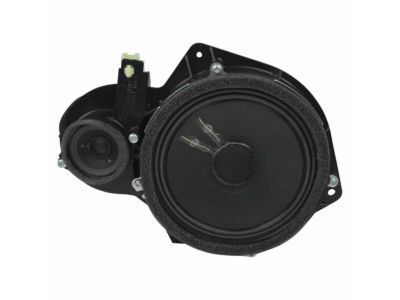
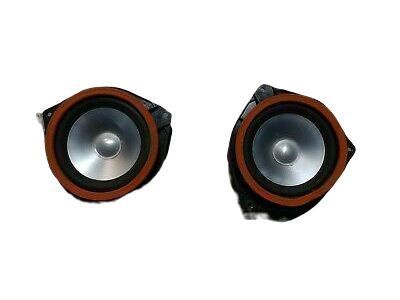
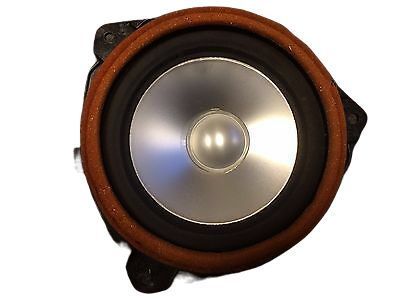
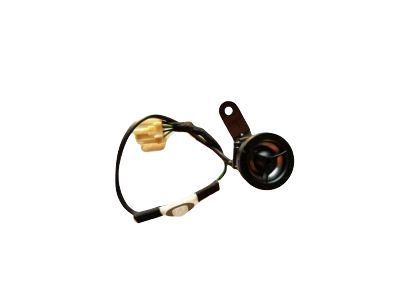
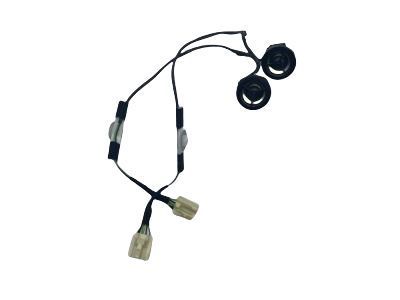
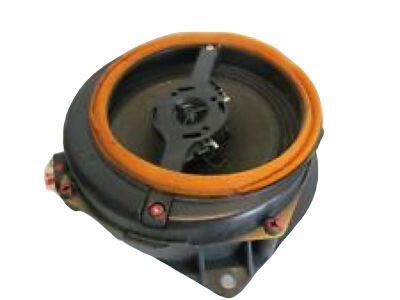
Part Number: 86160-AF070$261.22 MSRP: $363.04You Save: $101.82 (29%)Toyota Tundra Radio Speaker Assembly
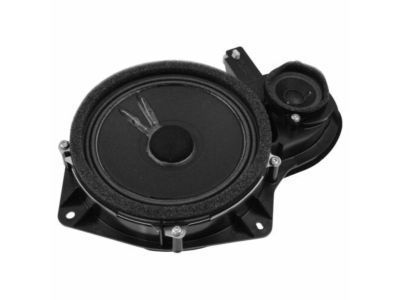
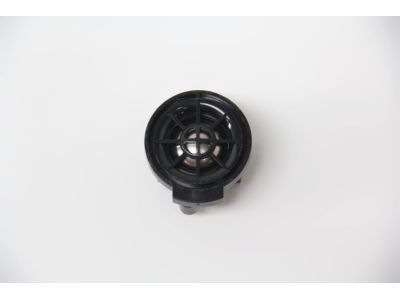
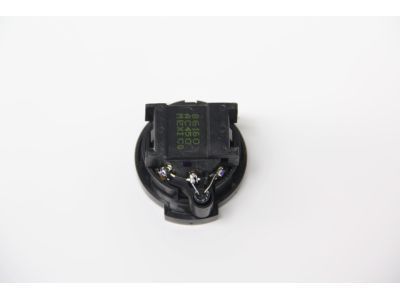
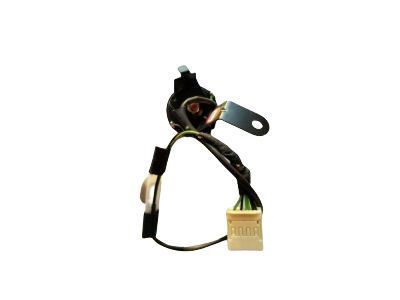
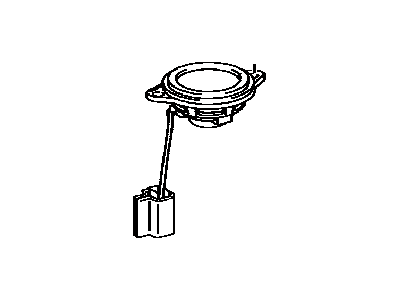
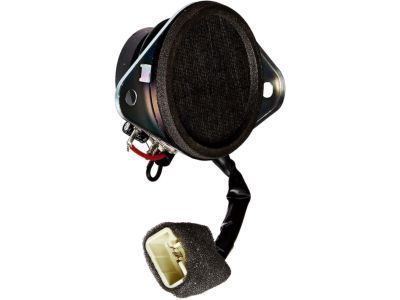
Part Number: 86160-AC450$88.61 MSRP: $121.06You Save: $32.45 (27%)Ships in 1-2 Business DaysToyota Tundra Front Speaker Assembly
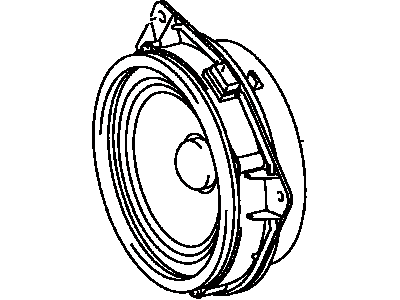
Part Number: 86160-0C150$124.94 MSRP: $172.16You Save: $47.22 (28%)Ships in 1-2 Business DaysToyota Tundra Radio Speaker Assembly
Part Number: 86160-AC280$170.57 MSRP: $235.03You Save: $64.46 (28%)Ships in 1-3 Business DaysToyota Tundra Front Speaker Assembly
Part Number: 86160-AA440$187.55 MSRP: $268.93You Save: $81.38 (31%)Ships in 1-3 Business DaysToyota Tundra Front Speaker Assembly
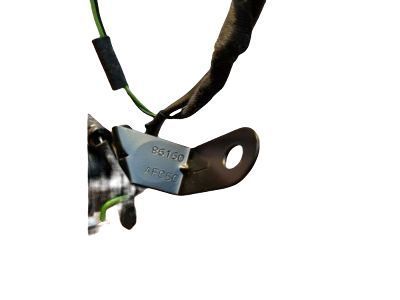
Part Number: 86160-AF050$49.02 MSRP: $66.41You Save: $17.39 (27%)Toyota Tundra Radio Speaker Assembly
Part Number: 86160-0C230$56.99 MSRP: $77.21You Save: $20.22 (27%)Ships in 1-3 Business DaysToyota Tundra Front Speaker Assembly
Part Number: 86160-AF040$49.02 MSRP: $66.41You Save: $17.39 (27%)Ships in 1-3 Business DaysToyota Tundra Radio Speaker Assembly
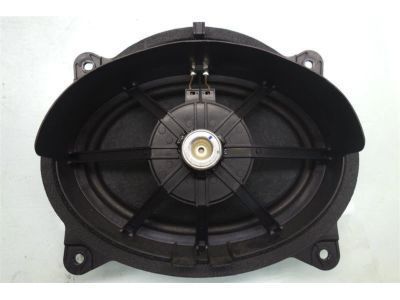
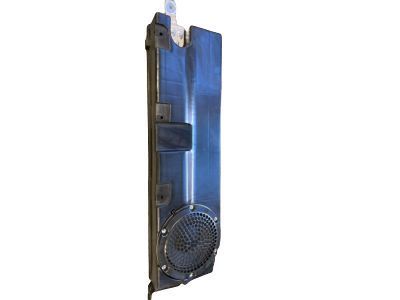
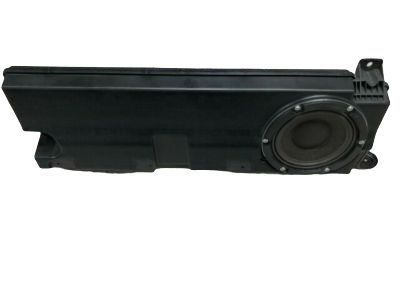
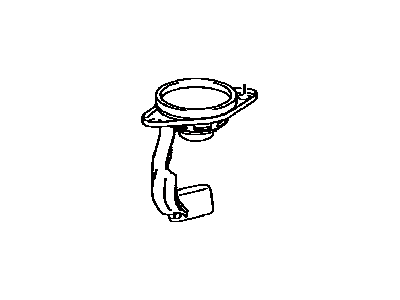
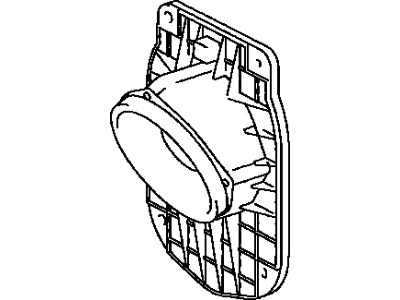
Part Number: 86160-AE010$120.39 MSRP: $171.16You Save: $50.77 (30%)Ships in 1-3 Business DaysToyota Tundra Speaker Assembly with Box
Part Number: 86150-0C040$353.78 MSRP: $511.52You Save: $157.74 (31%)Ships in 1-3 Business DaysToyota Tundra Radio Speaker Assembly
Part Number: 86160-0C070$153.61 MSRP: $211.66You Save: $58.05 (28%)Ships in 1-3 Business DaysToyota Tundra Radio Speaker Assembly
Part Number: 86160-02B40$71.14 MSRP: $97.19You Save: $26.05 (27%)Ships in 1-3 Business DaysToyota Tundra Radio Speaker Assembly
Part Number: 86160-AC290$138.54 MSRP: $196.96You Save: $58.42 (30%)Ships in 1-3 Business DaysToyota Tundra Speaker Assembly with Box
Part Number: 86150-0C020$604.78 MSRP: $875.21You Save: $270.43 (31%)Ships in 1-3 Business DaysToyota Tundra Radio Speaker Assembly
Part Number: 86160-0E340$42.95 MSRP: $58.18You Save: $15.23 (27%)Ships in 1-3 Business DaysToyota Tundra Radio Speaker Assembly
Part Number: 86160-0C220$113.27 MSRP: $146.25You Save: $32.98 (23%)Ships in 1-3 Business DaysToyota Tundra SPEAKER ASSY, VEHICL
Part Number: 86570-34040$54.97 MSRP: $76.84You Save: $21.87 (29%)Ships in 1-3 Business DaysToyota Tundra Radio Speaker Assembly
Part Number: 86160-AC260$216.91 MSRP: $311.03You Save: $94.12 (31%)Ships in 1-3 Business Days
| Page 1 of 3 |Next >
1-20 of 51 Results
Toyota Tundra Car Speakers
If you are in demand for superior quality and affordable OEM Toyota Tundra Car Speakers, then shop with us! We own a wide range of the reduced-priced genuine Toyota Tundra Car Speakers. You can purchase in confidence as all parts come with a manufacturer's warranty. Any issues with our products? No need to worry as we have a hassle-free return policy to guide you every step of the way.
Toyota Tundra Car Speakers Parts Questions & Experts Answers
- Q: How to remove and install Car Speakers and the rear seat entertainment system on a Toyota Tundra?A:On 2015 and later models equipped with a navigation system or rear seat entertainment system, wait at least 1 minute after turning the ignition switch to the OFF position before disconnecting the cable from the negative battery terminal to prevent damage to the navigation system. Begin by detaching the cable from the negative terminal of the battery. Next, remove the driver's side lower trim panel, instrument cluster trim panel, lower instrument trim panel, and cup holder panel. For floor shift models, turn the shift knob counterclockwise to remove it, then take off the console trim shift panels. On 2014 and later models, the air conditioning control assembly should also be removed. Proceed to remove the radio fasteners, including mounting bolts, detach the radio from the instrument panel, and disconnect the electrical connectors and antenna lead before pulling the radio out. The installation process is the reverse of removal. For the navigation receiver, repeat the removal of the driver's side lower trim panel, instrument cluster trim panel, lower instrument trim panel, and cup holder panel, followed by the shift knob and console trim shift panels for floor shift models. Remove the air conditioning control assembly on 2014 and later models, then take out the navigation receiver fasteners, pull out the receiver and bracket assembly, and disconnect the antenna lead and electrical connector. Remove the receiver and bracket assembly from the instrument panel, detach the bracket fasteners, and separate the bracket from the receiver, with installation being the reverse of removal. For door speakers, all models have at least one speaker in each door, with Tundra (Crew Max) or Sequoia models featuring a pair of rear speakers. To remove a door-mounted speaker, take off the door trim panel, remove retaining screws for the lower speaker, and disengage the three mounting clips for the upper speaker on Crew Max and Sequoia models. Disconnect the electrical connector and remove the speaker(s), with installation being the reverse of removal. For dash-mounted speakers, remove the A-pillar trim panel, pry up the speaker grille, take out the speaker retaining screws, unplug the electrical connector, and remove the speaker from the dash, with installation being the reverse of removal. For floor-mounted speakers in CrewMax models, remove the rear seats, then take off the back panel fasteners and pry the panel out, starting with the right side due to overlapping panels. Remove the speaker box retaining bolts, unplug the electrical connector, and take out the speakers, with installation being the reverse of removal. For rear seat entertainment in Sequoia models, use a plastic trim stick to disengage the four clips of the overhead light assembly, disconnect the electrical connector, and remove the assembly. Disengage the wiring harness retainer, disconnect the electrical connector to the video display assembly, and move the harness out of the way. Support the rear video display while removing the four mounting bolts, then disengage the retaining clips and remove the display assembly. If necessary, remove the video display assembly mounting bracket by taking off the four mounting bolts and disengaging the retaining clips. Installation is the reverse of removal, ensuring that the mounting bolts are tightened securely.
Related Toyota Tundra Parts
Browse by Year
2024 Car Speakers 2023 Car Speakers 2022 Car Speakers 2021 Car Speakers 2020 Car Speakers 2019 Car Speakers 2018 Car Speakers 2017 Car Speakers 2016 Car Speakers 2015 Car Speakers 2014 Car Speakers 2013 Car Speakers 2012 Car Speakers 2011 Car Speakers 2010 Car Speakers 2009 Car Speakers 2008 Car Speakers 2007 Car Speakers 2006 Car Speakers 2005 Car Speakers 2004 Car Speakers 2003 Car Speakers 2002 Car Speakers 2001 Car Speakers 2000 Car Speakers
