×
- Live Chat
- 1-888-905-9199


My Garage
My Account
Cart
Genuine Toyota Tundra Center Console Base
- Select Vehicle by Model
- Select Vehicle by VIN
Select Vehicle by Model
orMake
Model
Year
Select Vehicle by VIN
For the most accurate results, select vehicle by your VIN (Vehicle Identification Number).
135 Center Console Bases found
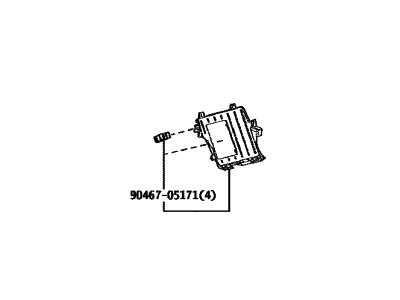
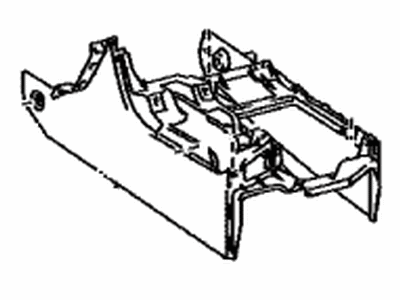
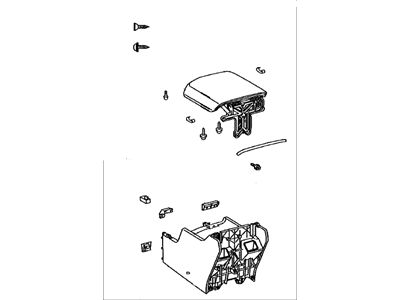
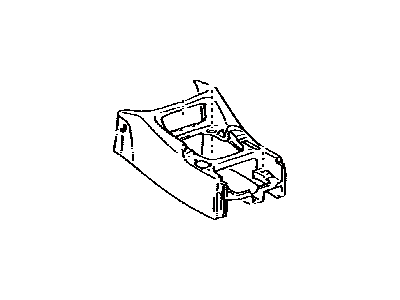
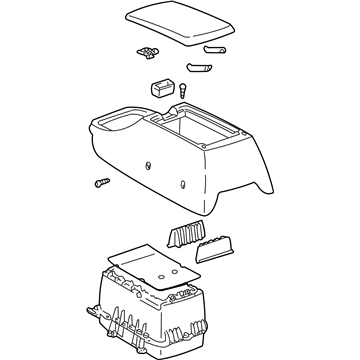
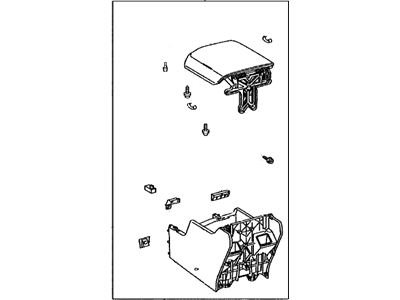
Toyota Tundra BOX SUB-ASSY, CONSOL
Part Number: 58802-0C020-C1$39.25 MSRP: $54.86You Save: $15.61 (29%)Ships in 1-3 Business DaysToyota Tundra Box, Console
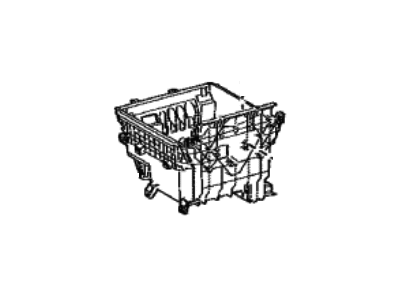
Part Number: 58811-0C050-C0$149.54 MSRP: $212.59You Save: $63.05 (30%)Ships in 1-3 Business DaysToyota Tundra Box Assembly, Console, R
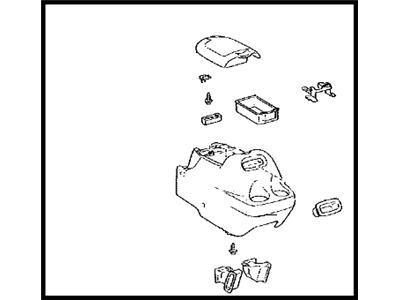
Part Number: 58910-0C261-C1$634.24 MSRP: $933.59You Save: $299.35 (33%)Ships in 1-3 Business DaysToyota Tundra BOX SUB-ASSY, CONSOL
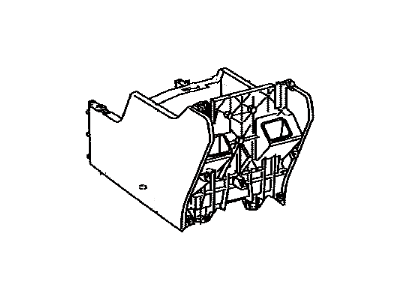
Part Number: 58802-0C030-C1$32.68 MSRP: $45.68You Save: $13.00 (29%)Ships in 1-3 Business DaysToyota Tundra Box Assembly, Console
Part Number: 58810-0C040-E1$174.99 MSRP: $248.76You Save: $73.77 (30%)Ships in 1-3 Business DaysToyota Tundra Box Sub-Assy, Console, Rear
Part Number: 58901-0C010-B2$222.09 MSRP: $318.47You Save: $96.38 (31%)Ships in 1-3 Business DaysToyota Tundra Box Assembly, Console, R
Part Number: 58910-0C260-C1$634.24 MSRP: $933.59You Save: $299.35 (33%)Ships in 1-3 Business DaysToyota Tundra Box Assembly, Console, R
Part Number: 58910-0C280-C4$657.84 MSRP: $968.34You Save: $310.50 (33%)Ships in 1-3 Business DaysToyota Tundra Box Sub-Assy, Console, Rear
Part Number: 58901-0C010-E1$228.95 MSRP: $328.30You Save: $99.35 (31%)Ships in 1-3 Business DaysToyota Tundra BOX, CONSOLE, RR
Part Number: 58911-0C070-C1$149.54 MSRP: $212.59You Save: $63.05 (30%)Ships in 1-3 Business DaysToyota Tundra Box, Console
Part Number: 58811-0C051-C0$149.54 MSRP: $212.59You Save: $63.05 (30%)Ships in 1-3 Business DaysToyota Tundra Box Assy, Console, Rear
Part Number: 58910-0C021-B1$572.35 MSRP: $842.49You Save: $270.14 (33%)Ships in 1-3 Business DaysToyota Tundra Box Assembly, Console, R
Part Number: 58910-0C280-C3$657.84 MSRP: $968.34You Save: $310.50 (33%)Ships in 1-3 Business DaysToyota Tundra Box Assembly, Console, R
Part Number: 58910-0C161-C2$873.66 MSRP: $1286.03You Save: $412.37 (33%)Ships in 1-3 Business DaysToyota Tundra Box Assembly, Console
Part Number: 58810-0C020-B1$247.93 MSRP: $355.50You Save: $107.57 (31%)Ships in 1-3 Business DaysToyota Tundra Box Assembly, Console Co
Part Number: 58820-0C131-C0$318.71 MSRP: $457.01You Save: $138.30 (31%)Ships in 1-3 Business DaysToyota Tundra Box Assembly, Console, R
Part Number: 58910-0C290-C5$657.87 MSRP: $968.39You Save: $310.52 (33%)Ships in 1-3 Business DaysToyota Tundra Box Assembly, Console, R
Part Number: 58910-0C082-C2$795.32 MSRP: $1170.70You Save: $375.38 (33%)Ships in 1-3 Business DaysToyota Tundra Box Assembly, Console, R
Part Number: 58910-0C171-C1$873.73 MSRP: $1286.13You Save: $412.40 (33%)Ships in 1-3 Business DaysToyota Tundra Box Assembly, Console, R
Part Number: 58910-0C171-C2$873.66 MSRP: $1286.03You Save: $412.37 (33%)Ships in 1-3 Business Days
| Page 1 of 7 |Next >
1-20 of 135 Results
Toyota Tundra Center Console Base
If you are in demand for superior quality and affordable OEM Toyota Tundra Center Console Base, then shop with us! We own a wide range of the reduced-priced genuine Toyota Tundra Center Console Base. You can purchase in confidence as all parts come with a manufacturer's warranty. Any issues with our products? No need to worry as we have a hassle-free return policy to guide you every step of the way.
Toyota Tundra Center Console Base Parts Questions & Experts Answers
- Q: How do you remove the front, rear, and roof console on Toyota Tundra?A: To begin with the front console for floor shift models, disconnect the negative battery cable. Insert the key into the shift lock slot, place the lever in the neutral position, and unscrew the manual shift lever knob. Carefully pry the cup holder console panel, disengaging the clips along its perimeter, and detach the cup holder from the center console. Remove the plastic Phillips head screw in the center, pry the clip out of the shifter trim panel, and then remove the shifter trim panel by prying it up and disengaging the clips. Pry the end panel off of the console, disconnect the electrical connectors, open the armrest, remove the carpet, and then take out the console mounting fasteners along with the rear section of the console. Next, remove the console fasteners and lift out the front section of the console. For installation, follow the reverse order of removal. For the rear console in Sequoia models, use a trim tool to disengage the clips and retainer, carefully separate the cup holder panel from the rear console, lift it up, disconnect the electrical connectors, and remove the panel. Open the rear console, remove the storage tray and mat from the bottom, then remove the mounting bolts, lifting the rear of the console to disengage the clamp and remove it. Installation follows the reverse order of removal. For the roof console in Tundra models, on long console types, use a plastic trim tool to carefully pry out the rear light lens, while on short console types, open the storage lid and sunglass lid. Remove the front and rear fasteners, lower the console, and disconnect the wiring. Installation is again the reverse of removal.
Related Toyota Tundra Parts
Browse by Year
2024 Center Console Base 2023 Center Console Base 2022 Center Console Base 2021 Center Console Base 2020 Center Console Base 2019 Center Console Base 2018 Center Console Base 2017 Center Console Base 2016 Center Console Base 2015 Center Console Base 2014 Center Console Base 2013 Center Console Base 2012 Center Console Base 2011 Center Console Base 2010 Center Console Base 2009 Center Console Base 2008 Center Console Base 2007 Center Console Base 2006 Center Console Base 2005 Center Console Base 2004 Center Console Base 2003 Center Console Base 2002 Center Console Base 2001 Center Console Base 2000 Center Console Base
