×
- Live Chat
- 1-888-905-9199


My Garage
My Account
Cart
Genuine Toyota Tundra Piston
Engine Pistons- Select Vehicle by Model
- Select Vehicle by VIN
Select Vehicle by Model
orMake
Model
Year
Select Vehicle by VIN
For the most accurate results, select vehicle by your VIN (Vehicle Identification Number).
83 Pistons found
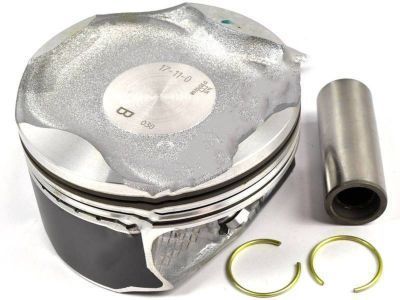
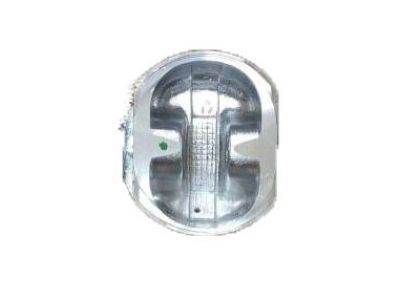
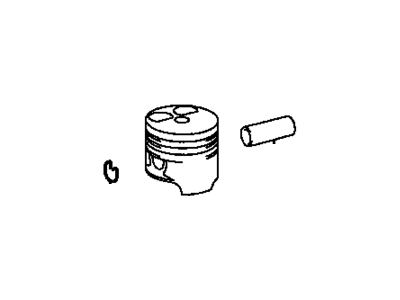
Toyota Tundra Piston Sub-Assembly, W/P
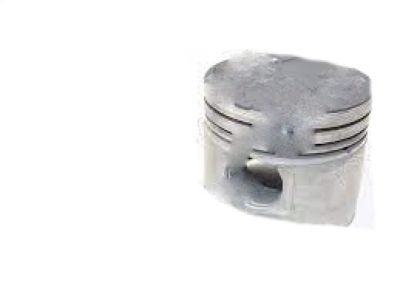
Part Number: 13101-0S030$79.46 MSRP: $112.01You Save: $32.55 (30%)Ships in 1-3 Business DaysToyota Tundra Piston Sub-Assembly, W/P
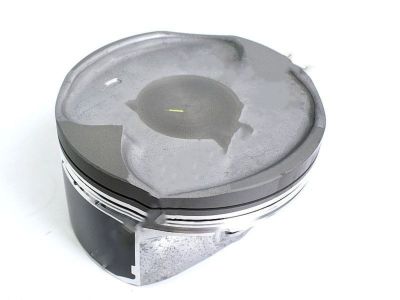
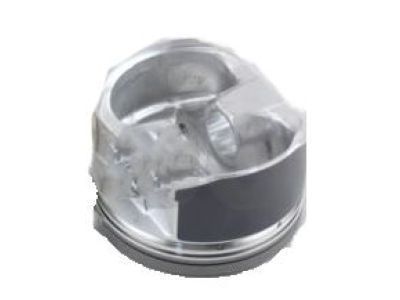
Part Number: 13101-31120-B0$86.52 MSRP: $121.95You Save: $35.43 (30%)Ships in 1-3 Business DaysToyota Tundra Piston Sub-Assy, W/Pin
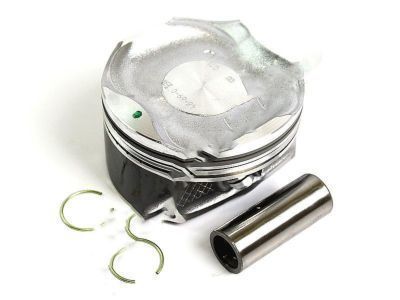
Part Number: 13101-0S011$95.60 MSRP: $134.77You Save: $39.17 (30%)Ships in 1-3 Business DaysToyota Tundra Piston Sub-Assy, W/Pin
Part Number: 13103-62060$136.20 MSRP: $193.63You Save: $57.43 (30%)Ships in 1-3 Business DaysToyota Tundra Piston Sub-Assy, W/Pin
Part Number: 13101-0P020$98.42 MSRP: $138.74You Save: $40.32 (30%)Ships in 1-3 Business DaysToyota Tundra Piston Sub-Assy, W/Pin
Part Number: 13101-62060-03$112.12 MSRP: $158.05You Save: $45.93 (30%)Ships in 1-3 Business DaysToyota Tundra Piston Sub-Assy, W/Pin
Part Number: 13101-50061-01$112.62 MSRP: $158.75You Save: $46.13 (30%)Ships in 1-3 Business DaysToyota Tundra Piston Sub-Assembly, W/P
Part Number: 13101-31120-A0$86.52 MSRP: $121.95You Save: $35.43 (30%)Ships in 1-3 Business DaysToyota Tundra Piston Sub-Assy, W/Pin, LH
Part Number: 13303-50040$134.91 MSRP: $191.81You Save: $56.90 (30%)Ships in 1-3 Business DaysToyota Tundra Piston Sub-Assembly, W/P
Part Number: 13101-0S020$86.52 MSRP: $121.95You Save: $35.43 (30%)Ships in 1-3 Business DaysToyota Tundra Piston Sub-Assy, W/Pin
Part Number: 13101-31030$89.23 MSRP: $125.78You Save: $36.55 (30%)Ships in 1-3 Business DaysToyota Tundra Piston Sub-Assy, W/Pin, LH
Part Number: 13301-50040-01$101.43 MSRP: $142.98You Save: $41.55 (30%)Ships in 1-3 Business DaysToyota Tundra Piston Sub-Assy, W/Pin
Part Number: 13101-0F031-01$112.44 MSRP: $158.50You Save: $46.06 (30%)Ships in 1-3 Business DaysToyota Tundra Piston Sub-Assy, W/Pin
Part Number: 13101-62060-01$112.12 MSRP: $158.05You Save: $45.93 (30%)Ships in 1-3 Business DaysToyota Tundra PISTON SUB-ASSY, W/P
Part Number: 13301-F4010$124.18 MSRP: $176.54You Save: $52.36 (30%)Ships in 1-3 Business DaysToyota Tundra Piston Sub-Assy, W/Pin
Part Number: 13101-50050-01$101.43 MSRP: $142.98You Save: $41.55 (30%)Ships in 1-3 Business DaysToyota Tundra Piston Sub-Assy, W/Pin
Part Number: 13101-62060-02$112.12 MSRP: $158.05You Save: $45.93 (30%)Ships in 1-3 Business DaysToyota Tundra Piston Sub-Assy, W/Pin
Part Number: 13101-50050-02$112.95 MSRP: $159.21You Save: $46.26 (30%)Ships in 1-3 Business DaysToyota Tundra Piston Sub-Assy, W/Pin
Part Number: 13101-0S010$95.60 MSRP: $134.77You Save: $39.17 (30%)Ships in 1-3 Business DaysToyota Tundra PISTON SUB-ASSY, W/P
Part Number: 13101-F4010$124.18 MSRP: $176.54You Save: $52.36 (30%)Ships in 1-3 Business Days
| Page 1 of 5 |Next >
1-20 of 83 Results
Toyota Tundra Piston
If you are in demand for superior quality and affordable OEM Toyota Tundra Piston, then shop with us! We own a wide range of the reduced-priced genuine Toyota Tundra Piston. You can purchase in confidence as all parts come with a manufacturer's warranty. Any issues with our products? No need to worry as we have a hassle-free return policy to guide you every step of the way.
Toyota Tundra Piston Parts Questions & Experts Answers
- Q: How to remove and install piston/connecting rod assemblies on Toyota Tundra?A: Before ever the piston and connecting rod assemblies can be taken out, then the cylinder head and the oil pan have to be removed. With the next finger nail, one should feel for any ridge at the upper limit of ring travel, about 1/4 inch down from the top of each cylinder; these ridges arising from deposit of carbon or wear must be trimmed using a ridge reamer to avoid breakage of piston. Subsequent to flattening, turn the engine with the crankshaft on an upper side similar to a microscope. Feel the end-float of the connecting rod and compare it with the feeler gauge to ensure that the figure does not go beyond the limits of service; if it happens, replacement of connecting rods is required. Identify the connecting rods and caps after that loosen and take off the connecting rod cap and the bearing insert without allowing the latter to fall. Preserve the crankshaft journal and cylinder wall by threading a piece of plastic or rubber hose on every connecting rod bolt when pulling it out. Exert pulling force on the connecting rod/piston assembly and removing it through the top of the engine if necessary, and continue to the other cylinders. If the connecting rod caps have been replaced by bolts, then when you are going back to join the pieces, replace the bolts as well. After removal, replace the connecting rod caps and bearing inserts in their respective rods, While reinstalling the new inserts, place the old inserts in the new ones to avoid scratching. After that the pistons and connecting rods can be checked and rebuild if necessary. New piston rings should always be properly installed through checking the ring end gaps and the piston ring side clearance. Piston/connecting rod assemblies as well as the new ring sets should be laid down on the bench in correct configurations to be fitted soon. Introduce the top ring into the first cylinder bringing its top face parallel to the cylinder walls; check the end gap with feeler gauges. If the gap is too small, finely saw the ring ends to expand it while excess gap is only considered serious if it is more than 0.040-inch approximately. Do this for all the rings and they should be placed befitting their respective pistons and cylinders. After that, put the rings on the pistons: the first one is the oil control ring, the second would be the middle ring, and the last would be on the top but with due consideration on the manufacturer's labels. Before the installation of the cylinder, some conditions should be met for example, condition of the cylinder walls, the top edge of every cylinder bore should be chamfered, and the crank shaft should be in place. Subsequently, the cap of the number one connecting rod must be taken off and the RMS of the rod must be made free of dirt as well as grease and so a new bearing insert should be fitted in the RMS without a lubricant. When connecting the rods use plastic or rubber hose over the connecting rod bolts to avoid scratching them. Align the piston ring gaps to each other at positions of 90 degrees, and apply some oil to the piston and the rings before placing the piston ring compressor and lowering the piston into the cylinder. By installing the rod cap on engine mains, use Plastigage for checking the oil clearance of the connecting rod bearing faces, making sure they are clean and applying grease on the bearing before the installation of the rod cap. This is done on the other pistons and connecting rods in the same manner while guaranteeing cleanliness and assembling them on the respective cylinders. Upon installing, turn the crankshaft and check for the binding and once again feel for the connecting rod end play, readjust if any new parts had been fitted.
