
My Garage
My Account
Cart
Genuine Toyota Yaris Shock Absorber
Suspension Shock Absorber- Select Vehicle by Model
- Select Vehicle by VIN
Select Vehicle by Model
orMake
Model
Year
Select Vehicle by VIN
For the most accurate results, select vehicle by your VIN (Vehicle Identification Number).
59 Shock Absorbers found
Toyota Yaris Shock Absorber Assembly
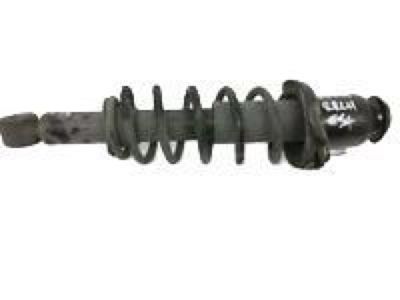
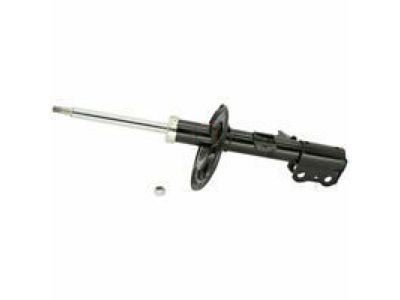
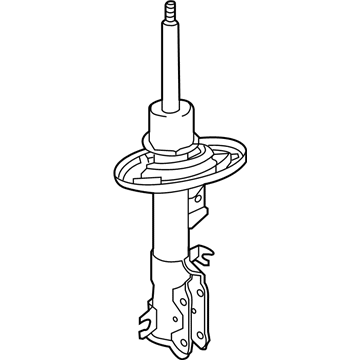
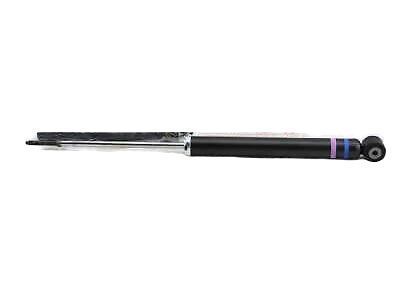
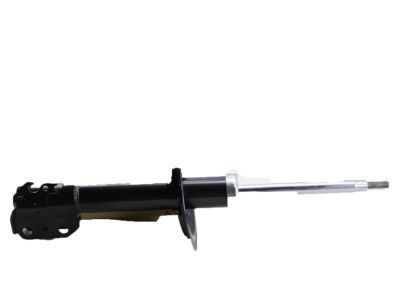
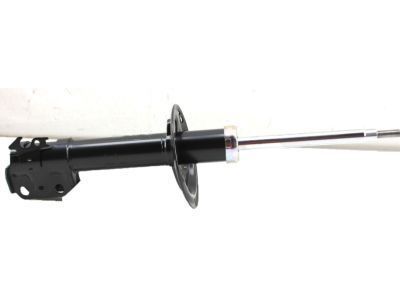
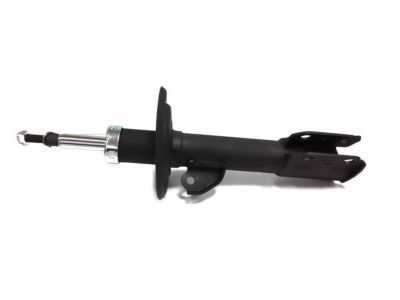
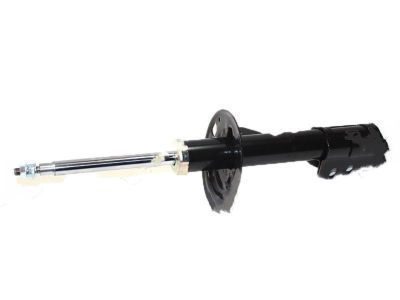
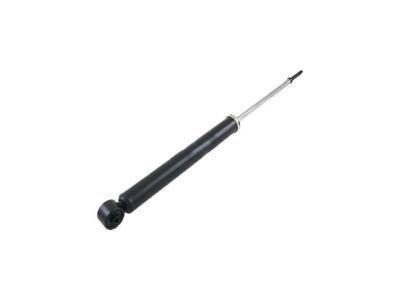
Part Number: 48530-WB010$63.24 MSRP: $89.14You Save: $25.90 (30%)Ships in 1-3 Business DaysToyota Yaris Shock Absorber Assembly Rear Left
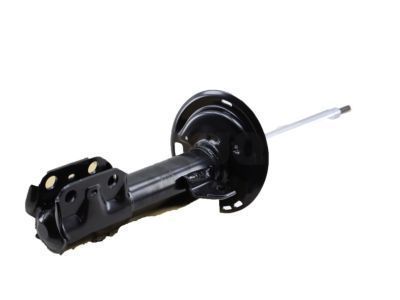
Part Number: 48530-80351$73.86 MSRP: $104.11You Save: $30.25 (30%)Ships in 1 Business DayToyota Yaris Shock Absorber Assembly Front Left
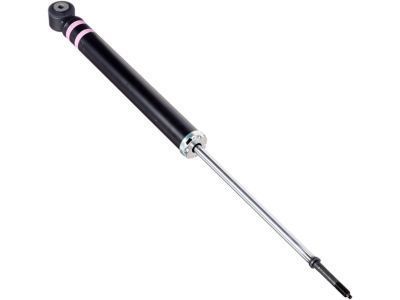
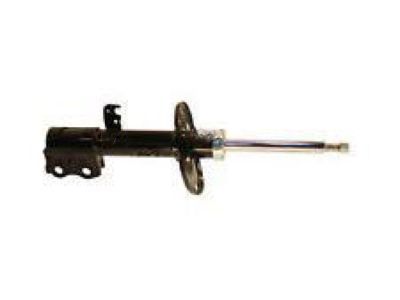
Part Number: 48520-52141$121.79 MSRP: $173.13You Save: $51.34 (30%)Ships in 1-3 Business DaysToyota Yaris Shock Absorber Assembly Rear Right
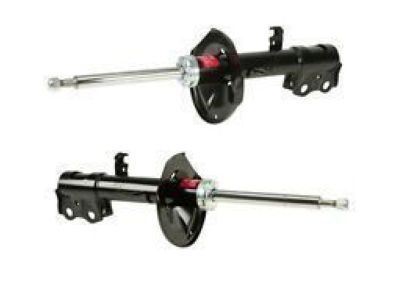
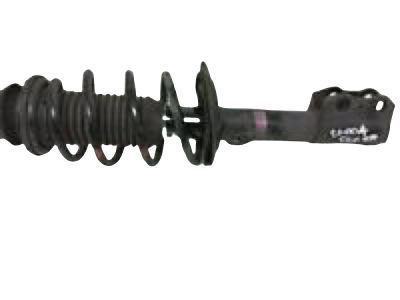
Part Number: 48530-80554$68.19 MSRP: $96.12You Save: $27.93 (30%)Ships in 1-3 Business DaysToyota Yaris Shock Absorber Assembly
Part Number: 48510-WB004$119.80 MSRP: $170.32You Save: $50.52 (30%)Ships in 1-3 Business DaysToyota Yaris Shock Absorber Assembly Rear Left
Part Number: 48530-80324$68.19 MSRP: $96.12You Save: $27.93 (30%)Ships in 1-2 Business DaysToyota Yaris Shock Absorber Assembly Front Right
Part Number: 48510-52C31$124.01 MSRP: $176.30You Save: $52.29 (30%)Ships in 1-3 Business DaysToyota Yaris Shock Absorber Assembly Front Right
Part Number: 48510-80190$124.01 MSRP: $176.30You Save: $52.29 (30%)Ships in 1-3 Business DaysToyota Yaris Shock Absorber Assembly Front Right
Part Number: 48510-52C30$124.01 MSRP: $176.30You Save: $52.29 (30%)Ships in 1-3 Business DaysToyota Yaris Shock Absorber Assembly Front Right
Part Number: 48510-80196$118.98 MSRP: $169.15You Save: $50.17 (30%)Ships in 1-3 Business DaysToyota Yaris Shock Absorber Assembly
Part Number: 48520-WB004$115.63 MSRP: $162.99You Save: $47.36 (30%)Ships in 1-3 Business DaysToyota Yaris Shock Absorber Assembly Front Left
Part Number: 48520-52140$121.79 MSRP: $173.13You Save: $51.34 (30%)Ships in 1-3 Business DaysToyota Yaris Shock Absorber Assembly Front Left
Part Number: 48520-59195$118.98 MSRP: $169.15You Save: $50.17 (30%)Ships in 1-3 Business DaysToyota Yaris Shock Absorber Assembly Rear Left
Part Number: 48530-80340$68.19 MSRP: $96.12You Save: $27.93 (30%)Ships in 1 Business DayToyota Yaris Shock Absorber Assembly Front Right
Part Number: 48510-52G11$122.60 MSRP: $174.30You Save: $51.70 (30%)Ships in 1-3 Business DaysToyota Yaris Shock Absorber Assembly Front Left
Part Number: 48520-52511$122.72 MSRP: $174.47You Save: $51.75 (30%)Ships in 1-3 Business DaysToyota Yaris Shock Absorber Assembly Front Right
Part Number: 48510-0D880$126.00 MSRP: $179.13You Save: $53.13 (30%)Ships in 1-3 Business DaysToyota Yaris Shock Absorber Assembly Front Right
Part Number: 48510-80294$118.98 MSRP: $169.15You Save: $50.17 (30%)Ships in 1-3 Business DaysToyota Yaris Shock Absorber Assembly Front Left
Part Number: 48520-52621$115.63 MSRP: $162.99You Save: $47.36 (30%)Ships in 1-3 Business DaysToyota Yaris Shock Absorber Assembly
Part Number: 48520-WB005$98.38 MSRP: $138.99You Save: $40.61 (30%)
| Page 1 of 3 |Next >
1-20 of 59 Results
Toyota Yaris Shock Absorber
If you are in demand for superior quality and affordable OEM Toyota Yaris Shock Absorber, then shop with us! We own a wide range of the reduced-priced genuine Toyota Yaris Shock Absorber. You can purchase in confidence as all parts come with a manufacturer's warranty. Any issues with our products? No need to worry as we have a hassle-free return policy to guide you every step of the way.
Toyota Yaris Shock Absorber Parts Questions & Experts Answers
- Q: How to remove and refit a rear shock absorber on Toyota Yaris?A:To remove the shock absorber, start by prising off the upper trim cover and the rubber cover in the boot to access the two top nuts. Use a spanner to hold the lower nut while loosening and removing the top nut. If necessary, hold the piston rod flats with a small spanner to loosen the lower nut, leaving it fitted by a few threads until the lower mounting is removed. Next, slacken the rear wheel nuts, chock the front wheels, select 1st gear, jack up the rear of the car, and support it securely on axle stands before removing the rear roadwheel. Support the trailing arm section of the beam axle with a trolley jack, unscrew the shock absorber lower mounting nut, and slide the shock absorber off its mounting after removing the nut and washer. Lower the trailing arm, support the shock absorber, remove the upper mounting nut, and take the unit out from under the wheel arch, recovering the top washer and rubber bush from inside the boot. For refitting, ensure the shock absorber is fully reassembled and that the upper mountings are in place. Fit the lower mounting nut first and tighten it by hand. Raise the trailing arm, fit the top mounting through the hole under the wheel arch, and secure it with the upper mounting and washer, tightening the first nut to show 15 to 18 mm of the piston rod above its top surface. Attach the second nut to the first, hold the first in position, and tighten the second to the specified torque. Refit the rubber cover and plastic trim, then reattach the wheel, lower the car, and tighten the wheel nuts to the specified torque. Finally, bounce the rear of the car a couple of times to settle the suspension and tighten the shock absorber lower mounting nut to the specified torque.
