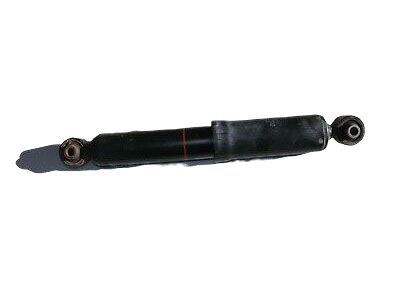
To remove the wheel, first loosen the lug nuts, raise the vehicle, and support it securely on jack stands before taking off the wheel. Next, unbolt the brake hose bracket from the strut, and if equipped with ABS, detach the speed sensor wiring harness from the strut by removing the clamp bracket bolt. Disconnect the stabilizer bar link from the strut, then mark the relationship of the strut to the steering knuckle to preserve the camber setting during reassembly. Detach the strut from the steering knuckle by removing two nuts and knocking out the bolts with a hammer and punch, then separate the strut from the steering knuckle while being cautious not to overextend the inner CV joint or let the steering knuckle fall outward, which could strain the brake hose. Loosen the three upper nuts to detach the upper end of the strut from the body, supporting the strut and spring assembly with one hand while removing the three strut-to-body nuts, then take the assembly out of the fenderwell. For inspection, check the strut body for leaking fluid, dents, cracks, and other damage that may require repair or replacement, and examine the coil spring for chips or cracks in the coating, as well as the spring seat for cuts, hardness, and deterioration. If any issues are found, proceed to disassemble the strut. For installation, guide the strut assembly into the fenderwell, inserting the upper mounting studs through the body holes, and secure with nuts to prevent the strut from falling. Slide the steering knuckle into the strut flange, insert the two bolts, align the previously made matchmarks, and tighten the nuts. Connect the brake hose bracket to the strut and tighten the bolt securely, and if equipped with ABS, install the speed sensor wiring harness bracket. Finally, install the wheel and lug nuts, lower the vehicle, tighten the lug nuts, and secure the upper mounting nuts before having the front end alignment checked and adjusted if necessary.
Posted by ToyotaPartsDeal Specialist 

