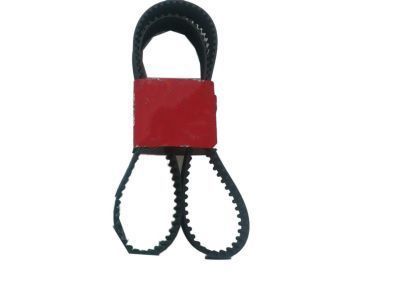
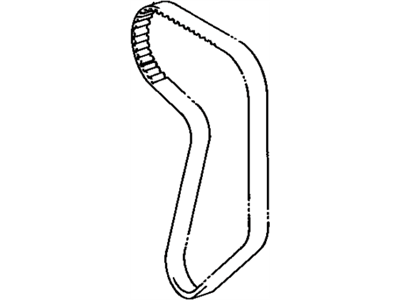
To begin the removal process, disconnect the negative cable from the battery. Although not essential, removing the radiator can simplify the procedure; drain the coolant and take out the radiator. Next, remove the air filter housing. If the radiator remains in place, detach the upper radiator hose. Loosen the drivebelts, then remove the fan clutch and fan shroud, followed by the drivebelts again. Detach the air intake duct and set the number one piston at TDC, ensuring not to turn the crankshaft until the timing belt and sprockets are reinstalled. Remove the crankshaft pulley and the No. 1 and No. 3 timing belt covers and gaskets. Loosen the idler pulley retaining bolt slightly, push the idler pulley toward the water pump, then retighten the bolt and remove the belt, marking it for reinstallation if necessary. Remove the camshaft sprocket retaining bolt(s) while preventing the camshaft/sprocket from turning, then mark each camshaft sprocket in line with the camshaft match pin and remove the sprocket. Remove the bolt from the idler pulley and pull off the pulley with the tension spring. Use a punch or appropriate tool to hold the oil pump drive sprocket in place, then remove the retaining bolt and sprocket. Pull off the crankshaft timing sprocket by hand. The No. 2 timing belt cover does not need to be removed unless camshaft seals or further service is required. Inspect the idler pulley and tension spring, replacing the spring if it has stretched. Install the oil pump drive sprocket and tighten the bolt, using a pin-type spanner wrench or an alternative method. Drive the timing belt sprocket onto the crankshaft until it seats, then install the idler pulley and spring, pushing the pulley toward the alternator side before tightening the bolt. Install the timing belt on the crankshaft sprocket, ensuring the directional mark is correct if reinstalling the old belt. Install the No. 1 timing belt cover and the crankshaft pulley, confirming that the No. 1 cylinder is still at Top Dead Center on the compression stroke. For models from 1982 to 1986, remove the oil filler cap from the intake side valve cover and the valve cover from the exhaust side camshaft housing. Verify the alignment of the match hole over the No. 2 journal in each cam housing with the hole in the camshaft journal, adjusting as necessary. If removed, install the No. 2 timing belt cover. Ensure the camshaft timing sprockets are installed with the flanges facing the correct direction. If reinstalling the old timing belt, align the match pins and install the timing belt over the sprockets, checking the alignment of the holes in the cam journals and the crankshaft pulley. For a new timing belt, install the camshaft timing sprockets without the match pins or sprocket bolts, then install the timing belt, ensuring proper tension. Check that the number one piston is still at top dead center on the compression stroke, then release the idler pulley bolt and adjust the timing belt tension. Install the match pins if the holes align, or adjust the crankshaft to align them before installation. Tighten the camshaft sprocket bolts, ensuring not to use the belt tension to hold the sprockets. After loosening the idler pulley bolt, turn the crankshaft clockwise through two complete revolutions, then tighten the idler pulley bolt. Rotate the crankshaft again, verifying that the timing marks align correctly. Install the exhaust camshaft housing cover and the oil filler cap, followed by the No. 3 timing belt cover and gasket. Reinstall the fan clutch and fan shroud, the upper radiator hose, and fill the cooling system. Finally, install the drivebelts, adjust the tension, and reinstall the air intake duct and air filter housing before connecting the negative cable to the battery.
Posted by ToyotaPartsDeal Specialist 

