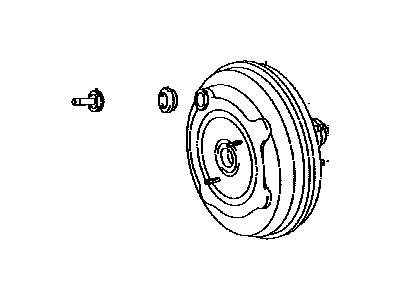
Perform the following checks on the power brake booster and follow the removal and installation steps, First, depress the brake pedal multiple times with the engine off to ensure the pedal reserve distance remains unchanged. Next, depress the pedal and start the engine; if the pedal slightly moves down, it's operating normally. For an airtightness check, start the engine and turn it off after a minute or two. Depress the brake pedal slowly multiple times; if the pedal depression lessens with each press, the booster is airtight. Additionally, depress the brake pedal with the engine running, then stop the engine while keeping the pedal pressed. If the pedal reserve travel doesn't change after holding it for 30 seconds, the booster is airtight. For removal, it's important to note that power brake booster units shouldn't be disassembled due to their complexity and critical role in brake performance. They require specialized tools and should be replaced with new or rebuilt units. Follow these steps for removal, Remove engine covers, windshield wiper assembly, cowl assembly, brake master cylinder, air cleaner assembly, and disconnect vacuum hoses from the booster (remove metal vacuum line retaining clips and line on 2010 and later V6 models). Inside the vehicle, remove the driver's kick panel, knee bolster, and knee bolster reinforcement brace. Disconnect the pedal return spring, remove the clevis pin-retaining clip, and pull out the pin connecting the booster pushrod to the brake pedal. Remove the nuts and washers holding the booster to the firewall, then slide the booster straight out from the firewall. Installation is the reverse of removal. Tighten the clevis locknut and booster mounting nuts securely. After final installation of the master cylinder, brake hoses, and lines, adjust brake pedal height, freeplay, and pedal reserve distance, then bleed the system before normal vehicle operation.
Posted by ToyotaPartsDeal Specialist 


