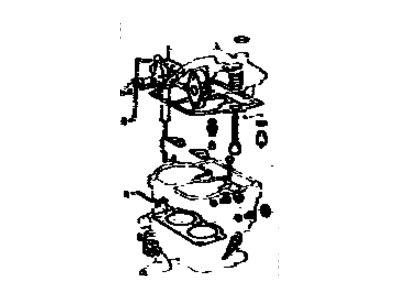
Before performing major carburetor service, it is recommended to conduct a detailed road test and examine carburetor adjustments. Typically, carburetor issues manifest as flooding, hard starting, stalling, severe backfiring, and poor acceleration. A carburetor leaking fuel or one covered with wet-looking deposits unquestionably needs attention. It's worth noting that some complaints about performance that are seemingly related to the carburetor are often due to loose, maladjusted, or defective engine or electrical components. In addition, problems can arise when vacuum hoses leak, disconnect, or are routed incorrectly. Carburetor problem analysis should include inspecting all vacuum hoses and actuators for leaks and correct installation, tightening the intake manifold and carburetor mounting nuts/bolts, performing a compression test and vacuum test, cleaning or replacing spark plugs as required, checking spark plug wires, inspecting ignition primary wires, checking ignition timing, evaluating fuel pump pressure/volume, examining the heat control valve in the Air Filter Box, checking/replacing the air filter element, reviewing the PCV system, checking/replacing the fuel filter, examining for a blocked exhaust system, evaluating EGR valve operation, checking the choke, inspecting for fuel leaks and kinked or dented fuel lines, verifying accelerator pump operation, checking for incorrect fuel, reviewing the valve clearances and camshaft lobe lift, and getting the electronic engine and carburetor controls checked by a dealer service department or other repair shop. Carburetor problem diagnosis may require running the engine with the air cleaner off, a situation that can lead to backfires. If it is determined that the carburetor needs an overhaul, options include doing it yourself using a high-quality carburetor rebuild kit or obtaining a new or rebuilt carburetor. If you choose the latter, ensure that the replacement carburetor is identical to the original. If you decide to overhaul your carburetor, give yourself ample time to disassemble it, soak necessary parts in cleaning solvent, and reassemble it. Always lay the parts out in order during disassembly on a clean workspace to avoid assembly errors.
Posted by ToyotaPartsDeal Specialist 


