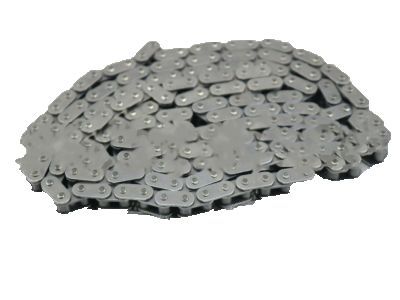
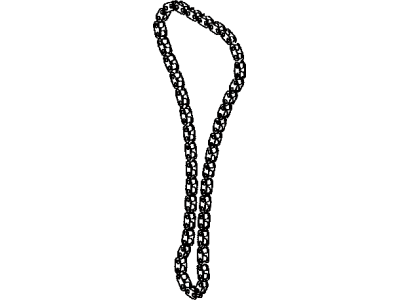
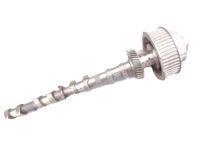
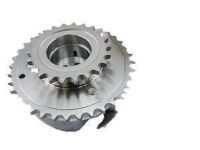
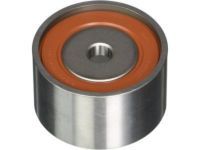
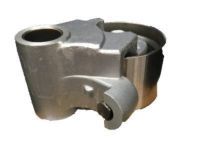
The timing system is rather complicated and if the mistakes are made during this kind of operation, severe engine damage may take place therefore if possible, it is recommended to consult with an expert or the person who has a considerable experience only. Start with disconnecting the negative terminal on the battery, next draining the engine oil and coolant, also remove the battery, engine cover, air filter housing, radiator, cooling fan, serpentine drivebelt, upper intake manifold, ignition coils, valve covers, Variable Valve Timing sensor, dipstick and tube, power steering pump though without removing the hoses powers the alternator, next get rid of the air conditioning compressor, drivebelt tensioner, id Remove both the radiator hoses as well as all the water bypass hoses, pop out the water inlet as well as its O-ring and gasket. Pulling off the timing chain cover and count the numbers of the fasteners and avoid prying in improper places which can harm the component. In brief, perform step B: Turn the No.1 cylinder to TDC on the compression stroke, lock the tensioner in place, and than, remove the chain tensioner slipper, idler sprocket shaft, and chain vibration dampers. Detach the No. 1 timing chain and crankshaft timing chain sprocket and compress and lock the chain tensioner No. 2 and then remove the sprockets and chains as they come as assemblies and also store them. Examine all components for wear signs and damage, quantify the degrees of timing chain elongation, and measure the sprocket diameter; also, check the oil clearance at the idler sprocket and the functionality of all the chain tensioners. For assembly, turn the crankshaft to the right position, lock the tensioners, fit timing chains that the marks align properly and tighten all the bolts to the required torque. After all the timing marks are set properly, rotate the crankshaft to make sure the chains are tensioned correctly, remove the old RTV sealant, then install a new crankshaft oil seal and O-ring, apply the gray RTV sealant properly on the timing chain cover, and put the cover back in its correct position. All fasteners must be tightened gradually and evenly; usually, it is required to install the bolts in the oil pan last of all, but do it in the reverse order of their removal. Last but not the least, add fresh automobile oil and coolant and join the battery then start the engine to find leakage.
Posted by ToyotaPartsDeal Specialist