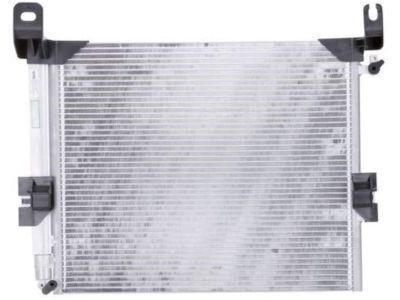
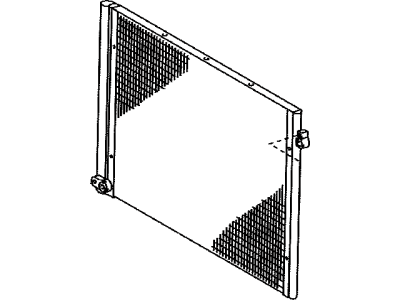
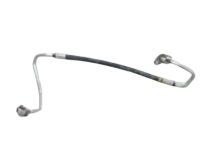
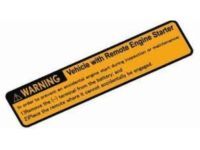
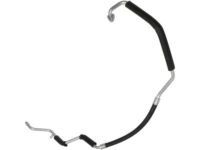
To initiate the removal process, take the vehicle to a shop for the air conditioning system to be discharged and the refrigerant properly recovered. Although the factory-recommended procedure involves various steps such as draining the cooling system, and removing the fan, shroud, radiator, and A/C Condenser, there is an alternative method. By carefully working, it is possible to remove only the Cooling Fan Assembly, shroud, unbolt the radiator, remove the condenser mounting brackets, detach the refrigerant lines, and then remove the condenser out towards the rear, between the radiator and the radiator support. Aftermarket condensers may have non-removable mounting brackets, requiring removal towards the front of the vehicle by removing the grille, hood latch, center support brace, and horns, and repositioning the radiator. Other aftermarket condensers can be removed towards the rear, similar to an original equipment condenser, depending on the size of the mounting brackets and the condenser itself. The specific type of condenser being removed and installed will determine which steps can be bypassed. Proceed by draining the engine coolant, removing the radiator grille, and removing the radiator. Disconnect the upper and lower refrigerant lines on the front of the condenser, ensuring immediate capping of the open fittings to prevent moisture and contamination. If dealing with an aftermarket condenser, remove the horns, hood latch, and center support brace. Remove the condenser mounting bolts and brackets, detach the lower mounts, and maneuver the condenser out accordingly based on its type. For installation, install the condenser, brackets, and bolts, ensuring proper fitting of the rubber cushions on the mounting points. Reconnect the refrigerant lines using new O-rings designed for the specific refrigerant in your system and lubricate them with refrigerant oil suitable for your system. Proceed to reinstall the remaining parts in reverse order, refill the cooling system if it was drained, and have the system evacuated, charged, and leak tested.
Posted by ToyotaPartsDeal Specialist 

