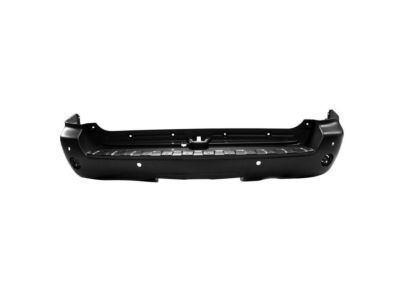
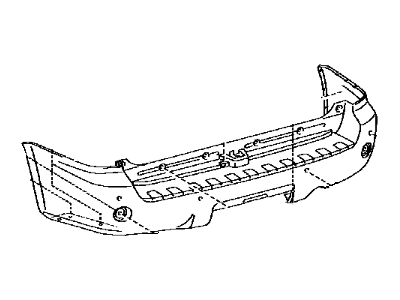
Disconnect the negative cable from the battery. For 2013 and earlier models, remove the fasteners for the front section of the inner fender splash shield and take off the shield. Disconnect the fog light electrical connectors if equipped. Remove the two headlight housing trim clips, then carefully pry the trim panel out, disengaging the two remaining clips on the back of the panel. For steel bumper models, remove the bumper cover fasteners and the two corner fasteners, then take off the cover, ensuring it is unclipped where it contacts the front fenders. Remove the bumper upper and lower fasteners, noting that some models may have additional lower fasteners in the middle of the bumper, and then carefully remove the bumper from the vehicle. Installation is the reverse of removal, ensuring all fasteners are tightened securely. For resin bumper cover models, remove the push pin clips from the top edge of the cover, then remove the mounting screws along the bottom edge and ends of the bumper cover before taking off the one-piece cover. Installation is the reverse of removal, tightening all fasteners securely. For 2014 and later models, remove the radiator grille, then take out the headlight housing front end trim panel(s) mounting bolts from each end and carefully pry out the panel(s), disengaging the remaining plastic fasteners. Remove the mounting screws from the ends of the bumper located inside the inner fenderwell along the edge, followed by the fasteners along the bottom edge, noting that three different types of fasteners may be used. Working under the top edge of the bumper, remove the mounting bolts just below the headlight housings, disconnect the electrical connectors to the fog lights and parking assist sensors, and then remove the bumper from the vehicle. Installation is the reverse of removal. For the rear of the Tundra, remove the license plate lights from the bumper and disconnect any electrical connectors. If removing the bumper with the brackets and tow hitch, unbolt the bumper brackets from the frame. If only the bumper is being removed, pry the rear bumper pads up to disengage the clips and remove them, then take off the bumper fasteners and remove the bumper from the brackets. Installation is the reverse of removal, ensuring all fasteners are tightened securely. For resin bumper cover models, remove the license plate from the bumper, take off the fasteners around the perimeter of the bumper cover, and pull the cover off the vehicle, with installation being the reverse of removal and all fasteners tightened securely. For the Sequoia, remove the rear quarter panel mud guard fasteners and the guards, open the liftgate, then remove the six fasteners on the top of the bumper. Remove the six fasteners from underneath along the perimeter of the bumper cover and disconnect any electrical connectors to the bumper from below before taking off the bumper cover from the vehicle. Installation is the reverse of removal, ensuring all fasteners are tightened securely.
Posted by ToyotaPartsDeal Specialist 

