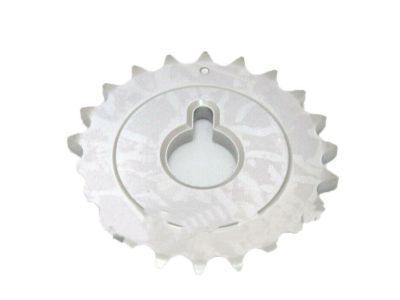
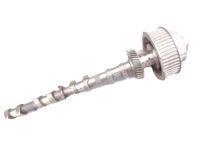
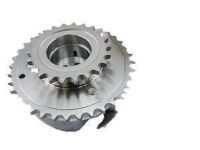
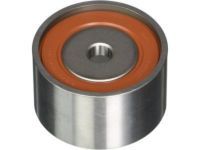
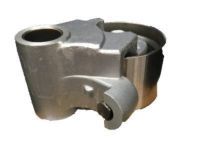
The timing system requires special attention, and there will be significant damage to the engine if the process is mishandled; thus, it is only recommendable that only experienced personnel work on it and seek advice from a specialist if there is a doubt. Start with the removal of the negative terminal of the battery and then the subsequent drainage of the engine oil and the coolant. Clear the battery, engine lid, air filter housing, cooling lovers, front radiator, drive belt, intake manifold, spark plugs, and valve covers. Remove the Variable Valve Timing sensor connector bolts and pull the connector aside, pull out the dipstick and its tube, and disconnect the power steering pressure switch, while unbolt the power steering pump though the hoses remain connected. Lift the alternator and air conditioning compressor out of the car while maintaining the connection between the refrigerant hoses, next unscrew the drivebelt tensioner, and take off the idler pulleys and crankshaft pulley. Loosen and unscrew the timing cover bolts, the water inlet, and the timing chain cover while trying to note the position of the bolts. With the piston at TDC in cylinder No. 1 and on the compression stroke, the tensioner locked, take off the chain tensioner slipper, idler sprocket shaft, and the No. 1 timing chain Only. When carrying the crankshaft, do not rotate it when the No. 1 timing chain is absent, then proceed to the removal of the crankshaft timing chain sprocket and the compression of the chain tensioner No. 2. Take out the bolts by unscrewing what secures the camshaft timing sprockets, and take off the sprockets and the chain as one unit; ensure that the unit is stored correctly. Follow the process again for the No. 3 timing chain and tensioner making sure not to rotate the Crankshaft during this process of removing. Look for wear or damage at all of the bearings, both the link-cog and fatigue-shaft; determine the amount of stretch in the timing chain; look at both sprocket diameters and oil clearances. Check the performance of the chain tensioners and fit the crankshaft pulley bolt; turn the crankshaft to the ideal position. Tighten the tensioner plungers, fit the timing chains in place and make sure that the small yellow mark links connect with the appropriate timing marks on the sprockets and final/secure the sprockets. Bolt in the chain guide, crankshaft timing sprocket and tensioner slipper and then ensure the positioning of the timing marks. Turn the crankshaft to check smooth running, scrape off existing RTV material, check/clean the new crankshaft oil seal and O-ring, and apply grey RTV sealant on timing chain cover and mating surfaces. Arguably, the installation of the timing chain cover should be done within the required time, appropriate tightenings of all the fasteners should be done systematically and uniformly while fixing the bolts for oil pan. The last steps are the reverse of the removal steps, with filling the engine with oil and coolant, connecting the battery, and starting the engine to look for signs of leakage.
Posted by ToyotaPartsDeal Specialist