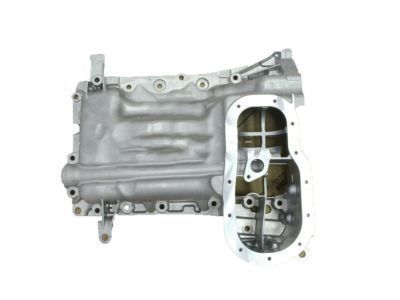
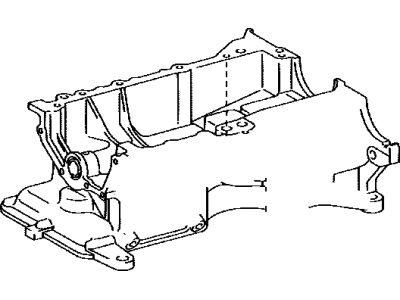
The oil pan cannot be removed from these vehicles without first obtaining adequate clearance. For 2WD models, the engine must be completely removed, although it may be possible to raise the engine enough to create space for oil pan removal. In some 4WD models, removing the front differential may provide sufficient clearance. Begin by disconnecting the cable from the negative terminal of the battery and draining the engine oil. For 2WD models, remove the engine, noting that lifting it above the crossmember may allow for oil pan removal without full removal from the engine bay. For 4WD models, remove the front differential/axle assembly for clearance. Next, remove the bolts and nuts securing oil pan No. 2 to the larger cast aluminum oil pan, which may be stuck due to RTV sealant; use a rubber-tipped mallet or a putty knife to carefully detach it without damaging the mating surfaces. Remove the oil pump pickup tube/strainer assembly, the flywheel housing cover, and the bolts and nuts securing the oil pan to the engine block, then pry the oil pan loose, taking care to only pry in the small cutout areas along the side. For installation, scrape off old sealant from the block and oil pan, clean the mating surfaces, and ensure the threaded holes in the block are clean. Check the steel oil pan flange for distortion and flatten it if necessary. Inspect the strainer for cracks or blockage, clean it, and install it with a new gasket, tightening the fasteners to the specified torque. Apply a 1/8 inch bead of RTV sealant to the upper oil pan flange, position the pan onto the block, and install the fasteners, tightening them from the center out in several steps. After installing the aluminum portion of the oil pan, apply RTV sealant to the flange of oil pan No. 2, position it, and install the bolts, again tightening from the center out. Complete the installation by reversing the removal steps, adding oil, and installing a new filter, then run the engine and check for leaks.
Posted by ToyotaPartsDeal Specialist 

