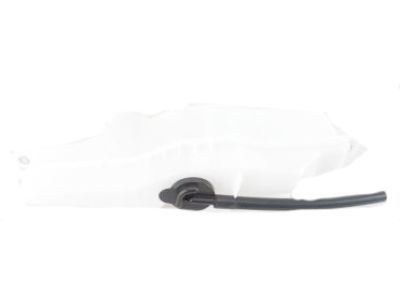
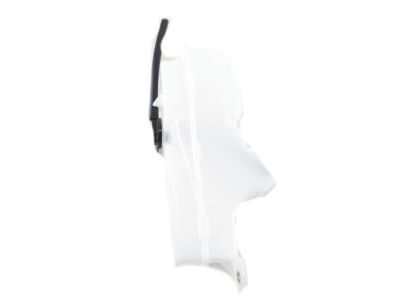
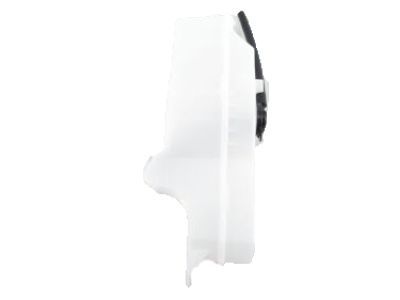
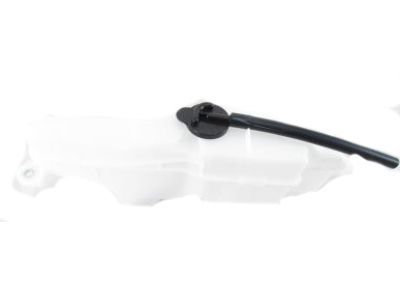
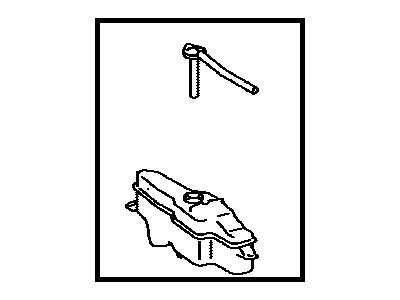
To remove the radiator, first disconnect the cable from the negative battery terminal. Raise the front of the vehicle and support it securely on jackstands, then remove the lower engine covers and the lower inner fender corner splash shield(s). Drain the cooling system, then detach the upper and lower radiator hoses from the radiator and disconnect the reservoir hose from the radiator filler neck. Remove the upper engine covers, and for V6 models, take out the engine seal cover clips and seal, then remove the air inlet assembly fasteners and air inlet, along with the hood seal clips and hood seal. Remove the air cleaner inlet duct and the front bumper. Disconnect the electrical connectors to the horns, remove the hood latch support mounting fasteners, and the radiator support. Take out the radiator support mounting fasteners and lift the support out. If the vehicle has an automatic transaxle, disconnect the cooler lines from the radiator, placing a drip pan to catch the fluid and capping the fittings. Remove the condenser mounting fasteners and wire the condenser up to prevent it from falling once the radiator is removed. Lift out the radiator and fan shroud assembly, being cautious of dripping fluids and sharp fins, and separate the fan/shroud from the radiator. With the radiator removed, inspect it for leaks, damage, and internal blockage, and if repairs are needed, consult a professional radiator shop. Clean bugs and dirt from the radiator using compressed air and a soft brush without bending the cooling fins. For installation, reverse the removal procedure, ensuring the rubber mounts are in place. After installation, refill the cooling system, start the engine to check for leaks, and allow it to reach normal operating temperature, indicated by the upper radiator hose becoming hot. Recheck the coolant level and add more if necessary, and for models with an automatic transaxle, check and add fluid as needed. For coolant reservoir removal, pull it up and out of the bracket on the fender well, pour the coolant into a container, wash out the reservoir, and inspect it for cracks and chafing, replacing it if damaged. Installation of the coolant reservoir is the reverse of removal.
Posted by ToyotaPartsDeal Specialist 

