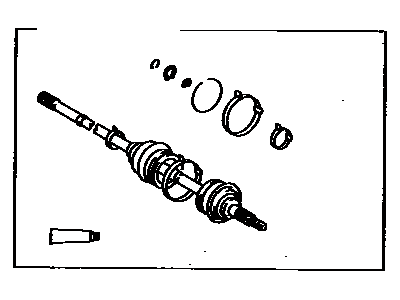
If the CV joints require overhauling, typically due to torn boots, consider all available options before starting the job, as complete rebuilt CV Boots can be obtained on an exchange basis, saving time and effort. Before disassembling the vehicle, check the cost and availability of parts. To disassemble the outer CV joint, first remove the CV Boot and mount it in a vice with wood-lined jaws to prevent damage. Inspect the CV joint for excessive play and smooth operation; if a boot is torn, disassemble the joint, clean the components, and inspect for damage. Loosen and remove the clamps, then carefully pry the boot away from the CV joint, cutting it off if necessary. Use a brass bar and hammer to drive the CV joint off the axleshaft, ensuring not to damage the splines or cage. Remove the boot, tilt the inner race and cage assembly, and extract the ball bearings one at a time. Align a large window of the cage with a land of the outer race to lift the inner race and cage assembly out. To remove the inner race from the cage, turn it 90 degrees and swing it out. Clean all components with solvent and check for wear. For reassembly, install the inner race into the cage, insert the assembly into the outer race, and rotate it flat. Ensure the inner race's beveled edge is pointing up, and install the ball bearings one at a time. Pack the CV joint with grease, slide the new boot and small clamp onto the axleshaft, and drive the joint onto the shaft until the retaining ring engages. For the inner CV joint, after removing the boot clamps, pull the boot back and slide the tulip from the tripod. Mark the tripod and CV Boot with a center punch for proper reassembly, then remove the tripod joint snap-ring and drive the joint from the CV Boot with a brass punch and hammer, taking care not to damage surfaces. Clean all components and check for wear. For reassembly, slide the clamps and boot onto the axleshaft, place the tripod on the shaft with the recessed portion facing the axleshaft, and install the snapring. Grease the tripod assembly and inside the tulip, then slide the boot into place, ensuring both ends seat in their grooves, adjust the CV Boot length, equalize the boot pressure, and secure the boot clamps.
Posted by ToyotaPartsDeal Specialist