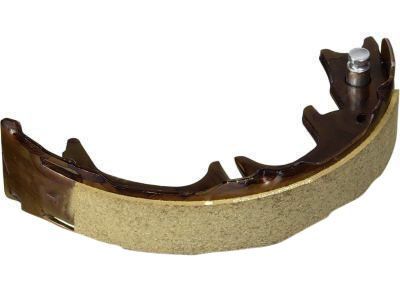
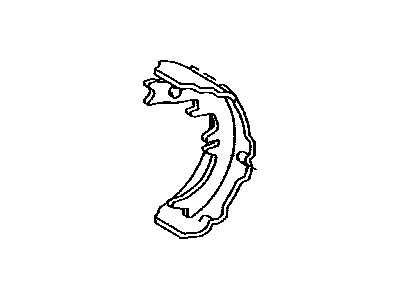
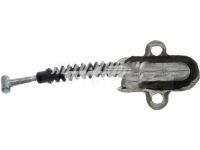
Loosen the wheel lug nuts, raise the rear of the vehicle, and support it securely on jackstands while blocking the front wheels to prevent rolling. Release the parking brake and remove the wheel, ensuring that all four rear brake shoes are replaced simultaneously but working on only one brake assembly at a time to avoid mixing parts. Clean the brake assembly with brake cleaner and allow it to dry, positioning a drain pan underneath to catch fluid and residue, avoiding the use of compressed air for brake dust. Unhook the return spring from the front brake shoe, using locking pliers to stretch the spring and pull it out. Depress the hold-down spring, turn the retainer 90 degrees, and release it; a special hold-down spring removal tool can simplify this task. Remove the front shoe from the backing plate, unhook the anchor spring, and take off the hold-down spring from the rear shoe. Remove the rear shoe and adjuster assembly, pulling the parking brake cable out of the lever with pliers, and remove the adjusting lever spring. Unhook the return spring from the shoe, slide off the adjuster and spring, and pry apart the C-washer to separate the parking brake lever and adjuster lever from the rear shoe. Assemble the new rear shoe with the parking brake lever and adjuster lever, crimping a new C-washer closed with pliers. Lubricate the adjuster screw with high-temperature grease, ensuring it is threaded in further than before for proper drum fit. Install the adjuster assembly on the rear shoe, ensuring proper fit, and hook the spring into the shoe opening. Lubricate the brake shoe contact areas, pull back the parking brake cable spring, and place the cable into the parking brake lever. Position the rear shoe assembly against the backing plate, push the hold-down pin through the shoe, install the cups, and lock the outer cup to the pin by turning it 90 degrees after compressing the spring. Connect the anchor spring to each shoe's bottom, mount the front shoe to the backing plate, and install the hold-down spring and cups. Stretch the return spring into the front shoe's hole with a screwdriver, verify the parking brake lever's return spring is hooked, and ensure the assembly is seated properly against the backing plate. If the brake drum cannot be easily removed, ensure the parking brake is fully released; if it still cannot be pulled off, retract the brake shoes by removing the plug from the backing plate and using a screwdriver to push the lever off the adjuster star wheel while turning the adjuster wheel. Check the drum for cracks, score marks, deep scratches, and hard spots before reinstalling; if any issues are found, take it to an automotive machine shop for resurfacing. Professionals recommend resurfacing drums with each brake job to prevent out-of-round conditions, and if drums cannot be resurfaced without exceeding the maximum allowable diameter, new ones are necessary. At a minimum, if not resurfacing, remove the glaze with emery cloth. Install the brake drum on the axle flange, followed by the wheel and lug nuts, then lower the vehicle and tighten the lug nuts to the specified torque. Make several forward and reverse stops and operate the parking brake to adjust the brakes for satisfactory pedal action, checking the operation of the brakes carefully before driving.
Posted by ToyotaPartsDeal Specialist