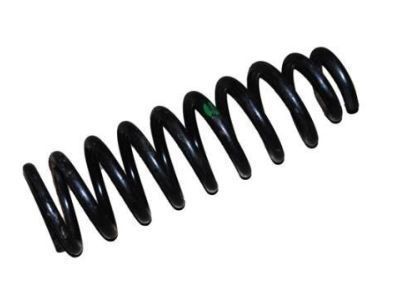
To replace shock absorber/coil spring assemblies, you can choose between installing new complete shock/coil assemblies, which can save time and may be cost-effective, or replacing just the shocks or springs. Begin by loosening the front wheel lug nuts and securely raising the vehicle on jackstands, then remove the front wheels. Proceed to remove the nut and bolt attaching the lower end of the shock absorber to the lower control arm, and on 4WD models, push the bolt through the shock absorber and bracket while being cautious not to damage the driveaxle. Remove the lower control arm, and on models with front absorber control actuators, remove the actuator fasteners, actuators, and brackets, as well as the nuts attaching the upper end of the shock to the frame bracket. Remove the shock absorber/coil spring assembly and inspect both the shock absorber and coil spring for any signs of damage, including leaking fluid, dents, cracks, or chips. Also, check the spring seats for wear and deterioration. If either component is worn or damaged, replace it. Secure the shock/coil assembly in a bench vise, ensuring you protect the shock bodies by lining the vise jaws with wood or shop rags. Use a spring compressor to relieve all spring pressure, then hold the damper rod with a wrench and remove the damper rod nut. Take off the upper retainer, upper cushion, and suspension support, followed by the compressed spring assembly, and then remove the lower retainers and cushion. Inspect the cushions and retainers for damage, and if necessary, replace them. Reassemble the components in reverse order, ensuring the proper seating of the coil spring, and tighten the damper rod nut before releasing spring tension. Finally, reinstall the shock absorber/coil spring assembly following the reverse of the removal process, tightening the upper and lower fasteners, and lug nuts as the final step.
Posted by ToyotaPartsDeal Specialist