
My Garage
My Account
Cart
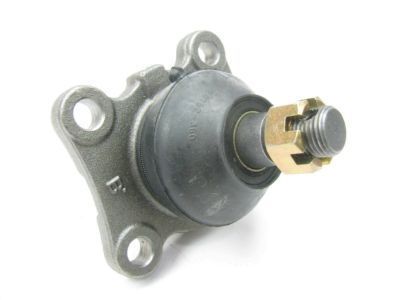
Genuine Toyota 4Runner Ball Joint
Control Arm Joint- Select Vehicle by Model
- Select Vehicle by VIN
Select Vehicle by Model
orMake
Model
Year
Select Vehicle by VIN
For the most accurate results, select vehicle by your VIN (Vehicle Identification Number).
25 Ball Joints found
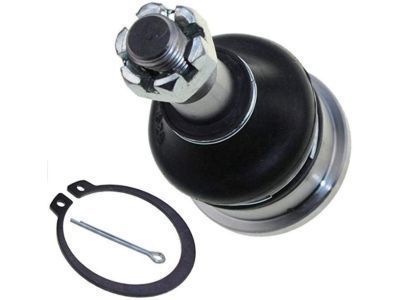
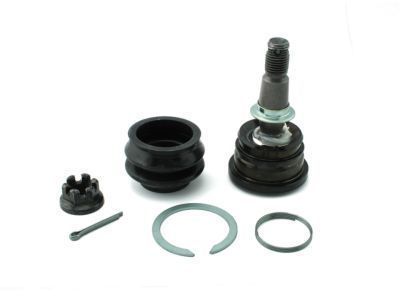
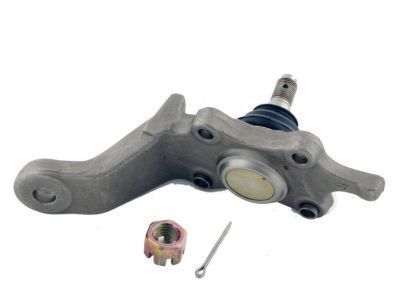
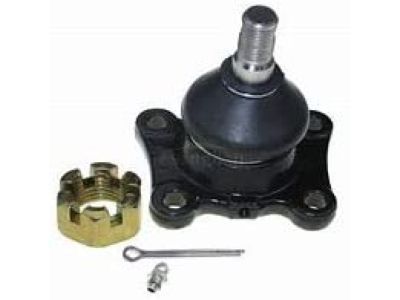
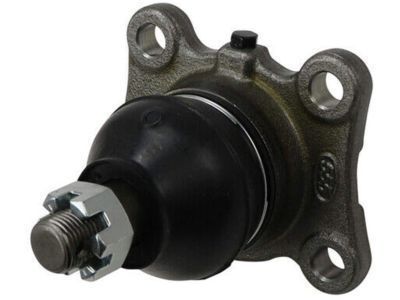
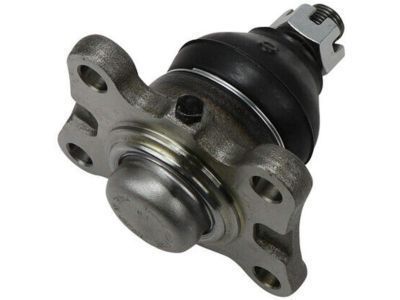
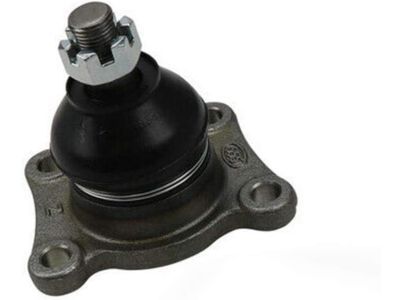
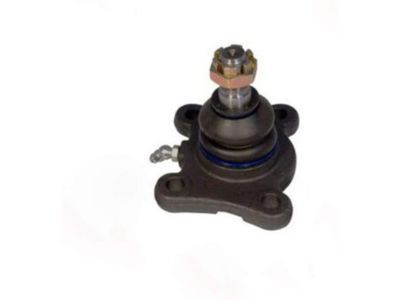
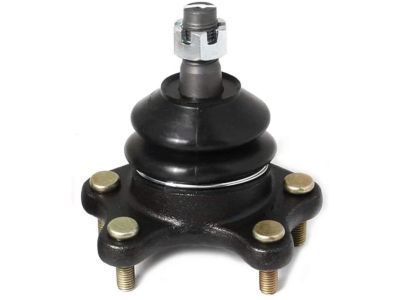
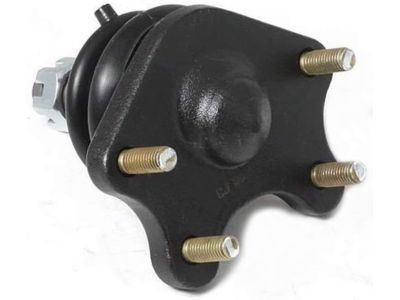
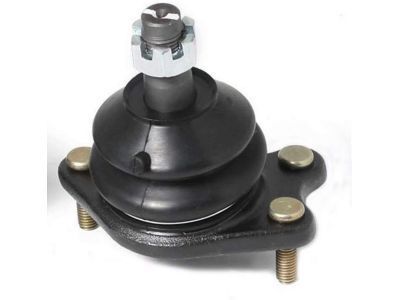
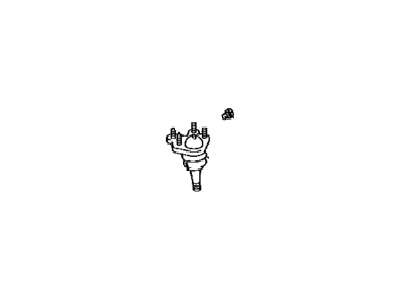
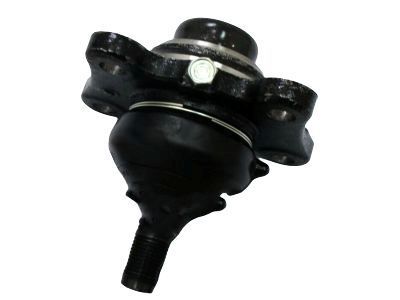
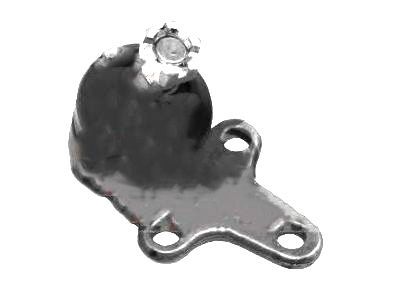
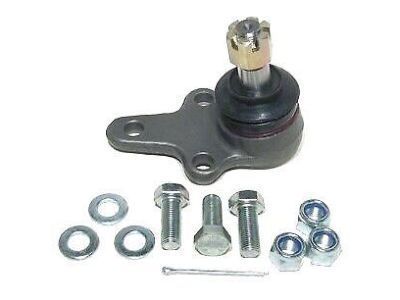
Toyota 4Runner Front Upper Right Suspension Ball Joint Assembly
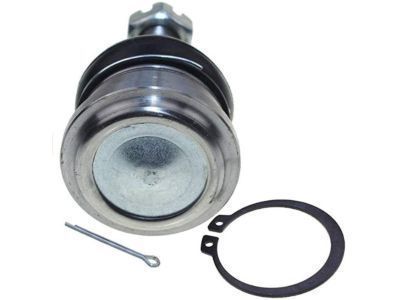
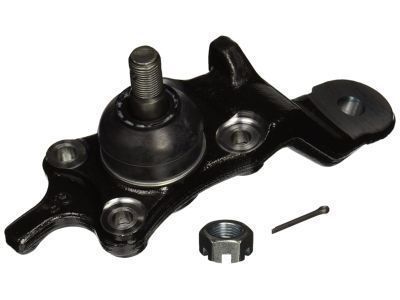
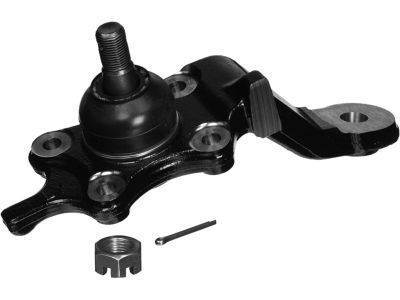
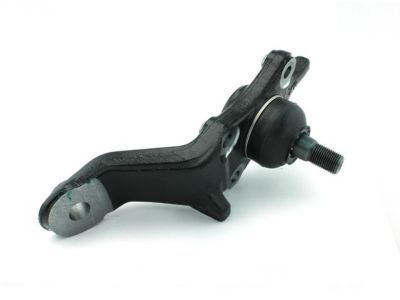
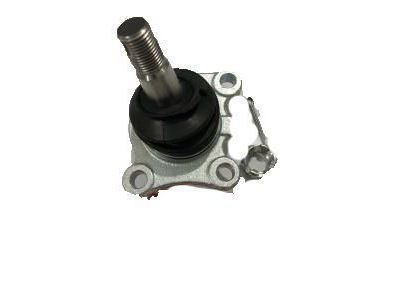
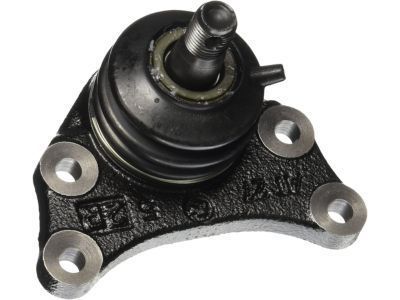
Part Number: 43310-39016$49.73 MSRP: $69.51You Save: $19.78 (29%)Ships in 1-3 Business DaysToyota 4Runner Lower Ball Joint Assembly Front Right
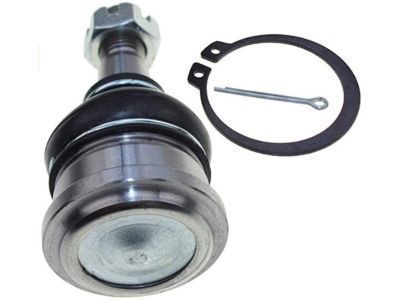
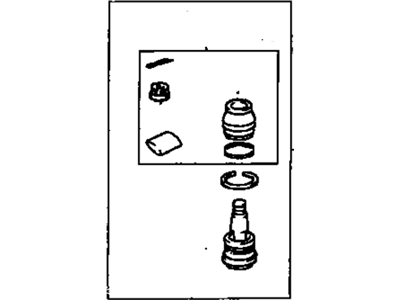
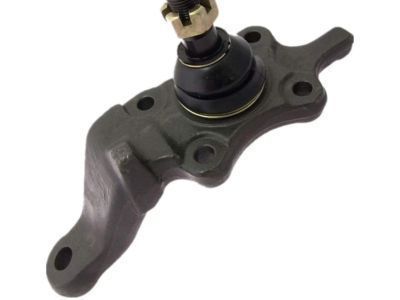
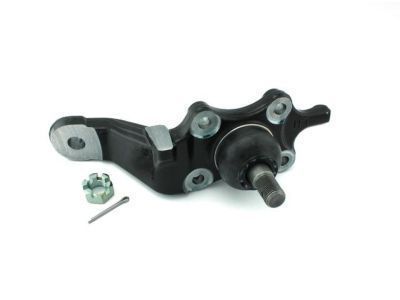
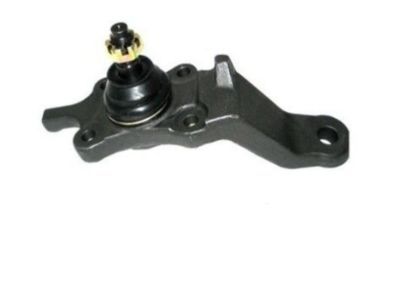
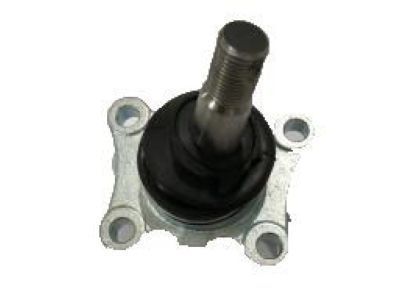
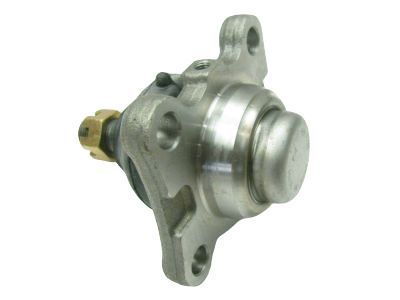
Part Number: 43330-39585$125.76 MSRP: $178.79You Save: $53.03 (30%)Ships in 1-3 Business DaysToyota 4Runner Front Lower Left Suspension Ball Joint Assembly
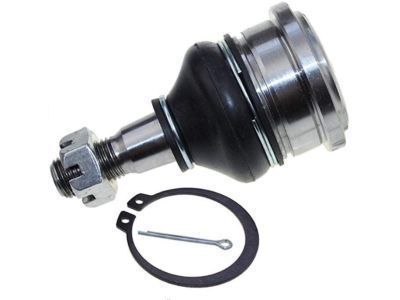
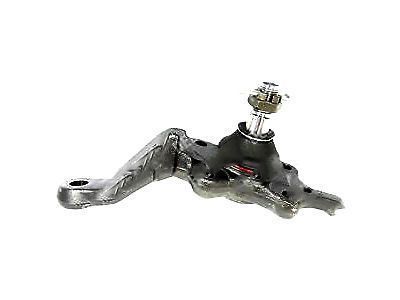
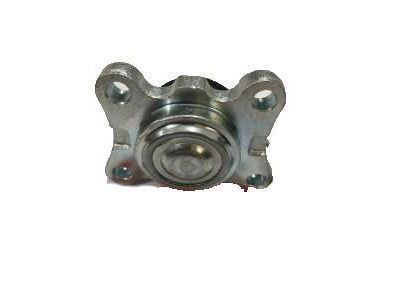
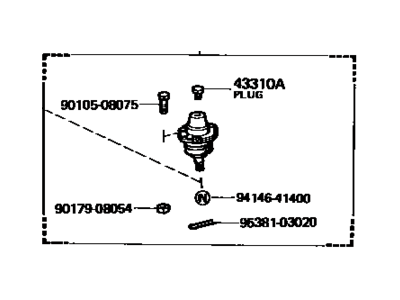
Part Number: 43340-39465$126.70 MSRP: $180.13You Save: $53.43 (30%)Ships in 1-3 Business DaysToyota 4Runner Lower Ball Joint Assembly Front Right
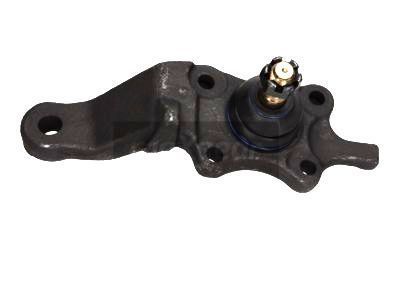
Part Number: 43330-39415$125.76 MSRP: $178.79You Save: $53.03 (30%)Ships in 1-3 Business DaysToyota 4Runner Front Lower Left Suspension Ball Joint Assembly
Part Number: 43340-39325$126.70 MSRP: $180.13You Save: $53.43 (30%)Ships in 1-3 Business DaysToyota 4Runner Front Upper Left Suspension Ball Joint Assembly
Part Number: 43340-39245$84.59 MSRP: $119.25You Save: $34.66 (30%)Ships in 1-3 Business DaysToyota 4Runner Front Upper Right Suspension Ball Joint Assembly
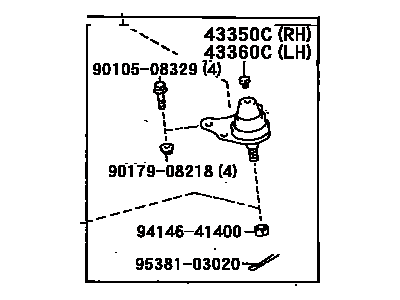
Part Number: 43350-39085$84.59 MSRP: $119.25You Save: $34.66 (30%)Ships in 1-3 Business DaysToyota 4Runner Front Left Lower Ball Joint Attachment
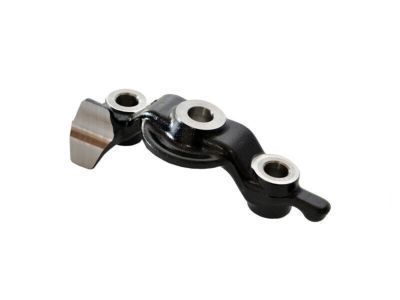
Part Number: 48626-60010$92.26 MSRP: $130.05You Save: $37.79 (30%)Ships in 1-2 Business DaysToyota 4Runner Front Right Lower Ball Joint Attachment
Part Number: 48625-60010$98.75 MSRP: $139.20You Save: $40.45 (30%)Ships in 1-2 Business DaysToyota 4Runner Front Upper Left Suspension Ball Joint Assembly
Part Number: 43360-39085$84.59 MSRP: $119.25You Save: $34.66 (30%)Ships in 1-3 Business DaysToyota 4Runner Front Upper Suspension Ball Joint Assembly
Part Number: 43330-39195$85.18 MSRP: $120.08You Save: $34.90 (30%)Ships in 1-3 Business DaysToyota 4Runner Lower Ball Joint Assembly Front Right
Part Number: 43330-39265$84.59 MSRP: $119.25You Save: $34.66 (30%)Ships in 1-3 Business DaysToyota 4Runner Front Upper Suspension Ball Joint Assembly
Part Number: 43340-39175$85.18 MSRP: $120.08You Save: $34.90 (30%)Ships in 1-3 Business DaysToyota 4Runner Front Right Lower Suspension Ball Joint Assembly
Part Number: 43330-39295$77.40 MSRP: $109.10You Save: $31.70 (30%)Ships in 1-3 Business DaysToyota 4Runner Front Upper Left Suspension Ball Joint Assembly
Part Number: 43350-39075$81.88 MSRP: $115.42You Save: $33.54 (30%)Ships in 1-3 Business DaysToyota 4Runner Lower Ball Joint Assembly Front Right
Part Number: 43330-39315$85.42 MSRP: $120.42You Save: $35.00 (30%)Ships in 1-3 Business DaysToyota 4Runner Upper Ball Joint Assembly
Part Number: 43360-39075$85.42 MSRP: $120.42You Save: $35.00 (30%)Toyota 4Runner Upper Ball Joint Assembly
Part Number: 43350-39045$84.48 MSRP: $119.08You Save: $34.60 (30%)Ships in 1-3 Business DaysToyota 4Runner Lower Ball Joint Assembly Front Right
Part Number: 43330-39245$77.40 MSRP: $109.10You Save: $31.70 (30%)Ships in 1-3 Business DaysToyota 4Runner Upper Ball Joint Assembly
Part Number: 43350-39035$81.88 MSRP: $115.42You Save: $33.54 (30%)Ships in 1-3 Business Days
| Page 1 of 2 |Next >
1-20 of 25 Results
Toyota 4Runner Ball Joint
If you are in demand for superior quality and affordable OEM Toyota 4Runner Ball Joint, then shop with us! We own a wide range of the reduced-priced genuine Toyota 4Runner Ball Joint. You can purchase in confidence as all parts come with a manufacturer's warranty. Any issues with our products? No need to worry as we have a hassle-free return policy to guide you every step of the way.
Toyota 4Runner Ball Joint Parts Questions & Experts Answers
- Q: How to Inspect the Upper and Lower Ball Joints for Looseness on a 2003-2009 Toyota 4Runner?A:Inspect the upper and lower balljoints for looseness whenever the vehicle is raised for any reason, checking the balljoints with the suspension assembled by raising the front of the vehicle and securely supporting it on jackstands. Wipe the balljoints clean and inspect the seals for cuts and tears; if a seal is damaged, it can be replaced by removing the wire clip at the bottom and pulling it off the joint, followed by replacing any lost grease, positioning the new seal, and carefully working the retaining clip into the bottom groove. With the vehicle raised and the lower control arm supported by a floor jack, attach a dial indicator to the lower control arm, ensuring the plunger touches the Steering Knuckle. Apply about 65 pounds of force up and down on the brake disc and check the dial indicator for play in the lower balljoint; if there is more than 0.020-inch of play, replace the suspension arm. If a dial indicator is unavailable, feel for play when applying pressure to the brake disc and replace the suspension arm if any play is detected. For the upper balljoint, with the vehicle raised and supported by the frame, pry up and down on the upper control arm while feeling for play; significant play indicates the need to replace the suspension arm. Balljoints should also be checked whenever separated from the steering knuckle or control arms by attempting to turn the ballstud in its socket with fingers; if it is loose or turns easily, it is worn out. A more accurate bench test involves flipping the balljoint stud back and forth five times, installing the nut, and using an inch-pound torque wrench to measure the turning torque by turning the nut continuously at a rate of one turn every two to four seconds, noting the torque reading on the fifth turn and comparing it to the acceptable torque range; if the indicated turning torque is outside the specified range, the balljoint is worn out.
Related Toyota 4Runner Parts
Browse by Year
2024 Ball Joint 2023 Ball Joint 2022 Ball Joint 2021 Ball Joint 2020 Ball Joint 2019 Ball Joint 2018 Ball Joint 2017 Ball Joint 2016 Ball Joint 2015 Ball Joint 2014 Ball Joint 2013 Ball Joint 2012 Ball Joint 2011 Ball Joint 2010 Ball Joint 2009 Ball Joint 2008 Ball Joint 2007 Ball Joint 2006 Ball Joint 2005 Ball Joint 2004 Ball Joint 2003 Ball Joint 2002 Ball Joint 2001 Ball Joint 2000 Ball Joint 1999 Ball Joint 1998 Ball Joint 1997 Ball Joint 1996 Ball Joint 1995 Ball Joint 1994 Ball Joint 1993 Ball Joint 1992 Ball Joint 1991 Ball Joint 1990 Ball Joint 1989 Ball Joint 1988 Ball Joint 1987 Ball Joint 1986 Ball Joint 1985 Ball Joint 1984 Ball Joint
