
My Garage
My Account
Cart
Genuine Toyota Celica Alternator Brush
Alternator Brushes- Select Vehicle by Model
- Select Vehicle by VIN
Select Vehicle by Model
orMake
Model
Year
Select Vehicle by VIN
For the most accurate results, select vehicle by your VIN (Vehicle Identification Number).
28 Alternator Brushes found
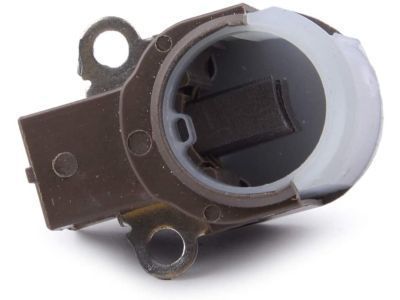
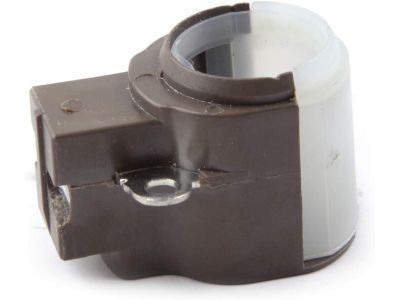
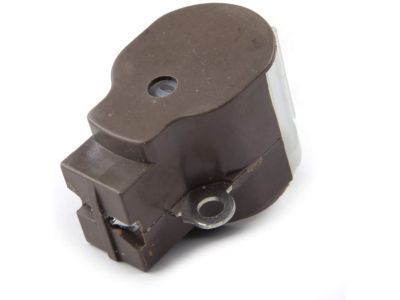
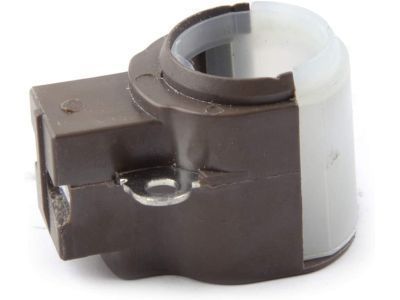
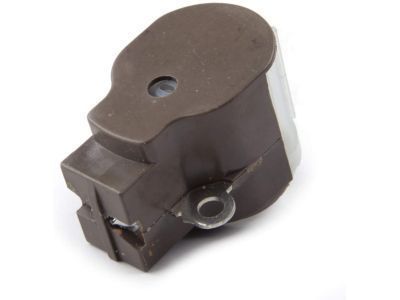
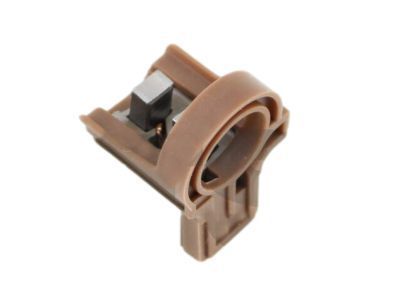
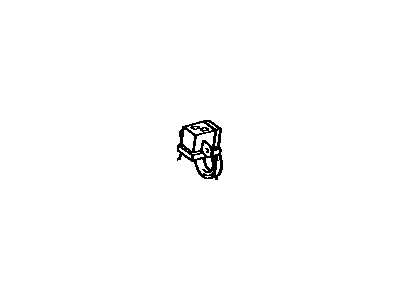
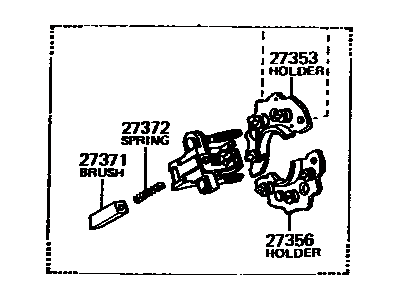
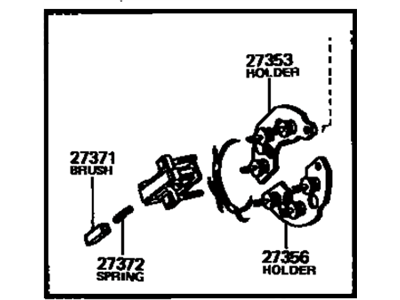
Toyota Celica Alternator Brush Holder Assembly
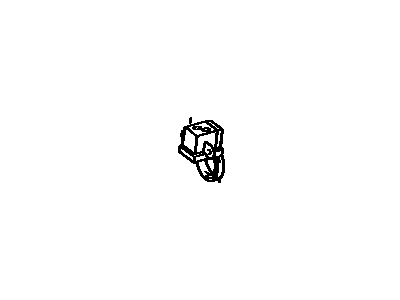
Part Number: 27370-75060$23.07 MSRP: $32.25You Save: $9.18 (29%)Ships in 1-3 Business DaysToyota Celica Alternator Brush Holder Assembly
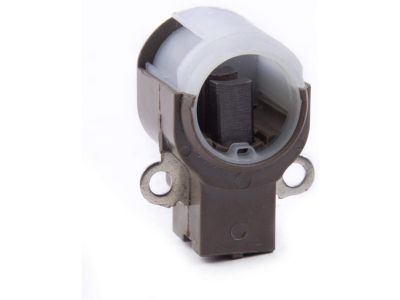
Part Number: 27370-35060$25.45 MSRP: $35.58You Save: $10.13 (29%)Ships in 1-3 Business DaysToyota Celica Brush, Alternator
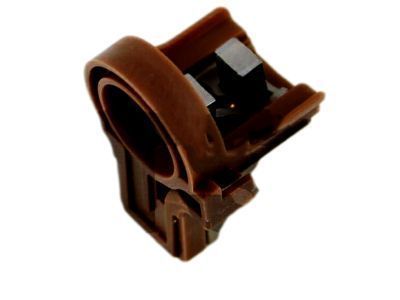
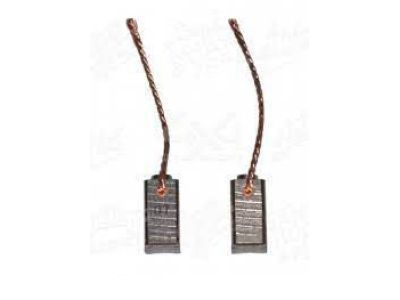
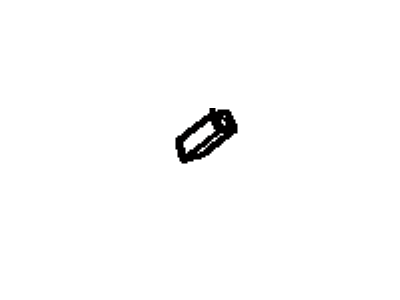
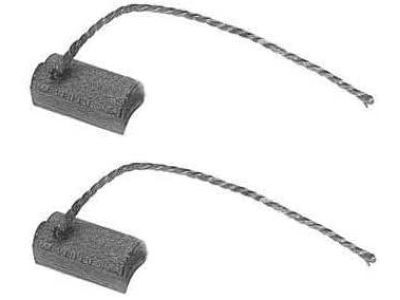
Part Number: 27371-70300$5.46 MSRP: $7.64You Save: $2.18 (29%)Ships in 1-3 Business DaysToyota Celica Brush, Alternator
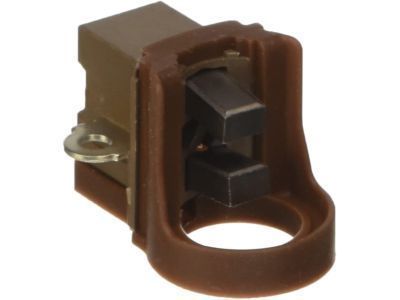
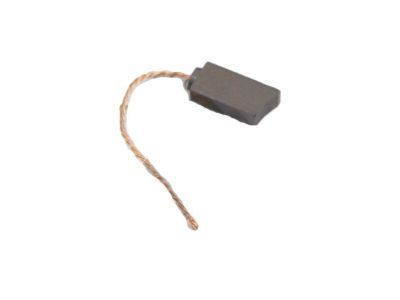
Part Number: 27371-31011$10.10 MSRP: $14.12You Save: $4.02 (29%)Ships in 1-3 Business DaysToyota Celica Brush, Alternator
Part Number: 27371-63020$25.45 MSRP: $35.58You Save: $10.13 (29%)Ships in 1-3 Business DaysToyota Celica Alternator Brush Holder Assembly
Part Number: 27370-63021$25.45 MSRP: $35.58You Save: $10.13 (29%)Ships in 1-3 Business DaysToyota Celica Rectifier Assy, W/Brush
Part Number: 27362-45120$139.18 MSRP: $199.90You Save: $60.72 (31%)Ships in 1-3 Business DaysToyota Celica Rectifier Assy, W/Brush
Part Number: 27362-70010$149.20 MSRP: $214.30You Save: $65.10 (31%)Ships in 1-3 Business DaysToyota Celica Alternator Brush Holder Assembly
Part Number: 27370-42010$23.07 MSRP: $32.25You Save: $9.18 (29%)Ships in 1 Business DayToyota Celica Alternator Brush Holder Assembly
Part Number: 27370-63020$25.45 MSRP: $35.58You Save: $10.13 (29%)Ships in 1-3 Business DaysToyota Celica Rectifier Assy, W/Brush
Part Number: 27362-28020$131.64 MSRP: $189.07You Save: $57.43 (31%)Ships in 1-3 Business DaysToyota Celica Rectifier Assy, W/Brush
Part Number: 27362-28021$131.64 MSRP: $189.07You Save: $57.43 (31%)Ships in 1-3 Business DaysToyota Celica Rectifier Assy, W/Brush
Part Number: 27362-70020$139.18 MSRP: $199.90You Save: $60.72 (31%)Ships in 1-3 Business DaysToyota Celica Rectifier Assy, W/Brush
Part Number: 27362-41080$149.20 MSRP: $214.30You Save: $65.10 (31%)Ships in 1-3 Business DaysToyota Celica Rectifier Assy, W/Brush
Part Number: 27362-38100$298.96 MSRP: $433.09You Save: $134.13 (31%)Ships in 1-3 Business DaysToyota Celica Rectifier Assy, W/Brush
Part Number: 27362-38101$61.34 MSRP: $87.34You Save: $26.00 (30%)Ships in 1-3 Business DaysToyota Celica Brush, Alternator
Part Number: 27371-44070$10.10 MSRP: $14.12You Save: $4.02 (29%)Ships in 1-3 Business DaysToyota Celica Alternator Brush Holder Assembly
Part Number: 27370-70300$25.45 MSRP: $35.58You Save: $10.13 (29%)Ships in 1-3 Business DaysToyota Celica Alternator Brush Holder Assembly
Part Number: 27370-72100$25.45 MSRP: $35.58You Save: $10.13 (29%)Ships in 1-3 Business Days
| Page 1 of 2 |Next >
1-20 of 28 Results
Toyota Celica Alternator Brush
If you are in demand for superior quality and affordable OEM Toyota Celica Alternator Brush, then shop with us! We own a wide range of the reduced-priced genuine Toyota Celica Alternator Brush. You can purchase in confidence as all parts come with a manufacturer's warranty. Any issues with our products? No need to worry as we have a hassle-free return policy to guide you every step of the way.
Toyota Celica Alternator Brush Parts Questions & Experts Answers
- Q: How to remove and replace the Alternator Brush and Voltage Regulator on Toyota Celica?A:Unmount the wiring assembly's Alternator and set it down on a miite surface such as a workbench. Remove three nuts at the rear cover and nut and terminal insulator and take off the rear cover. Subsequently, six screws at the brush holder and voltage regulator must be unscrewed. Following the removal of the rear cover, the brush holder and the regulator should be pulled out from the rear end frame. If only the regulator is getting changed, then fit the new regulator, assemble the alternator and finally, fit the same on the engine. If replacing the brushes, then first note the size of the exposed portion of the brushes and then check whether it meets the minimum length; if not, then replace it. Also, make sure that each brush slide easily in the brush holder. To install the brush holder a small screwdriver is used to force down each brush against the shaft. Screw the nuts on the voltage regulator and brush holder at the rear frame after this, place the rear cover and tighten the three nuts until they are tight well. Last, add and then screw down the terminal insulator and at last, fit it with the alternator.
Related Toyota Celica Parts
Browse by Year
2005 Alternator Brush 2004 Alternator Brush 2003 Alternator Brush 2002 Alternator Brush 2001 Alternator Brush 2000 Alternator Brush 1999 Alternator Brush 1998 Alternator Brush 1997 Alternator Brush 1996 Alternator Brush 1995 Alternator Brush 1994 Alternator Brush 1993 Alternator Brush 1992 Alternator Brush 1991 Alternator Brush 1990 Alternator Brush 1989 Alternator Brush 1988 Alternator Brush 1987 Alternator Brush 1986 Alternator Brush 1985 Alternator Brush 1984 Alternator Brush 1983 Alternator Brush 1982 Alternator Brush 1981 Alternator Brush 1980 Alternator Brush 1979 Alternator Brush 1978 Alternator Brush
