
My Garage
My Account
Cart
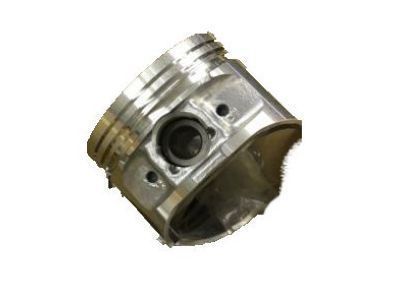
Genuine Toyota Celica Piston
Engine Pistons- Select Vehicle by Model
- Select Vehicle by VIN
Select Vehicle by Model
orMake
Model
Year
Select Vehicle by VIN
For the most accurate results, select vehicle by your VIN (Vehicle Identification Number).
88 Pistons found
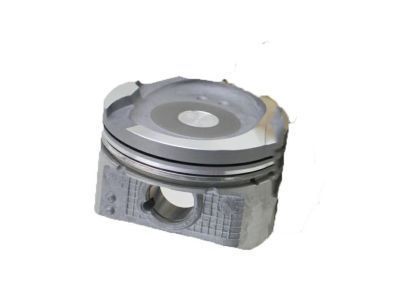
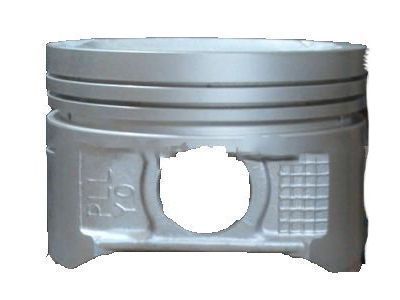
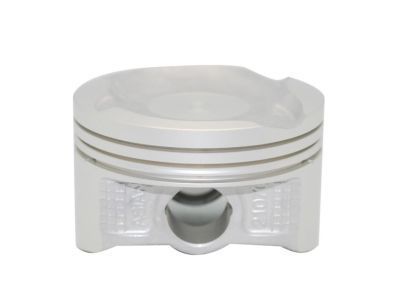
Toyota Celica Piston Sub-Assembly with Pin
Part Number: 13101-22032$103.36 MSRP: $145.70You Save: $42.34 (30%)Ships in 1-3 Business DaysToyota Celica Piston Sub-Assembly with Pin
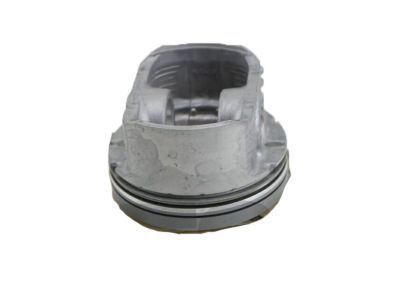
Part Number: 13101-22031$103.36 MSRP: $145.70You Save: $42.34 (30%)Ships in 1-3 Business DaysToyota Celica Piston Sub-Assembly with Pin
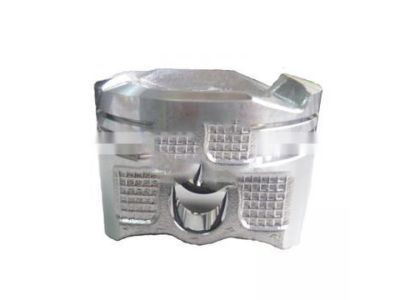
Part Number: 13101-88381-01$115.51 MSRP: $162.82You Save: $47.31 (30%)Ships in 1-3 Business DaysToyota Celica Piston Sub-Assembly with Pin
Part Number: 13101-74030$67.78 MSRP: $95.55You Save: $27.77 (30%)Ships in 1-3 Business DaysToyota Celica Piston Sub-Assembly with Pin
Part Number: 13103-74130$110.93 MSRP: $156.38You Save: $45.45 (30%)Ships in 1-3 Business DaysToyota Celica Piston Sub-Assembly with Pin
Part Number: 13101-74031$67.78 MSRP: $95.55You Save: $27.77 (30%)Ships in 1-3 Business DaysToyota Celica Piston Sub-Assembly with Pin
Part Number: 13101-74032$67.78 MSRP: $95.55You Save: $27.77 (30%)Ships in 1-3 Business DaysToyota Celica Piston Sub-Assembly with Pin
Part Number: 13103-16150$76.17 MSRP: $107.38You Save: $31.21 (30%)Ships in 1-2 Business DaysToyota Celica Piston Sub-Assembly with Pin
Part Number: 13101-88380$82.06 MSRP: $115.67You Save: $33.61 (30%)Ships in 1-3 Business DaysToyota Celica Piston Sub-Assembly with Pin
Part Number: 13105-35030$18.94 MSRP: $107.81You Save: $88.87 (83%)Ships in 1-2 Business DaysToyota Celica Piston Sub-Assembly with Pin
Part Number: 13101-22030$103.36 MSRP: $145.70You Save: $42.34 (30%)Ships in 1-3 Business DaysToyota Celica Piston Sub-Assembly with Pin
Part Number: 13101-16090-03$76.10 MSRP: $107.28You Save: $31.18 (30%)Ships in 1-3 Business DaysToyota Celica Piston Sub-Assembly with Pin
Part Number: 13101-35030$88.49 MSRP: $124.73You Save: $36.24 (30%)Ships in 1-3 Business DaysToyota Celica Piston Sub-Assembly with Pin
Part Number: 13101-16090-02$101.04 MSRP: $142.43You Save: $41.39 (30%)Ships in 1-3 Business DaysToyota Celica Piston Sub-Assembly with Pin
Part Number: 13101-43051$101.39 MSRP: $142.91You Save: $41.52 (30%)Ships in 1-3 Business DaysToyota Celica Piston Sub-Assembly with Pin
Part Number: 13103-43050$65.90 MSRP: $92.90You Save: $27.00 (30%)Ships in 1-3 Business DaysToyota Celica Piston Sub-Assembly with Pin
Part Number: 13104-43030$68.23 MSRP: $96.18You Save: $27.95 (30%)Ships in 1-3 Business DaysToyota Celica Piston Sub-Assembly with Pin
Part Number: 13101-88601$113.50 MSRP: $160.00You Save: $46.50 (30%)Toyota Celica Piston Sub-Assembly with Pin
Part Number: 13101-74130-02$109.41 MSRP: $154.23You Save: $44.82 (30%)
| Page 1 of 5 |Next >
1-20 of 88 Results
Toyota Celica Piston
If you are in demand for superior quality and affordable OEM Toyota Celica Piston, then shop with us! We own a wide range of the reduced-priced genuine Toyota Celica Piston. You can purchase in confidence as all parts come with a manufacturer's warranty. Any issues with our products? No need to worry as we have a hassle-free return policy to guide you every step of the way.
Toyota Celica Piston Parts Questions & Experts Answers
- Q: How to install piston/connecting rod assemblies on Toyota Celica?A:Before installing the piston and connecting rod assemblies, ensure the cylinder walls are clean, the top edge of each cylinder is chamfered, and the crankshaft is in place. Remove the cap from the number one connecting rod, take out the original bearing inserts, and wipe the bearing surfaces with a clean, lint-free cloth. Clean the back side of the new upper bearing insert and lay it in place in the connecting rod, ensuring the tab fits into the recess and the oil holes align without hammering or lubricating the bearing. Clean the back side of the other bearing insert and install it in the rod cap, again ensuring the tab fits into the recess without lubrication. Stagger the piston ring gaps around the piston, slip a section of hose over each connecting rod cap bolt, lubricate the piston and rings with clean engine oil, and attach a piston ring compressor, leaving the skirt protruding about 1/4-inch. Rotate the crankshaft until the number one connecting rod journal is at bottom dead center and apply engine oil to the cylinder walls. With the dimple on top of the piston facing the front of the engine, gently insert the piston/connecting rod assembly into the number one cylinder bore, resting the bottom edge of the ring compressor on the engine block. Tap the top edge of the ring compressor to ensure contact with the block, then gently tap the top of the piston with a wooden hammer handle while guiding the connecting rod into place on the crankshaft journal, being cautious of any resistance. After installation, check the connecting rod bearing oil clearance before permanently bolting the rod cap in place by laying a piece of Plastigage on the number one connecting rod journal and cleaning the rod cap bearing face. Install the rod cap, ensuring the mating marks align, and apply a light coat of oil to the nuts before tightening them to the specified torque in three steps. Remove the nuts and detach the rod cap carefully to avoid disturbing the Plastigage, then compare the width of the crushed Plastigage to the scale to obtain the oil clearance. If the clearance is not as specified, check for dirt or oil between the bearing inserts and the connecting rod or cap, and recheck the journal diameter. Carefully scrape off any Plastigage material from the rod journal and bearing face without scratching the bearing, then apply a uniform layer of clean moly-base grease or engine assembly lube to both bearing faces. Slide the connecting rod back into place on the journal, remove the protective hoses, install the rod cap, and tighten the nuts to the specified torque, repeating the procedure for the remaining pistons and connecting rods. Important points include keeping the bearing inserts and connecting rods clean, ensuring the correct piston/rod assembly for each cylinder, having the dimple on the piston face the front of the engine, lubricating the cylinder walls, and lubricating the bearing faces when installing the rod caps. After all assemblies are installed, rotate the crankshaft by hand to check for binding, and finally, check the connecting rod endplay, comparing the measured endplay to the specifications to ensure correctness. If new rods or a new crankshaft were installed, inadequate endplay may require removal of the rods for resizing at an automotive machine shop.
Related Toyota Celica Parts
Browse by Year
2005 Piston 2004 Piston 2003 Piston 2002 Piston 2001 Piston 2000 Piston 1999 Piston 1998 Piston 1997 Piston 1996 Piston 1995 Piston 1994 Piston 1993 Piston 1992 Piston 1991 Piston 1990 Piston 1989 Piston 1988 Piston 1987 Piston 1986 Piston 1985 Piston 1984 Piston 1983 Piston 1982 Piston 1981 Piston 1980 Piston 1979 Piston 1978 Piston

