×
- Live Chat
- 1-888-905-9199


My Garage
My Account
Cart
Genuine Toyota Corolla Crankshaft Seal
- Select Vehicle by Model
- Select Vehicle by VIN
Select Vehicle by Model
orMake
Model
Year
Select Vehicle by VIN
For the most accurate results, select vehicle by your VIN (Vehicle Identification Number).
35 Crankshaft Seals found
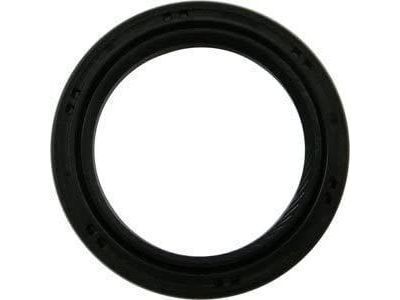
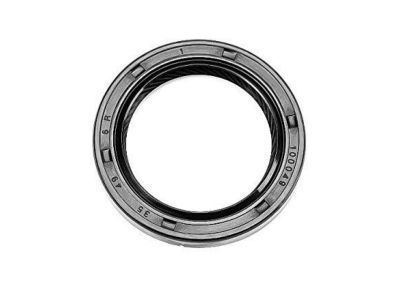
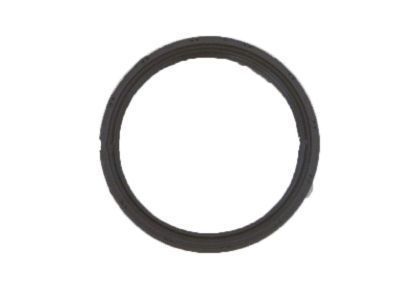
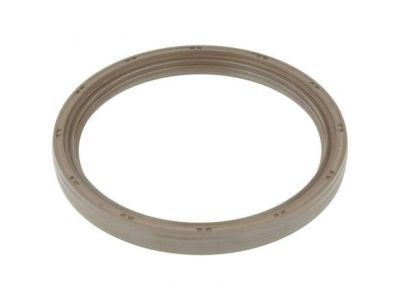
Toyota Corolla Seal, Oil
Part Number: 90080-31049$9.85 MSRP: $13.77You Save: $3.92 (29%)Ships in 1-3 Business DaysToyota Corolla Seal, Type T Oil
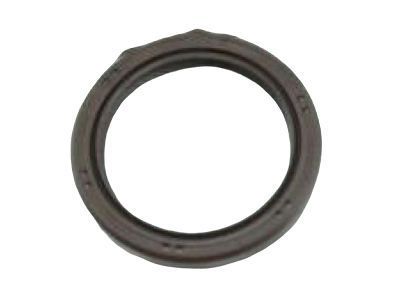
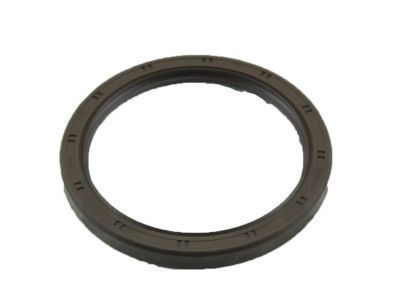
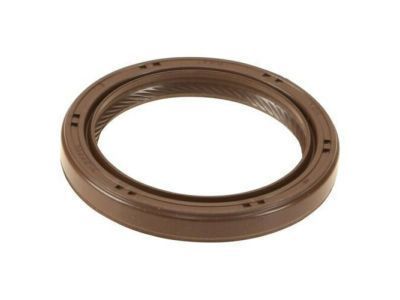
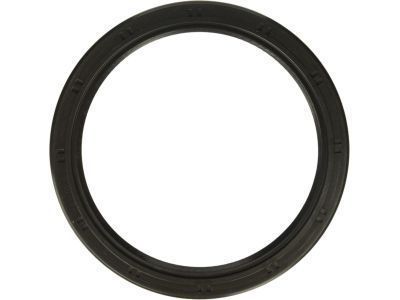
Part Number: 90311-A0018$11.72 MSRP: $16.39You Save: $4.67 (29%)Ships in 1-2 Business DaysToyota Corolla Seal, Oil
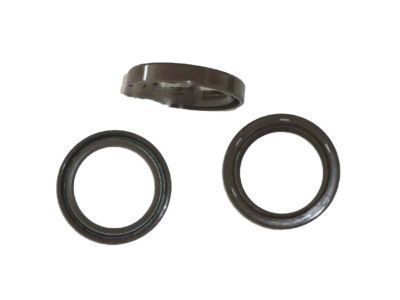
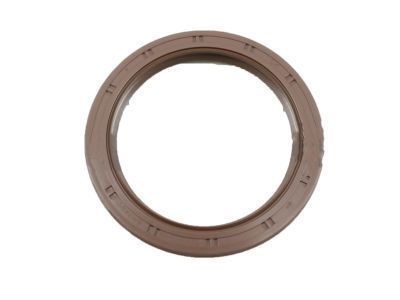
Part Number: 90311-38089$11.72 MSRP: $16.39You Save: $4.67 (29%)Ships in 1-3 Business DaysToyota Corolla Seal, Type T Oil
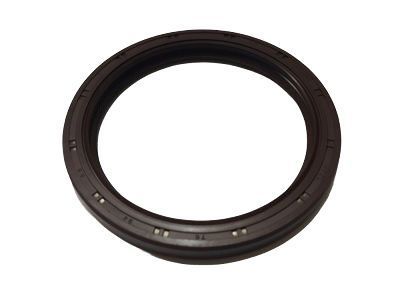
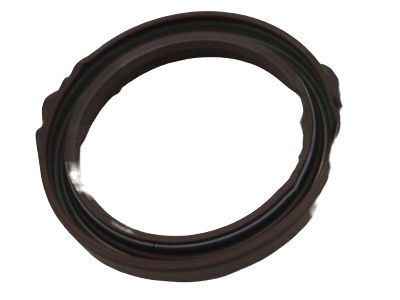
Part Number: 90311-89010$40.09 MSRP: $56.03You Save: $15.94 (29%)Ships in 1-3 Business DaysToyota Corolla Seal, Oil
Part Number: 90311-38059$9.85 MSRP: $13.77You Save: $3.92 (29%)Ships in 1-3 Business DaysToyota Corolla Seal, Type T Oil
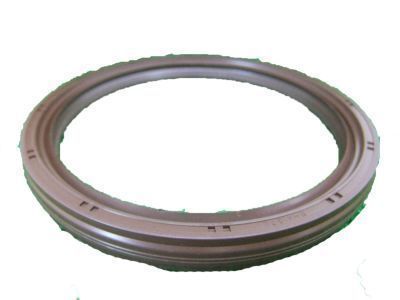
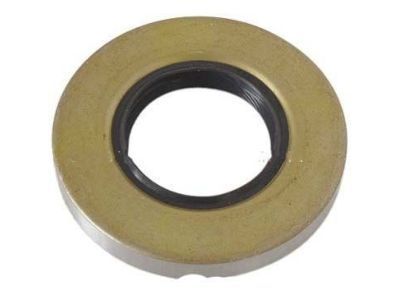
Part Number: 90311-35013$12.66 MSRP: $17.69You Save: $5.03 (29%)Ships in 1-3 Business DaysToyota Corolla Seal, Engine Rear Oil
Part Number: 90311-85010$34.62 MSRP: $48.39You Save: $13.77 (29%)Ships in 1-3 Business DaysToyota Corolla Seal, Engine Rear Oil
Part Number: 90311-70007$38.78 MSRP: $54.21You Save: $15.43 (29%)Ships in 1-2 Business DaysToyota Corolla Seal, Engine Rear Oil
Part Number: 90311-76001$44.02 MSRP: $61.53You Save: $17.51 (29%)Ships in 1-3 Business DaysToyota Corolla Seal, Engine Rear Oil
Part Number: 90311-89003$40.09 MSRP: $56.03You Save: $15.94 (29%)Ships in 1-2 Business DaysToyota Corolla Seal, Type T Oil
Part Number: 90311-38098$11.69 MSRP: $16.33You Save: $4.64 (29%)Ships in 1-3 Business DaysToyota Corolla Seal, Type T Oil
Part Number: 90311-38096$11.72 MSRP: $16.39You Save: $4.67 (29%)Ships in 1-3 Business DaysToyota Corolla Seal
Part Number: 90311-42003$11.38 MSRP: $15.90You Save: $4.52 (29%)Ships in 1-2 Business DaysToyota Corolla Seal, Type T Oil
Part Number: 90311-89007$40.09 MSRP: $56.03You Save: $15.94 (29%)Ships in 1 Business DayToyota Corolla Seal, Engine Rear Oil
Part Number: 90080-31050$44.02 MSRP: $61.53You Save: $17.51 (29%)Ships in 1-3 Business DaysToyota Corolla Seal, Type T Oil
Part Number: 90311-A0017$58.30 MSRP: $81.49You Save: $23.19 (29%)Ships in 1 Business DayToyota Corolla Seal, Engine Rear Oil
Part Number: 90311-76002$49.02 MSRP: $68.51You Save: $19.49 (29%)Ships in 1 Business DayToyota Corolla Seal, Type T Oil
Part Number: 90311-A0033$13.47 MSRP: $18.83You Save: $5.36 (29%)Ships in 1-3 Business DaysToyota Corolla Seal, Type T Oil
Part Number: 90311-A0035$40.09 MSRP: $56.03You Save: $15.94 (29%)Ships in 1-3 Business DaysToyota Corolla Seal, Type T Oil
Part Number: 90311-78008$44.26 MSRP: $61.85You Save: $17.59 (29%)Ships in 1-3 Business Days
| Page 1 of 2 |Next >
1-20 of 35 Results
Toyota Corolla Crankshaft Seal
If you are in demand for superior quality and affordable OEM Toyota Corolla Crankshaft Seal, then shop with us! We own a wide range of the reduced-priced genuine Toyota Corolla Crankshaft Seal. You can purchase in confidence as all parts come with a manufacturer's warranty. Any issues with our products? No need to worry as we have a hassle-free return policy to guide you every step of the way.
Toyota Corolla Crankshaft Seal Parts Questions & Experts Answers
- Q: How do you remove and install a crankshaft pulley and oil seal on Toyota Corolla?A: Remove the Crankshaft Pulley and note how the seal is installed, ensuring the new one is positioned to the same depth and orientation. Carefully pry the oil seal out of the cover using a seal puller or a large screwdriver, taking care not to damage the crankshaft. To facilitate removal, cut the lip of the seal with a utility knife, and avoid distorting the cover or scratching the crankshaft by wrapping electrician's tape around the screwdriver tip. Apply clean engine oil or multi-purpose grease to the outer edge of the new seal, then install it in the cover with the lip facing inward. Drive the seal into place using a seal driver or a large socket and hammer, ensuring it enters the bore squarely and stops at the proper depth. Check the surface on the pulley hub where the oil seal rides; if it shows grooves from prolonged contact, a press-on sleeve may be available to renew the sealing surface. This sleeve can be pressed into place with a hammer and a block of wood, commonly found at auto parts stores. Lubricate the pulley hub with clean engine oil and reinstall the crankshaft pulley, then install the retaining bolt and tighten it to the specified torque. The remainder of the installation follows the reverse order of removal.
Related Toyota Corolla Parts
Browse by Year
2024 Crankshaft Seal 2023 Crankshaft Seal 2022 Crankshaft Seal 2021 Crankshaft Seal 2020 Crankshaft Seal 2019 Crankshaft Seal 2018 Crankshaft Seal 2017 Crankshaft Seal 2016 Crankshaft Seal 2015 Crankshaft Seal 2014 Crankshaft Seal 2013 Crankshaft Seal 2012 Crankshaft Seal 2011 Crankshaft Seal 2010 Crankshaft Seal 2009 Crankshaft Seal 2008 Crankshaft Seal 2007 Crankshaft Seal 2006 Crankshaft Seal 2005 Crankshaft Seal 2004 Crankshaft Seal 2003 Crankshaft Seal 2002 Crankshaft Seal 2001 Crankshaft Seal 2000 Crankshaft Seal 1999 Crankshaft Seal 1998 Crankshaft Seal 1997 Crankshaft Seal 1996 Crankshaft Seal 1995 Crankshaft Seal 1994 Crankshaft Seal 1993 Crankshaft Seal 1992 Crankshaft Seal 1991 Crankshaft Seal 1990 Crankshaft Seal 1989 Crankshaft Seal 1988 Crankshaft Seal 1987 Crankshaft Seal 1986 Crankshaft Seal 1985 Crankshaft Seal 1984 Crankshaft Seal 1983 Crankshaft Seal 1982 Crankshaft Seal 1981 Crankshaft Seal 1980 Crankshaft Seal 1979 Crankshaft Seal 1978 Crankshaft Seal 1977 Crankshaft Seal 1976 Crankshaft Seal 1975 Crankshaft Seal
