×
- Live Chat
- 1-888-905-9199


My Garage
My Account
Cart
Genuine Toyota Corolla Door Latch Assembly
Door Latch- Select Vehicle by Model
- Select Vehicle by VIN
Select Vehicle by Model
orMake
Model
Year
Select Vehicle by VIN
For the most accurate results, select vehicle by your VIN (Vehicle Identification Number).
119 Door Latch Assemblys found
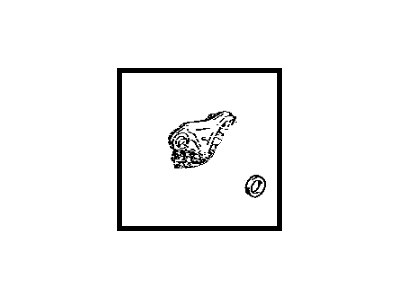
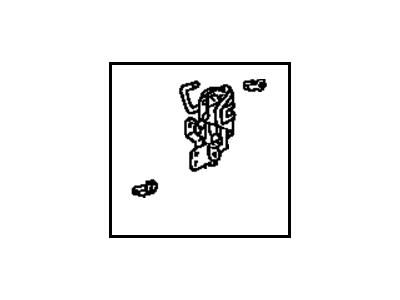
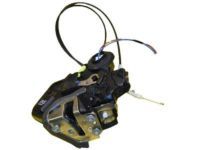
Toyota Corolla Rear Door Lock Assembly W/Motor, Right
Part Number: 69050-06100$235.40 MSRP: $337.55You Save: $102.15 (31%)Ships in 1-2 Business DaysToyota Corolla Rear Door Lock Assembly W/Motor, Left
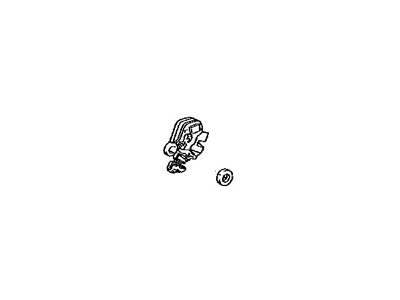
Part Number: 69060-06100$235.40 MSRP: $337.55You Save: $102.15 (31%)Ships in 1-3 Business DaysToyota Corolla Rear Door Lock Assembly W/Motor, Right
Part Number: 69050-33120$235.40 MSRP: $337.55You Save: $102.15 (31%)Ships in 1-3 Business DaysToyota Corolla Rear Door Lock Assembly W/Motor, Left
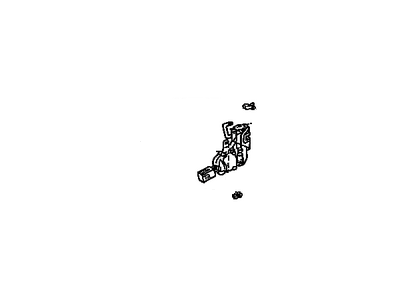
Part Number: 69060-33120$235.40 MSRP: $337.55You Save: $102.15 (31%)Ships in 1-2 Business DaysToyota Corolla Rear Door Lock Assembly W/Motor, Right
Part Number: 69050-02340$229.29 MSRP: $328.78You Save: $99.49 (31%)Ships in 1-3 Business DaysToyota Corolla Rear Door Lock Assembly W/Motor, Left
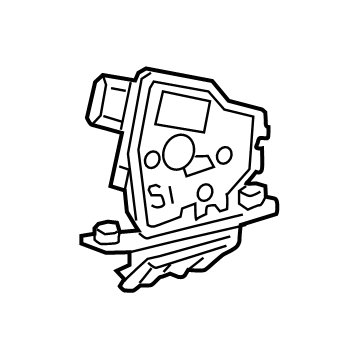
Part Number: 69060-02340$229.29 MSRP: $328.78You Save: $99.49 (31%)Ships in 1-3 Business DaysToyota Corolla Rear Door Lock Assembly W/Motor, Right
Part Number: 69050-02350$213.99 MSRP: $306.84You Save: $92.85 (31%)Ships in 1-3 Business DaysToyota Corolla Rear Door Lock Assembly W/Motor, Left
Part Number: 69060-13090$240.11 MSRP: $344.30You Save: $104.19 (31%)Ships in 1-3 Business DaysToyota Corolla Rear Door Lock Assembly, Left
Part Number: 69060-AA040$254.24 MSRP: $364.55You Save: $110.31 (31%)Ships in 1-3 Business DaysToyota Corolla Rear Door Lock Assembly W/Motor, Right
Part Number: 69050-42021$203.41 MSRP: $291.68You Save: $88.27 (31%)Ships in 1-3 Business DaysToyota Corolla Rear Door Lock Assembly W/Motor, Right
Part Number: 69050-02210$214.22 MSRP: $307.17You Save: $92.95 (31%)Ships in 1-3 Business DaysToyota Corolla Rear Door Lock Assembly, Left
Part Number: 69306-02021$108.73 MSRP: $153.26You Save: $44.53 (30%)Ships in 1-3 Business DaysToyota Corolla Rear Door Lock Assembly W/Motor, Left
Part Number: 69060-02350$213.99 MSRP: $306.84You Save: $92.85 (31%)Ships in 1-3 Business DaysToyota Corolla Rear Door Lock Assembly W/Motor, Left
Part Number: 69060-33071$224.12 MSRP: $321.38You Save: $97.26 (31%)Ships in 1-2 Business DaysToyota Corolla Rear Door Lock Assembly, Right
Part Number: 69330-02110$129.87 MSRP: $184.63You Save: $54.76 (30%)Ships in 1-3 Business DaysToyota Corolla Back Door Lock Assembly
Part Number: 69350-13380$190.68 MSRP: $273.42You Save: $82.74 (31%)Ships in 1-3 Business DaysToyota Corolla Rear Door Lock Assembly W/Motor, Left
Part Number: 69060-42021$203.41 MSRP: $291.68You Save: $88.27 (31%)Ships in 1-3 Business DaysToyota Corolla Rear Door Lock Assembly, Left
Part Number: 69306-12051$210.80 MSRP: $302.26You Save: $91.46 (31%)Ships in 1-3 Business DaysToyota Corolla Rear Door Lock Assembly W/Motor, Right
Part Number: 69050-33071$224.12 MSRP: $321.38You Save: $97.26 (31%)Ships in 1-3 Business DaysToyota Corolla Rear Door Lock Assembly W/Motor, Right
Part Number: 69050-13090$240.11 MSRP: $344.30You Save: $104.19 (31%)Ships in 1-2 Business Days
| Page 1 of 6 |Next >
1-20 of 119 Results
Toyota Corolla Door Latch Assembly
If you are in demand for superior quality and affordable OEM Toyota Corolla Door Latch Assembly, then shop with us! We own a wide range of the reduced-priced genuine Toyota Corolla Door Latch Assembly. You can purchase in confidence as all parts come with a manufacturer's warranty. Any issues with our products? No need to worry as we have a hassle-free return policy to guide you every step of the way.
Toyota Corolla Door Latch Assembly Parts Questions & Experts Answers
- Q: How to remove and install the door latch, lock cylinder and handle on Toyota Corolla?A: Remove the door trim panel and the plastic water shield. Reach inside the door and disconnect the control links from the latch. Remove the latch retaining screws from the end of the door and detach the door latch along with the door lock solenoid if equipped. Installation follows the reverse order of removal. Working through the access holes in the door, disconnect the control rods from the lock cylinder and outside handle. Loosen the screw with a Tone bit and pull the lock cover and lock cylinder from the outside of the door. To remove the outside handle, disconnect the control rod and remove the two mounting screws inside the door. If replacing the outside handle assembly, disconnect the rod and door operating cable from the handle assembly and transfer them to the new handle. Use a screwdriver to pry the retaining clip off or remove the lock cylinder retaining bolt and take out the lock cylinder from the handle, with installation being the reverse of removal. Remove the retaining screw and pull the handle free, disconnecting the cables from the inside handle control before removing the handle from the door. Installation is again the reverse of removal.
Related Toyota Corolla Parts
Browse by Year
2024 Door Latch Assembly 2023 Door Latch Assembly 2022 Door Latch Assembly 2021 Door Latch Assembly 2020 Door Latch Assembly 2019 Door Latch Assembly 2018 Door Latch Assembly 2017 Door Latch Assembly 2016 Door Latch Assembly 2015 Door Latch Assembly 2014 Door Latch Assembly 2013 Door Latch Assembly 2012 Door Latch Assembly 2011 Door Latch Assembly 2010 Door Latch Assembly 2009 Door Latch Assembly 2008 Door Latch Assembly 2007 Door Latch Assembly 2006 Door Latch Assembly 2005 Door Latch Assembly 2004 Door Latch Assembly 2003 Door Latch Assembly 2002 Door Latch Assembly 2001 Door Latch Assembly 2000 Door Latch Assembly 1999 Door Latch Assembly 1998 Door Latch Assembly 1997 Door Latch Assembly 1996 Door Latch Assembly 1995 Door Latch Assembly 1994 Door Latch Assembly 1993 Door Latch Assembly 1992 Door Latch Assembly 1991 Door Latch Assembly 1990 Door Latch Assembly 1989 Door Latch Assembly 1988 Door Latch Assembly 1987 Door Latch Assembly 1986 Door Latch Assembly 1985 Door Latch Assembly 1984 Door Latch Assembly 1983 Door Latch Assembly 1982 Door Latch Assembly 1981 Door Latch Assembly 1980 Door Latch Assembly 1979 Door Latch Assembly 1978 Door Latch Assembly 1977 Door Latch Assembly 1976 Door Latch Assembly 1975 Door Latch Assembly


