×
- Live Chat
- 1-888-905-9199


My Garage
My Account
Cart
Genuine Toyota Corolla Timing Chain
Engine Timing Chain- Select Vehicle by Model
- Select Vehicle by VIN
Select Vehicle by Model
orMake
Model
Year
Select Vehicle by VIN
For the most accurate results, select vehicle by your VIN (Vehicle Identification Number).
17 Timing Chains found
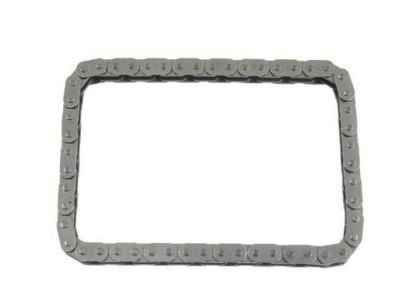
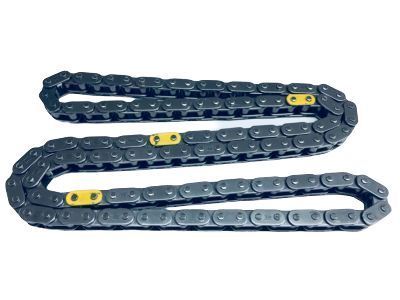
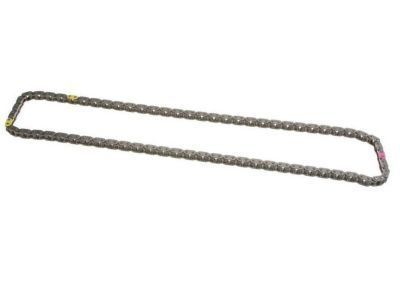
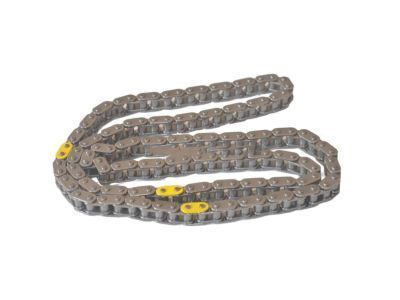
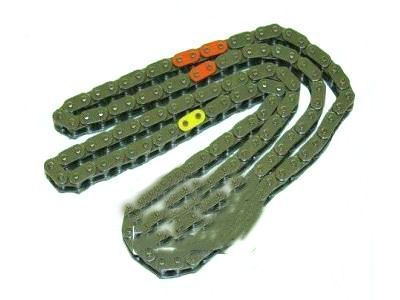
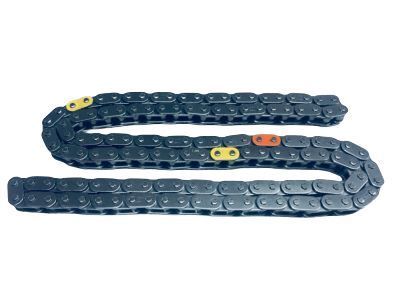
Toyota Corolla Chain Sub-Assy
Part Number: 13507-28010$89.08 MSRP: $125.57You Save: $36.49 (30%)Ships in 1-2 Business DaysToyota Corolla Chain Sub-Assembly
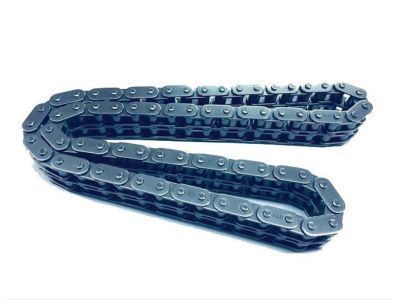
Part Number: 13506-0T020$216.84 MSRP: $310.93You Save: $94.09 (31%)Toyota Corolla Chain Sub-Assy
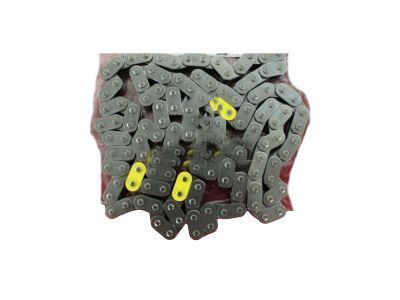
Part Number: 13506-0H011$259.81 MSRP: $372.54You Save: $112.73 (31%)Ships in 1-2 Business DaysToyota Corolla Chain Sub-Assembly
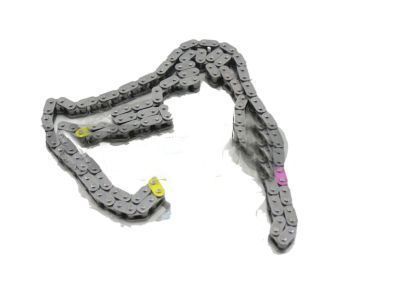
Part Number: 13506-0D010$259.38 MSRP: $371.92You Save: $112.54 (31%)Ships in 1-3 Business DaysToyota Corolla Chain Sub-Assembly
Part Number: 13506-37010$216.84 MSRP: $310.93You Save: $94.09 (31%)Toyota Corolla Chain Sub-Assembly
Part Number: 13506-88600$271.49 MSRP: $389.29You Save: $117.80 (31%)Ships in 1-3 Business DaysToyota Corolla Chain Sub-Assembly
Part Number: 13506-22030$259.38 MSRP: $371.92You Save: $112.54 (31%)Ships in 1-3 Business DaysToyota Corolla Chain Sub-Assembly
Part Number: 13506-28011$259.81 MSRP: $372.54You Save: $112.73 (31%)Ships in 1-3 Business DaysToyota Corolla Chain Sub-Assembly
Part Number: 13506-28020$259.81 MSRP: $372.54You Save: $112.73 (31%)Ships in 1-3 Business DaysToyota Corolla Chain Sub-Assy
Part Number: 13506-25010$125.34 MSRP: $178.20You Save: $52.86 (30%)Ships in 1-3 Business DaysToyota Corolla Chain Sub-Assy
Part Number: 13506-F2010$216.43 MSRP: $310.35You Save: $93.92 (31%)Ships in 1-3 Business DaysToyota Corolla Chain Sub-Assy
Part Number: 13506-24020$241.30 MSRP: $346.01You Save: $104.71 (31%)Ships in 1-3 Business DaysToyota Corolla Chain Sub-Assy
Part Number: 13506-24010$194.78 MSRP: $279.30You Save: $84.52 (31%)Ships in 1-3 Business DaysToyota Corolla Chain Sub-Assembly
Part Number: 13506-0T070$208.10 MSRP: $298.40You Save: $90.30 (31%)Ships in 1-3 Business DaysToyota Corolla Chain Sub-Assembly
Part Number: 13506-37050$208.10 MSRP: $298.40You Save: $90.30 (31%)Ships in 1-3 Business Days
Toyota Corolla Timing Chain
If you are in demand for superior quality and affordable OEM Toyota Corolla Timing Chain, then shop with us! We own a wide range of the reduced-priced genuine Toyota Corolla Timing Chain. You can purchase in confidence as all parts come with a manufacturer's warranty. Any issues with our products? No need to worry as we have a hassle-free return policy to guide you every step of the way.
Toyota Corolla Timing Chain Parts Questions & Experts Answers
- Q: What are the steps involved in the removal, inspection, and installation of the timing chain and Sprocket on Toyota Corolla?A: For this procedure, special tools are needed hence once you go through the whole process, it's time to get the necessary tools and equipment. First of all, unwind the cable on the minus terminal of the battery then, unwind the drivebelt of the car and the alternator. Then, you should remove the windshield washer reservoir and the valve cover. Park the car and set the parking brake, move the shifter to Park or turn the transmission to gear, then unscrew the lug nuts on the right front wheel, lift the car and put it on jack stands. Disconnected the right front wheel and splash shield, and drain the cooling system as well. As the coolant is draining, unbolt the power steering pump from the engine but do not take off the fluid lines and then secure it to the body. The piston nearest to the timing belt, the first piston, must be located at top dead center on the compression stroke, aligning the timing marks. Loosen the bolts of the Crankshaft Pulley /vibration damper carefully and take it off in such a way that there is no shifting of the engine from TDC. Climb up and support the engine from above then drop down and support it from below then the next things to be removed are the passenger side Engine Mount, the drivebelt tensioner, the engine mount bracket and crankshaft position sensor bolted to the timing chain cover. Loosen the water pump and timing chain tensioner bolts, then the cover bolts securing the timing chain cover to the engine block, and lift the cover up. Remove the crankshaft position sensor reluctor ring by sliding it off the crankshaft, take off the timing chain tensioner pivot arm/chain guide and lift the timing chain off the camshaft sprockets and timing chain and crankshaft sprocket both will removed together. Visually examine all components for signs of wear and or damage, including the timing chain as well as the chain sprockets. Scrape off any remnants of the previous sealant on the timing chain cover and mating surfaces; also, put the camshaft sprockets on the places where they were previously located and tighten the bolts with thread locking compound. Turn the camshafts in order to have two TDC marks to be aligned and if needed turn the crankshaft in order to have keyway to be vertical. Place the slot of the stationary timing chain guide on the corresponding cylinder head dowel pin and fit the timing chain on to the crankshaft sprocket with the No.1 coloured link adjacent to the sprocket mark. Insert the timing chain into the guide and around the teeth of the camshaft sprockets ensuring that the rest of the links are colored. Take out slack through the chain and then put in the timing chain tensioner pivot arm/chain guide and fasten the bolt for the arm. Make sure that the #1 piston is at the TDC and the marks are lined properly. Align the crankshaft position sensor reluctor ring with the arrow and insert it in a manner that has the 'F' marked towards the outside, apply the RTV silicone sealant on the mating surfaces of the timing chain cover and bolt the cover while tightly torquing the bolts with equal force. Fit the new water pump O-ring, water pump and engine mount bracket having put sealer on the bolts threads of the bracket. Bolt and lock the timing chain tensioner then re-oil the O-ring and insert the tensioner back into the timing chain cover compartment. Match-mark the crankshaft pulley/vibration damper and apply a new chain by rotating the engine clockwise until the plunger applies tension to the timing chain. Turn the engine over several revolutions to get the number one piston at the top dead center and ensure that timing marks are in position. This leaves the rest of the installation as the mirror opposite of removal.
Related Toyota Corolla Parts
Browse by Year
2024 Timing Chain 2023 Timing Chain 2022 Timing Chain 2021 Timing Chain 2020 Timing Chain 2019 Timing Chain 2018 Timing Chain 2017 Timing Chain 2016 Timing Chain 2015 Timing Chain 2014 Timing Chain 2013 Timing Chain 2012 Timing Chain 2011 Timing Chain 2010 Timing Chain 2009 Timing Chain 2008 Timing Chain 2007 Timing Chain 2006 Timing Chain 2005 Timing Chain 2004 Timing Chain 2003 Timing Chain 2002 Timing Chain 2001 Timing Chain 2000 Timing Chain 1999 Timing Chain 1998 Timing Chain 1983 Timing Chain 1982 Timing Chain 1981 Timing Chain 1980 Timing Chain 1979 Timing Chain 1978 Timing Chain 1977 Timing Chain 1976 Timing Chain 1975 Timing Chain
