
My Garage
My Account
Cart
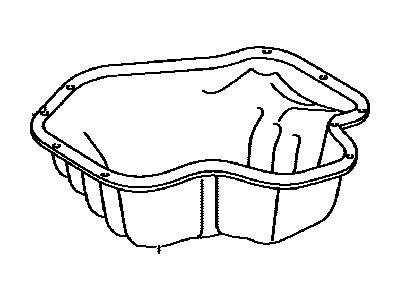
Genuine Toyota Highlander Oil Pan
Oil Drain Pan- Select Vehicle by Model
- Select Vehicle by VIN
Select Vehicle by Model
orMake
Model
Year
Select Vehicle by VIN
For the most accurate results, select vehicle by your VIN (Vehicle Identification Number).
22 Oil Pans found
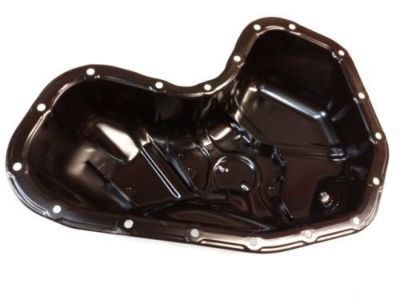
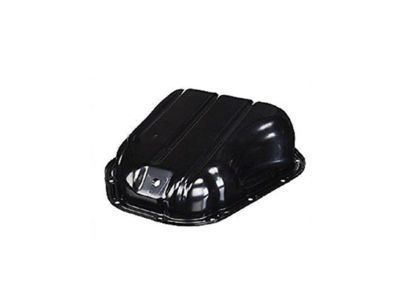
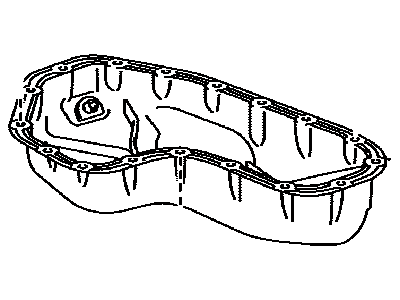
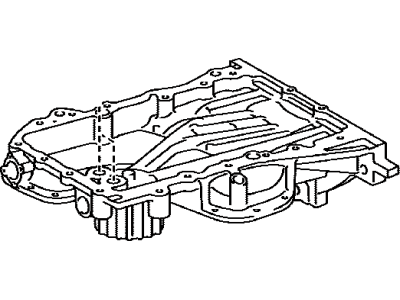
Toyota Highlander Pan Sub-Assy, Oil
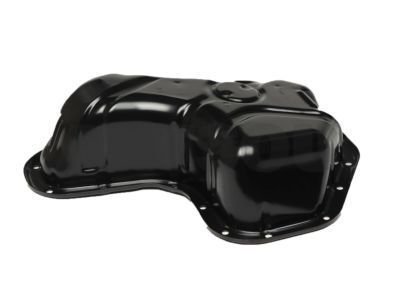
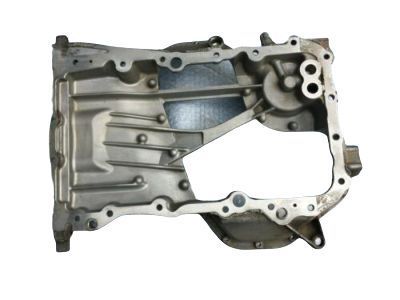
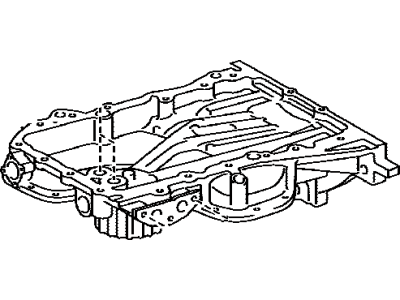
Part Number: 12102-0P020$141.44 MSRP: $201.08You Save: $59.64 (30%)Ships in 1-2 Business DaysToyota Highlander Pan Sub-Assembly, Oil, N
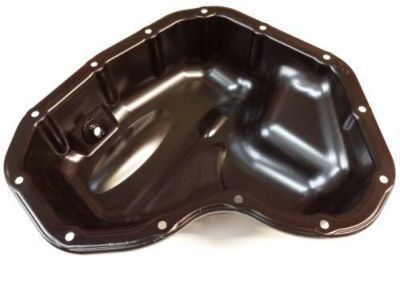
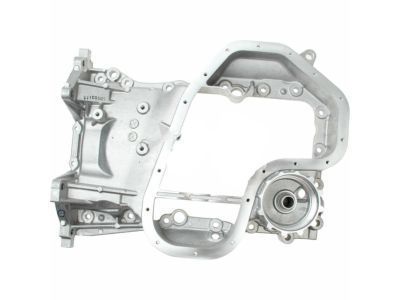
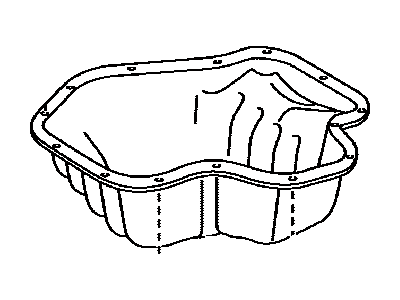
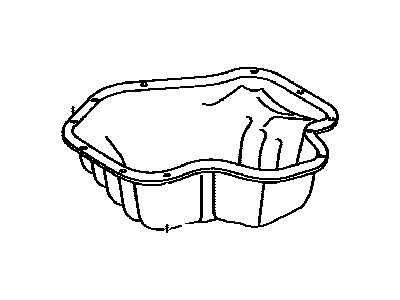
Part Number: 12102-0P041$143.78 MSRP: $204.41You Save: $60.63 (30%)Ships in 1-2 Business DaysToyota Highlander Pan Sub-Assembly, Oil
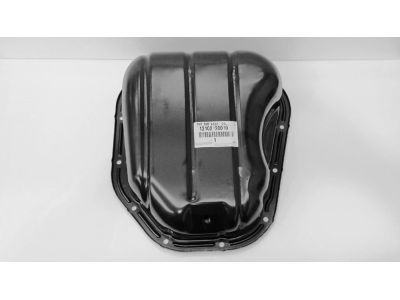
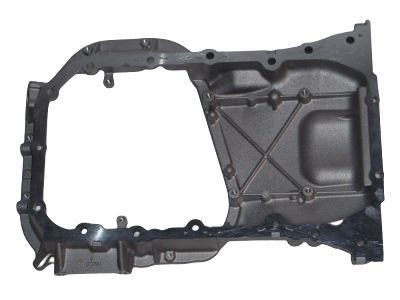
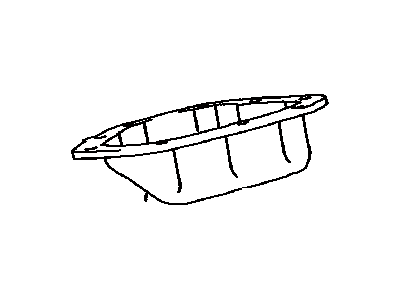
Part Number: 12101-0V010$118.28 MSRP: $168.15You Save: $49.87 (30%)Ships in 1 Business DayToyota Highlander Pan Sub-Assy, Oil
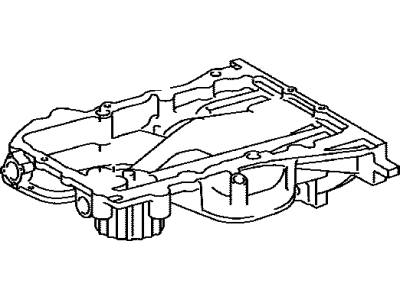
Part Number: 12102-20010$171.86 MSRP: $244.34You Save: $72.48 (30%)Ships in 1-3 Business DaysToyota Highlander Pan Sub-Assy, Oil
Part Number: 12102-0A010$171.86 MSRP: $244.34You Save: $72.48 (30%)Ships in 1-3 Business DaysToyota Highlander Pan, Oil, NO.1
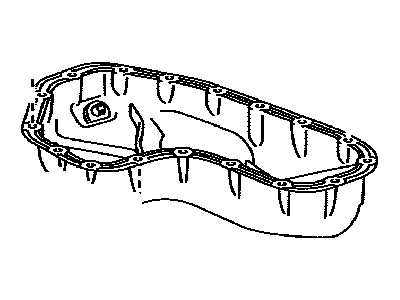
Part Number: 12111-31150$184.66 MSRP: $264.79You Save: $80.13 (31%)Ships in 1-2 Business DaysToyota Highlander Pan Sub-Assy, Oil
Part Number: 12101-0P040$185.36 MSRP: $265.79You Save: $80.43 (31%)Ships in 1-2 Business DaysToyota Highlander Pan Sub-Assy, Oil
Part Number: 12111-0A030$250.43 MSRP: $359.11You Save: $108.68 (31%)Ships in 1-3 Business DaysToyota Highlander Pan Sub-Assembly, Oil, N
Part Number: 12102-F0010$114.09 MSRP: $160.83You Save: $46.74 (30%)Ships in 1-3 Business DaysToyota Highlander Pan Sub-Assy, Oil
Part Number: 12111-0P050$184.66 MSRP: $264.79You Save: $80.13 (31%)Ships in 1-3 Business DaysToyota Highlander Pan Sub-Assembly, Oil, N
Part Number: 12102-25010$114.09 MSRP: $160.83You Save: $46.74 (30%)Ships in 1-3 Business DaysToyota Highlander Pan Sub-Assembly, Oil
Part Number: 12101-28030$122.14 MSRP: $173.63You Save: $51.49 (30%)Ships in 1-3 Business DaysToyota Highlander Pan Sub-Assy, Oil
Part Number: 12102-31050$141.44 MSRP: $201.08You Save: $59.64 (30%)Ships in 1-3 Business DaysToyota Highlander Pan Sub-Assembly, Oil, N
Part Number: 12101-0P050$184.43 MSRP: $264.46You Save: $80.03 (31%)Ships in 1-3 Business DaysToyota Highlander Pan Sub-Assy, Oil
Part Number: 12101-31121$185.36 MSRP: $265.79You Save: $80.43 (31%)Ships in 1-3 Business DaysToyota Highlander Pan Sub-Assembly, Oil, N
Part Number: 12102-31051$141.44 MSRP: $201.08You Save: $59.64 (30%)Ships in 1-3 Business DaysToyota Highlander Pan Sub-Assembly, Oil
Part Number: 12101-36040$118.28 MSRP: $168.15You Save: $49.87 (30%)Ships in 1-3 Business DaysToyota Highlander Pan Sub-Assembly, Oil, N
Part Number: 12102-31101$143.78 MSRP: $204.41You Save: $60.63 (30%)Ships in 1-3 Business DaysToyota Highlander Pan Assembly, Oil
Part Number: 12100-31040$184.43 MSRP: $264.46You Save: $80.03 (31%)Ships in 1-3 Business DaysToyota Highlander Pan Sub-Assy, Oil
Part Number: 12111-20060$227.35 MSRP: $326.00You Save: $98.65 (31%)Ships in 1-3 Business Days
| Page 1 of 2 |Next >
1-20 of 22 Results
Toyota Highlander Oil Pan
If you are in demand for superior quality and affordable OEM Toyota Highlander Oil Pan, then shop with us! We own a wide range of the reduced-priced genuine Toyota Highlander Oil Pan. You can purchase in confidence as all parts come with a manufacturer's warranty. Any issues with our products? No need to worry as we have a hassle-free return policy to guide you every step of the way.
Toyota Highlander Oil Pan Parts Questions & Experts Answers
- Q: How to remove and install the oil pan in Four cylinder engine on Toyota Highlander?A: Before proceeding to the removal of the oil pan the job requires you to take off the cable of the negative terminal of your car battery , engage the parking brake and jack up the rear wheels of your automobile . Lift the front of the vehicle and put it on jack stands securely. On this subassembly, if available, take off the two plastic splash shields located under the engine, drain the engine oil, and thereafter, dismantle the oil filter as well as the oil dipstick. Unbolt the oil pan and ensure that if it is tightly fixed then other thin tools like a screwdriver and putty knife can be used to pry off the oil pan without compromising on the mating surfaces in a way that they will develop leaks. For installation, scrape out all the existing sealer from the block and oil pan with a scraper and wipe the mating surface with brake system cleaner. Make sure that the holes on the block for the threaded bolts are smooth and the oil pan flange will not have any warp; if there is, the sharp edges should be smoothened. Check the oil pump pick-up tube assembly on the shop floor for cracks and a blocked strainer and if removed, clean it before re-installation using a new gasket, and tighten the pick-up tube nuts and bolts as specified. Squash an RTV sealant with approximately 3/16-inch thickness on the joining surface of the oil pan, adhere to the producer's instructions for assembling and setting times. Set the oil pan onto the engine block and put the bolts in, just loosely, and then tighten them to the middle from the outside. The rest of the installation process goes in the reverse order to the removal process; however, oil should not be introduced for at least an hour to allow the sealant to harden. Last but not the least, start the engine and observe the oil pressure and any kind leaks.
Related Toyota Highlander Parts
Browse by Year
2024 Oil Pan 2023 Oil Pan 2022 Oil Pan 2021 Oil Pan 2020 Oil Pan 2019 Oil Pan 2018 Oil Pan 2017 Oil Pan 2016 Oil Pan 2015 Oil Pan 2014 Oil Pan 2013 Oil Pan 2012 Oil Pan 2011 Oil Pan 2010 Oil Pan 2009 Oil Pan 2008 Oil Pan 2007 Oil Pan 2006 Oil Pan 2005 Oil Pan 2004 Oil Pan 2003 Oil Pan 2002 Oil Pan 2001 Oil Pan
