×
- Live Chat
- 1-888-905-9199


My Garage
My Account
Cart
Genuine Toyota Land Cruiser Shock Absorber
Suspension Shock Absorber- Select Vehicle by Model
- Select Vehicle by VIN
Select Vehicle by Model
orMake
Model
Year
Select Vehicle by VIN
For the most accurate results, select vehicle by your VIN (Vehicle Identification Number).
51 Shock Absorbers found
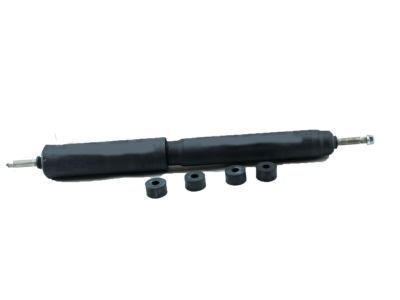
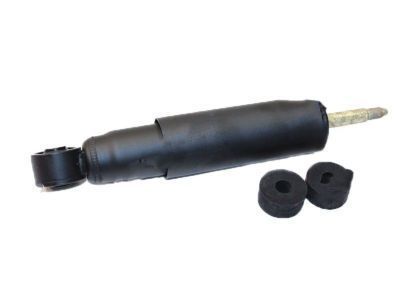
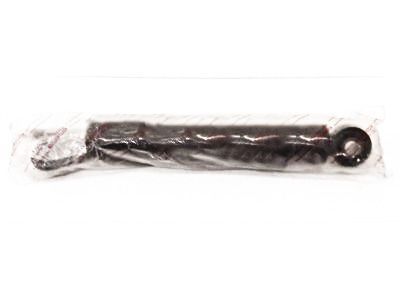
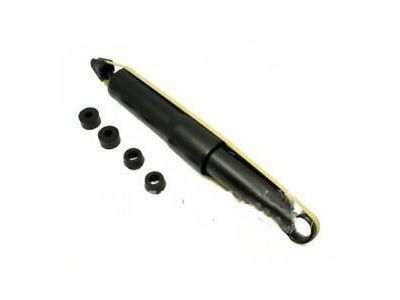
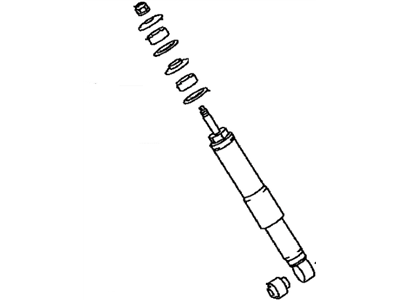
Toyota Land Cruiser Shock Absorber Assembly Rear Right
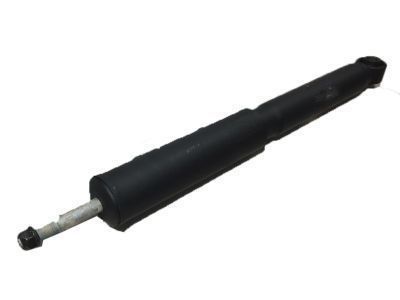
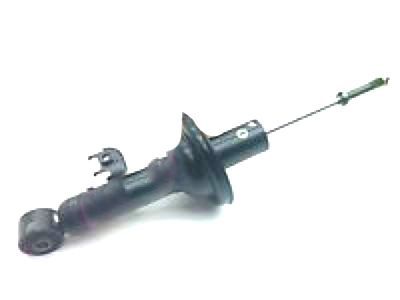
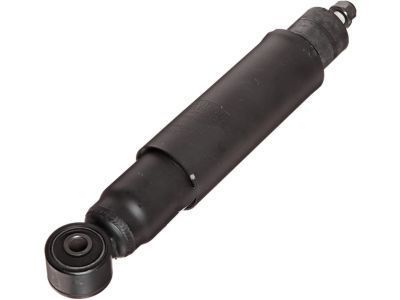
Part Number: 48531-69835$56.16 MSRP: $78.49You Save: $22.33 (29%)Ships in 1-3 Business DaysToyota Land Cruiser Shock Absorber Assembly Front Right
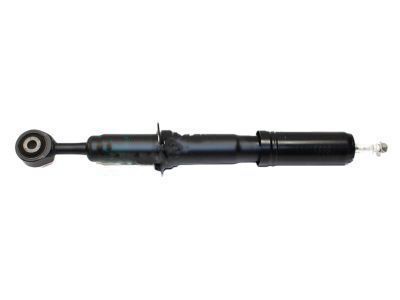
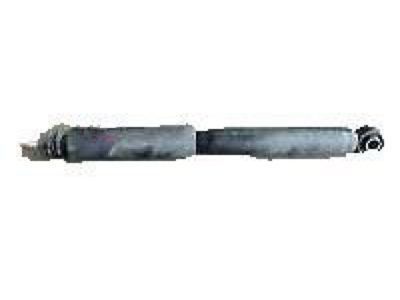
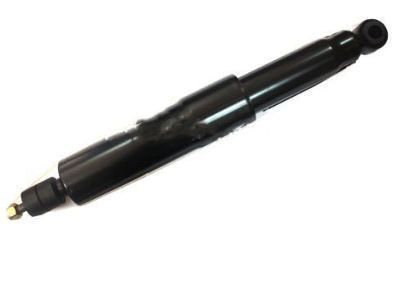
Part Number: 48511-69435$50.33 MSRP: $70.34You Save: $20.01 (29%)Ships in 1-3 Business DaysToyota Land Cruiser Shock Absorber Assembly Front Right
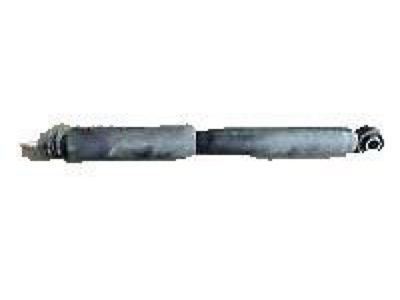
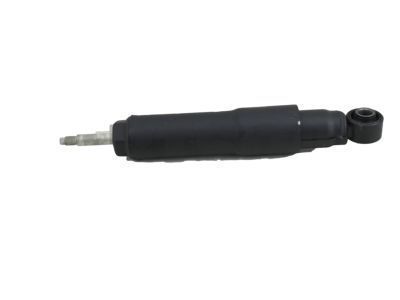
Part Number: 48511-69467$50.44 MSRP: $70.52You Save: $20.08 (29%)Ships in 1-3 Business DaysToyota Land Cruiser Shock Absorber Assembly Front Left
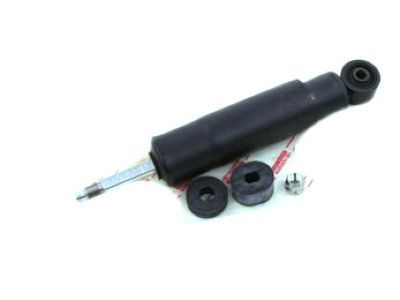
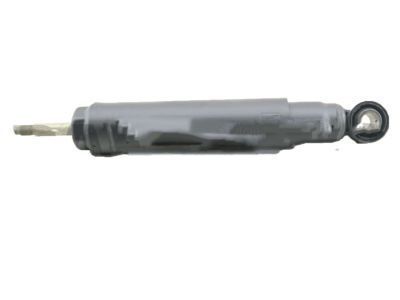
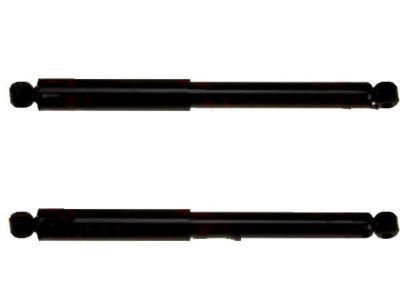
Part Number: 48510-69395$140.51 MSRP: $199.75You Save: $59.24 (30%)Ships in 1-3 Business DaysToyota Land Cruiser Shock Absorber Assembly Front Left
Part Number: 48510-69127$216.26 MSRP: $310.10You Save: $93.84 (31%)Ships in 1-3 Business DaysToyota Land Cruiser Shock Absorber Assembly Front Left
Part Number: 48511-69466$50.44 MSRP: $70.52You Save: $20.08 (29%)Ships in 1-3 Business DaysToyota Land Cruiser Shock Absorber Assembly Rear Left
Part Number: 48531-69557$56.16 MSRP: $78.49You Save: $22.33 (29%)Toyota Land Cruiser Shock Absorber Assembly Rear Right
Part Number: 48531-69685$56.16 MSRP: $78.49You Save: $22.33 (29%)Ships in 1 Business DayToyota Land Cruiser Shock Absorber Assembly Rear Left
Part Number: 48530-69435$44.61 MSRP: $62.36You Save: $17.75 (29%)Ships in 1-3 Business DaysToyota Land Cruiser Shock Absorber Assembly Rear Right
Part Number: 48530-69145$239.66 MSRP: $343.65You Save: $103.99 (31%)Ships in 1-3 Business DaysToyota Land Cruiser Shock Absorber Assembly Rear Left
Part Number: 48530-69495$44.61 MSRP: $62.36You Save: $17.75 (29%)Ships in 1-2 Business DaysToyota Land Cruiser Shock Absorber Assembly Rear Left
Part Number: 48531-69775$56.16 MSRP: $78.49You Save: $22.33 (29%)Ships in 1-3 Business DaysToyota Land Cruiser Shock Absorber Assembly Rear Right
Part Number: 48530-69445$44.61 MSRP: $62.36You Save: $17.75 (29%)Ships in 1-3 Business DaysToyota Land Cruiser Shock Absorber Assembly Rear Right
Part Number: 48531-69486$55.68 MSRP: $77.83You Save: $22.15 (29%)Ships in 1-3 Business DaysToyota Land Cruiser Shock Absorber Assembly Front Left
Part Number: 48511-69625$50.44 MSRP: $70.52You Save: $20.08 (29%)Ships in 1-3 Business DaysToyota Land Cruiser Shock Absorber Assembly Rear Left
Part Number: 48531-69485$23.85 MSRP: $33.34You Save: $9.49 (29%)Toyota Land Cruiser Shock Absorber Assembly Front Left
Part Number: 48511-69066$21.18 MSRP: $29.61You Save: $8.43 (29%)Ships in 1-3 Business DaysToyota Land Cruiser Shock Absorber Assembly Rear Left
Part Number: 48530-69695$44.73 MSRP: $62.53You Save: $17.80 (29%)Ships in 1-3 Business DaysToyota Land Cruiser Shock Absorber Assembly Front Right
Part Number: 48510-80824$142.96 MSRP: $203.25You Save: $60.29 (30%)Ships in 1-3 Business DaysToyota Land Cruiser Shock Absorber Assembly Front Left
Part Number: 48510-80823$129.98 MSRP: $184.79You Save: $54.81 (30%)Ships in 1-3 Business Days
| Page 1 of 3 |Next >
1-20 of 51 Results
Toyota Land Cruiser Shock Absorber
If you are in demand for superior quality and affordable OEM Toyota Land Cruiser Shock Absorber, then shop with us! We own a wide range of the reduced-priced genuine Toyota Land Cruiser Shock Absorber. You can purchase in confidence as all parts come with a manufacturer's warranty. Any issues with our products? No need to worry as we have a hassle-free return policy to guide you every step of the way.
Toyota Land Cruiser Shock Absorber Parts Questions & Experts Answers
- Q: How do you remove and install shock absorbers on Toyota Land Cruiser?A: Loosen the wheel lug nuts, raise the vehicle, and support it securely on jackstands. Apply the parking brake and remove the wheel. Support the axle with a floor jack positioned nearest the shock absorber to be replaced. Remove the upper shock absorber nut(s) or bolts, using an open end wrench to keep the stem from turning on stud-mounted shock absorbers. If the nut won't loosen due to rust, apply penetrating oil to the stud threads and allow it to soak. It may be necessary to use locking pliers to prevent the stud from turning, as the flats for a wrench are small. Remove the lower shock mounting fastener(s) and pull the shock absorber out from the wheel well. Follow any specific mounting instructions supplied with the new shock absorbers. If replacing old shocks with gas-filled ones, do not cut the retaining strap on the new shock until the top has been firmly mounted. Move the shock absorber back-and-forth to ensure the grommets are centered in the mount, then tighten the stem nut to the specified torque and guide the lower end into position while releasing the retaining strap. Install the lower mounting fasteners and tighten them to the specified torque. Finally, install the wheel and lug nuts, lower the vehicle, and tighten the lug nuts to the specified torque.
Related Toyota Land Cruiser Parts
Browse by Year
2021 Shock Absorber 2020 Shock Absorber 2019 Shock Absorber 2018 Shock Absorber 2017 Shock Absorber 2016 Shock Absorber 2015 Shock Absorber 2014 Shock Absorber 2013 Shock Absorber 2012 Shock Absorber 2011 Shock Absorber 2010 Shock Absorber 2009 Shock Absorber 2008 Shock Absorber 2007 Shock Absorber 2006 Shock Absorber 2005 Shock Absorber 2004 Shock Absorber 2003 Shock Absorber 2002 Shock Absorber 2001 Shock Absorber 2000 Shock Absorber 1999 Shock Absorber 1998 Shock Absorber 1997 Shock Absorber 1996 Shock Absorber 1995 Shock Absorber 1994 Shock Absorber 1993 Shock Absorber 1992 Shock Absorber 1991 Shock Absorber 1990 Shock Absorber 1989 Shock Absorber 1988 Shock Absorber 1987 Shock Absorber 1986 Shock Absorber 1985 Shock Absorber 1984 Shock Absorber 1983 Shock Absorber 1982 Shock Absorber 1981 Shock Absorber 1980 Shock Absorber 1979 Shock Absorber 1978 Shock Absorber 1977 Shock Absorber 1976 Shock Absorber 1975 Shock Absorber 1974 Shock Absorber 1973 Shock Absorber 1972 Shock Absorber 1971 Shock Absorber 1970 Shock Absorber 1969 Shock Absorber

