×
- Live Chat
- 1-888-905-9199


My Garage
My Account
Cart
Genuine Toyota Land Cruiser Universal Joint
U-Joint- Select Vehicle by Model
- Select Vehicle by VIN
Select Vehicle by Model
orMake
Model
Year
Select Vehicle by VIN
For the most accurate results, select vehicle by your VIN (Vehicle Identification Number).
21 Universal Joints found
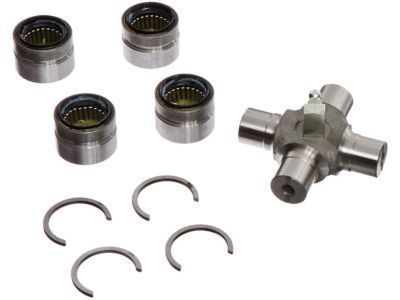
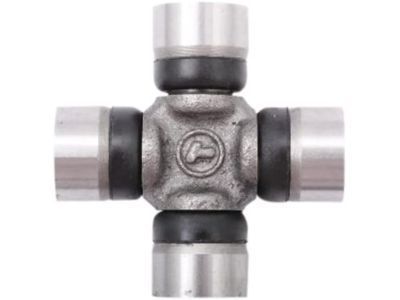
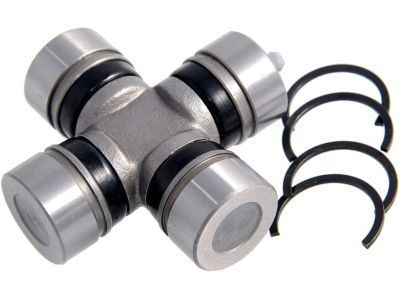
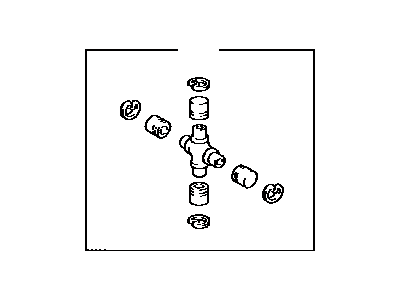
Toyota Land Cruiser Spider Kit, Universal Joint
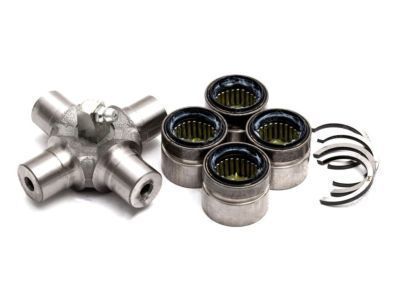
Part Number: 04371-60070$57.06 MSRP: $79.76You Save: $22.70 (29%)Toyota Land Cruiser Spider Kit, Universal Joint
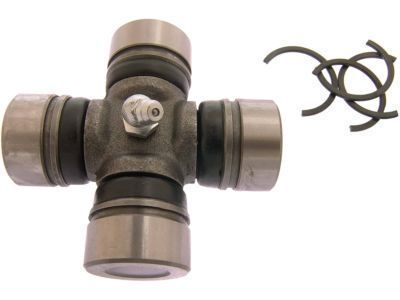
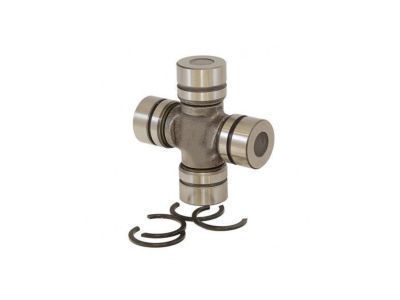
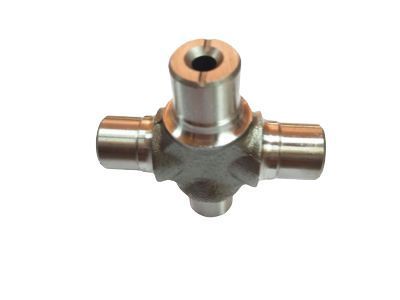
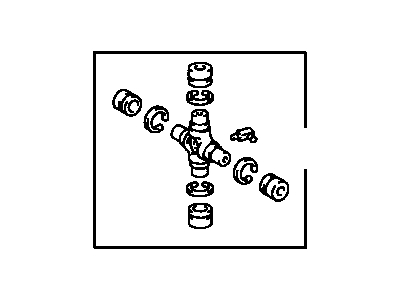
Part Number: 04371-60060$70.84 MSRP: $99.85You Save: $29.01 (30%)Ships in 1-2 Business DaysToyota Land Cruiser Bearing Kit, UNIVERS
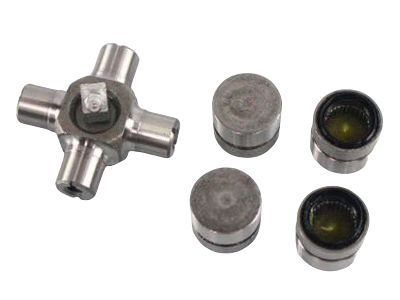
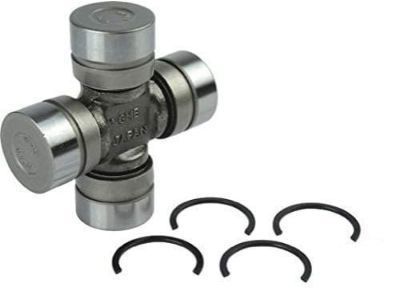
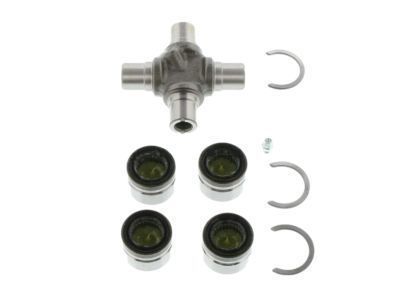
Part Number: 04371-35031$57.06 MSRP: $79.76You Save: $22.70 (29%)Ships in 1-3 Business DaysToyota Land Cruiser Spider Kit, Front Propeller Shaft Universal Joint
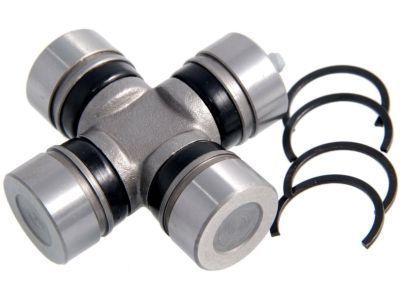
Part Number: 04371-60051$63.22 MSRP: $89.13You Save: $25.91 (30%)Ships in 1 Business DayToyota Land Cruiser Spider Kit, Universal Joint
Part Number: 04371-10011$37.28 MSRP: $52.11You Save: $14.83 (29%)Toyota Land Cruiser Spider Kit, Universal Joint
Part Number: 04371-36021$56.24 MSRP: $78.60You Save: $22.36 (29%)Ships in 1-2 Business DaysToyota Land Cruiser Spider Kit, Universal Joint
Part Number: 04371-35061$70.84 MSRP: $99.85You Save: $29.01 (30%)Ships in 1-3 Business DaysToyota Land Cruiser Spider Kit, Front Propeller Shaft Universal Joint
Part Number: 04371-60050$63.22 MSRP: $89.13You Save: $25.91 (30%)Ships in 1-3 Business DaysToyota Land Cruiser Spider Kit, Universal Joint
Part Number: 04371-35060$70.84 MSRP: $99.85You Save: $29.01 (30%)Ships in 1-2 Business DaysToyota Land Cruiser Spider Kit, Rear Propeller Shaft Universal Joint
Part Number: 04371-60040$70.84 MSRP: $99.85You Save: $29.01 (30%)Ships in 1-2 Business DaysToyota Land Cruiser Spider Kit, Universal Joint
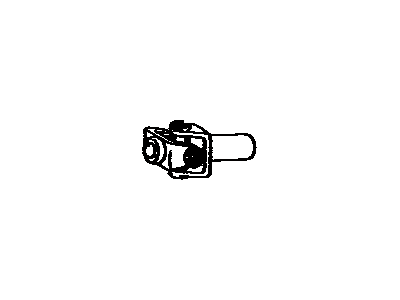
Part Number: 04371-36030$56.24 MSRP: $78.60You Save: $22.36 (29%)Toyota Land Cruiser Joint Assy, Steering Shaft Universal
Part Number: 45230-50020$8.12 MSRP: $11.35You Save: $3.23 (29%)Ships in 1-3 Business DaysToyota Land Cruiser Spider Kit, UNIVERSA
Part Number: 04371-60220$49.71 MSRP: $69.48You Save: $19.77 (29%)Ships in 1-3 Business DaysToyota Land Cruiser Spider Kit, Rear Propeller Shaft Universal Joint
Part Number: 04371-60041$70.84 MSRP: $99.85You Save: $29.01 (30%)Ships in 1-3 Business DaysToyota Land Cruiser Spider Kit, UNIVERSA
Part Number: 04371-60200$49.71 MSRP: $69.48You Save: $19.77 (29%)Ships in 1-3 Business DaysToyota Land Cruiser Spider Kit, Universal Joint
Part Number: 04371-36010$60.25 MSRP: $84.92You Save: $24.67 (30%)Ships in 1-3 Business DaysToyota Land Cruiser Spider Kit, Universal Joint
Part Number: 04371-36020$56.24 MSRP: $78.60You Save: $22.36 (29%)Ships in 1-3 Business Days
| Page 1 of 2 |Next >
1-20 of 21 Results
Toyota Land Cruiser Universal Joint
If you are in demand for superior quality and affordable OEM Toyota Land Cruiser Universal Joint, then shop with us! We own a wide range of the reduced-priced genuine Toyota Land Cruiser Universal Joint. You can purchase in confidence as all parts come with a manufacturer's warranty. Any issues with our products? No need to worry as we have a hassle-free return policy to guide you every step of the way.
Toyota Land Cruiser Universal Joint Parts Questions & Experts Answers
- Q: How to replace a U-joint in a driveshaft on Toyota Land Cruiser?A: For this procedure, one will need a press or large Vise while the hilt could be well taken to the repair/machine shop for U-joint replacement at a fairly pocket pinch. First of all, pull out the driveshaft and take the proper position in a metallic vise to identify the marks of the shaft and yoke for the further assembly. With a hammer and punch, knockout the snaprings off the bearing cups. Besides, place a pipe or a large socket having the same inside diameter over one bearing cup while keeping a socket having a bore slightly smaller than that of the cups on the opposite bearing cup and using vise press out the U-joint bearing cups upto the time they come out of the yoke completely. Remove the cups fully by using the vise or the large pliers. Move the sockets to the other side and, as in the previous step, pound out the opposite bearing cup. When the bearing cups have been taken off, Raise the U-joint from the yoke and clean the yokes on both sides of the driveshaft, ensuring there are no metal burrs on the yoke bore. Grease the new U-joint bearing cups with sufficient grease to control the needle bearings after consulting the servicing kit manufacturer's guidelines on lubrication. Insert the less complex end of the U-joint body into the yoke and place one bearing cup on the retainer partially, while checking if the grease fitting is on the same direction as the other side of the U-joint if present. Place the body of the u-joint into the bearing cup and then partially fit the other half of the cup such that, the body of the u-joint gets wedged between these two cups, without ever affecting the dust seals. It is now time to install the snap-rings, you will notice some hardship for the snap-rings to enter the groove, using a hammer vigorously strike the driveshaft yoke several times especially on the yoke ears to expand it so as to allow the snap ring to be inserted in the groove easily. This action should also facilitate centring of the U-joint after assembly has been conducted successfully. If problems still arise with seating the snap-rings check the juncture of the joint for needle bearings that may possibly be stuck. Last, replace the driveshaft and if there is a provision for a grease fitting, then apply adequate amount of grease.
Related Toyota Land Cruiser Parts
Browse by Year
2021 Universal Joint 2020 Universal Joint 2019 Universal Joint 2018 Universal Joint 2017 Universal Joint 2016 Universal Joint 2015 Universal Joint 2014 Universal Joint 2013 Universal Joint 2012 Universal Joint 2011 Universal Joint 2010 Universal Joint 2009 Universal Joint 2008 Universal Joint 2007 Universal Joint 2006 Universal Joint 2005 Universal Joint 2004 Universal Joint 2003 Universal Joint 2002 Universal Joint 2001 Universal Joint 2000 Universal Joint 1999 Universal Joint 1998 Universal Joint 1997 Universal Joint 1996 Universal Joint 1995 Universal Joint 1994 Universal Joint 1993 Universal Joint 1992 Universal Joint 1991 Universal Joint 1990 Universal Joint 1989 Universal Joint 1988 Universal Joint 1987 Universal Joint 1986 Universal Joint 1985 Universal Joint 1984 Universal Joint 1983 Universal Joint 1982 Universal Joint 1981 Universal Joint 1980 Universal Joint 1979 Universal Joint 1978 Universal Joint 1977 Universal Joint 1976 Universal Joint 1975 Universal Joint 1974 Universal Joint 1973 Universal Joint 1972 Universal Joint 1971 Universal Joint 1970 Universal Joint 1969 Universal Joint
