×
- Live Chat
- 1-888-905-9199


My Garage
My Account
Cart
Genuine Toyota Matrix Oil Pan
Oil Drain Pan- Select Vehicle by Model
- Select Vehicle by VIN
Select Vehicle by Model
orMake
Model
Year
Select Vehicle by VIN
For the most accurate results, select vehicle by your VIN (Vehicle Identification Number).
7 Oil Pans found
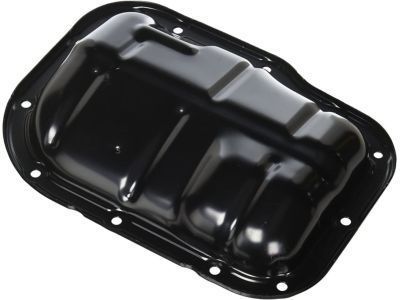
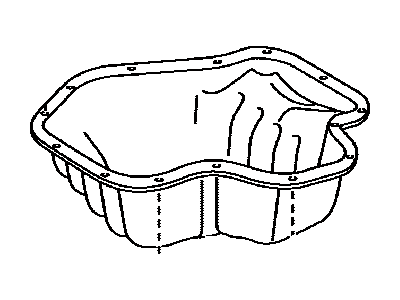
Toyota Matrix Pan Sub-Assy, Oil
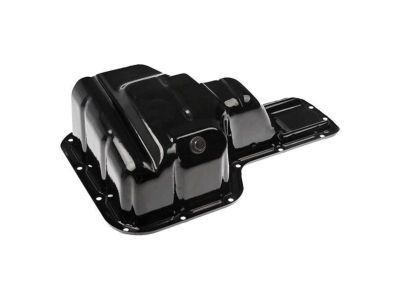
Part Number: 12102-37010$103.95 MSRP: $146.52You Save: $42.57 (30%)Ships in 1-3 Business DaysToyota Matrix Pan Sub-Assembly, Oil
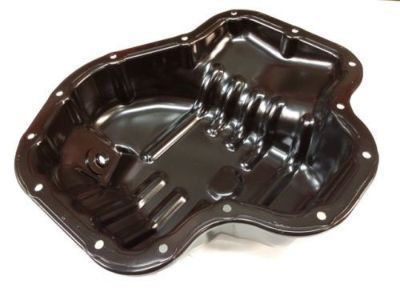
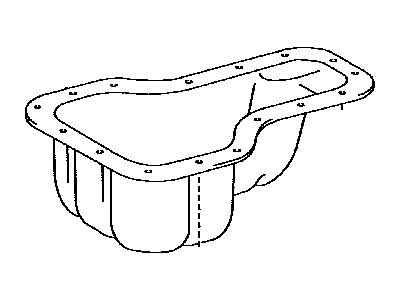
Part Number: 12101-0D010$118.28 MSRP: $168.15You Save: $49.87 (30%)Ships in 1-3 Business DaysToyota Matrix Pan Sub-Assembly, Oil
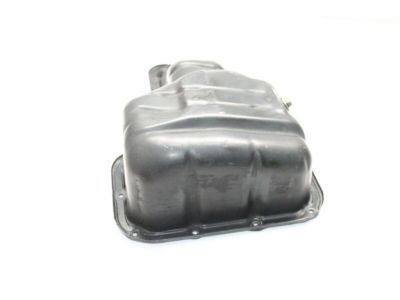
Part Number: 12101-0H010$120.85 MSRP: $171.81You Save: $50.96 (30%)Ships in 1-3 Business DaysToyota Matrix Pan Sub-Assembly, Oil
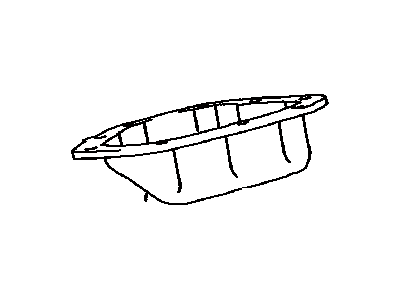
Part Number: 12101-22040$117.81 MSRP: $167.49You Save: $49.68 (30%)Ships in 1-2 Business DaysToyota Matrix Pan Sub-Assembly, Oil
Part Number: 12101-28030$120.85 MSRP: $171.81You Save: $50.96 (30%)Ships in 1-3 Business DaysToyota Matrix Pan Sub-Assembly, Oil
Part Number: 12101-22024$118.28 MSRP: $168.15You Save: $49.87 (30%)Ships in 1-3 Business DaysToyota Matrix Pan Sub-Assembly, Oil, N
Part Number: 12102-0T020$103.95 MSRP: $146.52You Save: $42.57 (30%)Ships in 1-3 Business Days
Toyota Matrix Oil Pan
If you are in demand for superior quality and affordable OEM Toyota Matrix Oil Pan, then shop with us! We own a wide range of the reduced-priced genuine Toyota Matrix Oil Pan. You can purchase in confidence as all parts come with a manufacturer's warranty. Any issues with our products? No need to worry as we have a hassle-free return policy to guide you every step of the way.
Toyota Matrix Oil Pan Parts Questions & Experts Answers
- Q: How to remove and install the oil pan on Toyota Matrix?A: To remove the oil pan, first disconnect the cable from the negative terminal of the battery, set the parking brake, and block the rear wheels. Raise the front of the vehicle and support it securely on jack stands. If equipped, remove the two plastic splash shields under the engine, then support the engine from above and remove the front cross member support. Drain the engine oil and remove the oil filter, followed by the oil dipstick. Detach the oil pan by removing the bolts; if it is stuck, carefully pry it loose without damaging the mating surfaces to prevent leaks. For installation, use a plastic scraper to eliminate old sealant from the block and oil pan, and clean the mating surfaces with lacquer thinner or acetone. Ensure the threaded bolt holes in the block are clean and check the oil pan flange for distortion, addressing any nicks or burrs. Inspect the oil pump pick-up tube assembly for cracks and blockages, cleaning it thoroughly if removed, and install it with a new gasket, tightening the nuts/bolts to the specified torque. Apply a 3/16-inch wide bead of RTV sealant to the mating surface of the oil pan, then position the oil pan on the engine block and install the bolts loosely. Tighten the bolts in three or four steps, working from the center out. The remainder of the installation follows the reverse order of removal, allowing at least one hour for the sealant to cure before adding oil. Finally, run the engine to check for oil pressure and leaks.
