×
- Live Chat
- 1-888-905-9199


My Garage
My Account
Cart
Genuine Toyota Matrix Timing Chain
Engine Timing Chain- Select Vehicle by Model
- Select Vehicle by VIN
Select Vehicle by Model
orMake
Model
Year
Select Vehicle by VIN
For the most accurate results, select vehicle by your VIN (Vehicle Identification Number).
9 Timing Chains found
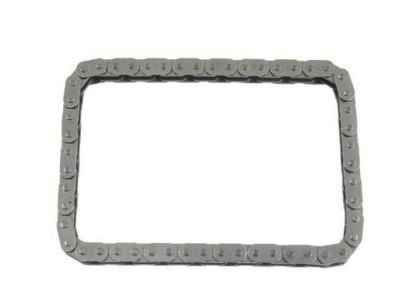
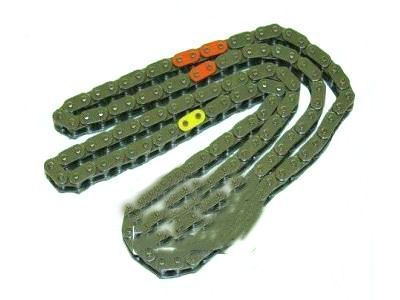
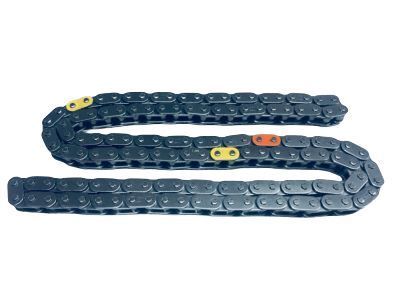
Toyota Matrix Chain Sub-Assy
Part Number: 13507-28010$89.08 MSRP: $125.57You Save: $36.49 (30%)Ships in 1-2 Business DaysToyota Matrix Chain Sub-Assy
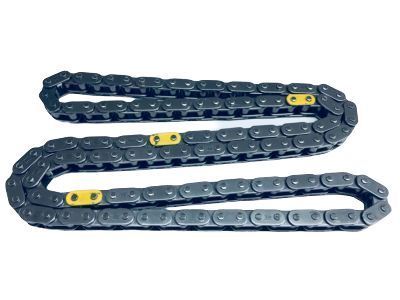
Part Number: 13506-0H011$259.81 MSRP: $372.54You Save: $112.73 (31%)Ships in 1-2 Business DaysToyota Matrix Chain Sub-Assembly
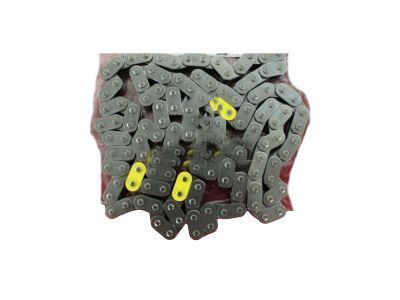
Part Number: 13506-0D010$259.38 MSRP: $371.92You Save: $112.54 (31%)Ships in 1-3 Business DaysToyota Matrix Chain Sub-Assembly
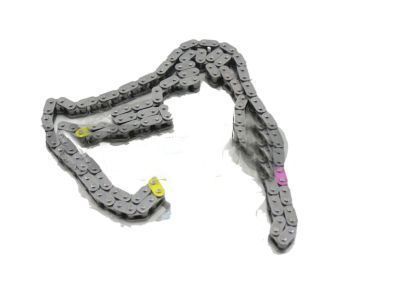
Part Number: 13506-88600$271.49 MSRP: $389.29You Save: $117.80 (31%)Ships in 1-3 Business DaysToyota Matrix Chain Sub-Assembly
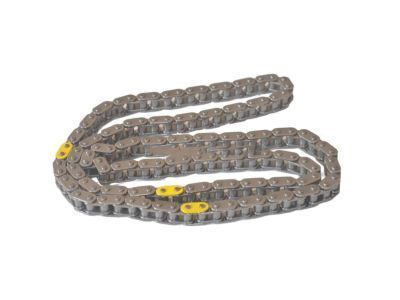
Part Number: 13506-22030$259.38 MSRP: $371.92You Save: $112.54 (31%)Ships in 1-3 Business DaysToyota Matrix Chain Sub-Assembly
Part Number: 13506-28011$259.81 MSRP: $372.54You Save: $112.73 (31%)Ships in 1-3 Business DaysToyota Matrix Chain Sub-Assembly
Part Number: 13506-28020$259.81 MSRP: $372.54You Save: $112.73 (31%)Ships in 1-3 Business Days
Toyota Matrix Timing Chain
If you are in demand for superior quality and affordable OEM Toyota Matrix Timing Chain, then shop with us! We own a wide range of the reduced-priced genuine Toyota Matrix Timing Chain. You can purchase in confidence as all parts come with a manufacturer's warranty. Any issues with our products? No need to worry as we have a hassle-free return policy to guide you every step of the way.
Toyota Matrix Timing Chain Parts Questions & Experts Answers
- Q: How to remove and install a Timing Chain and Sprocket on Toyota Matrix?A: The timing system is intricate and, if the workforce gets it wrong, there will be severe damages on the engine; thus, it is advisable to undertake this procedure by experienced personnel and seek the service of an expert, especially if there is a concern. Scaffolding and other special tools are needed, that is why before starting working it is better to read through the whole procedure and collect all needed equipment and tools. First, remove the connection on the negative terminal among the battery, drive belt, and alternator; second, remove the windshield washer reservoir and unlatch the valve cover. With the parking brake engaged and the car firmly supported by the jack stands remove the drain plug of the radiator and coolant recovery tank and drain the coolant. Just like in replacing the timing belt remove the power steering pump and reservoir assembly. As the coolant continues to drain, unbolt the power steering pump from the engine but retain the fluid lines and secure the pump to the body. Place the first piston at the top of the cylinder head, ensure that the timing marks are correctly lined up to indicate that the car is at the top dead centre on the compression stroke. Take off the Crankshaft Pulley/vibration damper and keep the TO on TDC with the help of an engine support or by using a floor jack. Take out the passenger side Engine Mount, drive belt tensioner, engine mount bracket, crankshaft position sensor in the timing chain cover and then take out the water pump and cut the connection of the power steering pressure switch. Pull the timing chain tensioner out of the way, undo the fasteners of the timing chain cover, and pop it off of the engine. Pull the reluctor ring on the crankshaft down and withdraw it along with pulling the rear timing chain tensioner/chain guide and the timing chain along with the crankshaft sprocket up and out of the camshaft sprockets. Peep all accessories to see their state of wear and tear and ensure the timing chain has loose pins or cracks and or wear on the sprockets. Take out any signs of the old sealant from the timing chain cover and the mating surfaces, and insert the camshaft sprockets back in their initial places, use the main thread lock to the bolts. Synchronize the camshaft to point the TDC indication, fit the crankshaft timing chain idler, loop the timing over the crankshaft sprocket with the TDC No.1 colored link on it. Place the timing chain in the fixed guide and around the camshaft wheels and ensure that the colored tabs are in the right position. Lose tension in the timing chain, put the timing chain tensioner pivot arm/chain guide on, and check that the number one piston is still at TDC. Place the crankshaft position sensor reluctor ring, seal the timing chain cover surfaces with RTV sealant and bolt on the cover, uniformly tightening all the bolts to the specified torque. Fit the water pump and the engine mount bracket with the correct type of sealant applied and then reset/re-f Federal No. 45 lock the timing chain tensioner. Lubricate the tensioner O-ring and fit it on the timing chain cover then, the crank shaft pulley/vibration damper. Turn the engine a little clockwise to slightly increase the tension on the timing chain through the plunger. Last but not least, turn the engine several turns and set the number one piston at TDC realizing that all the timing marks are correct; if you experience any drag while turning the crankshaft, do not continue and ascertain that there is something wrong with the subsequent timing belt. The continues part of the installation is done in the reverse order to the removal.
