
My Garage
My Account
Cart
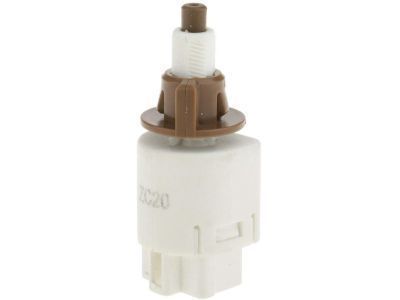
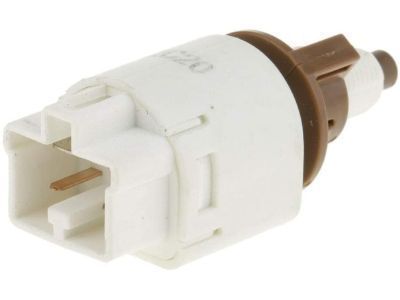
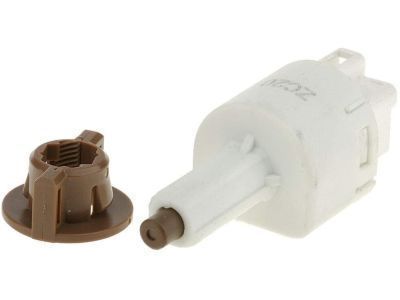
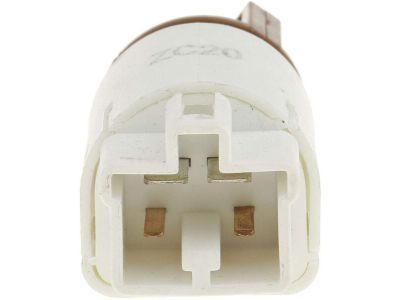
Genuine Toyota RAV4 Brake Light Switch
Brake Lamp Switch- Select Vehicle by Model
- Select Vehicle by VIN
Select Vehicle by Model
orMake
Model
Year
Select Vehicle by VIN
For the most accurate results, select vehicle by your VIN (Vehicle Identification Number).
16 Brake Light Switches found
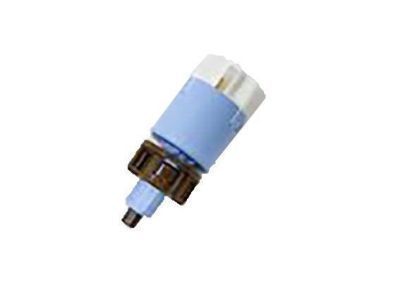
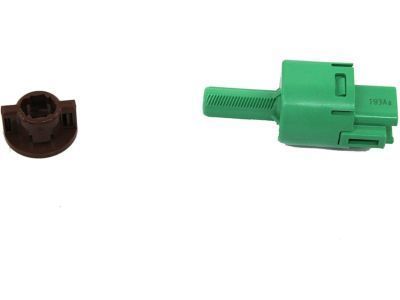
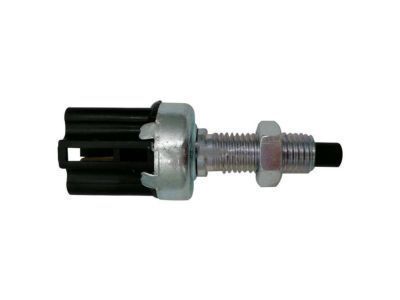
Toyota RAV4 Stop Lamp Switch Assembly
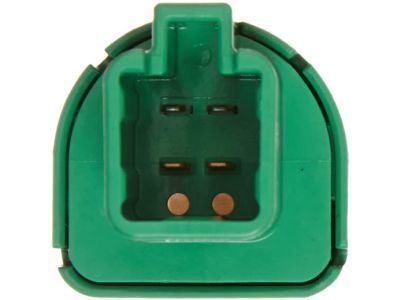
Part Number: 84340-69025$43.07 MSRP: $60.20You Save: $17.13 (29%)Ships in 1-3 Business DaysToyota RAV4 Switch Assembly, Stop Lamp
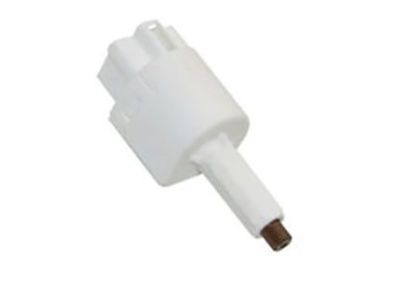
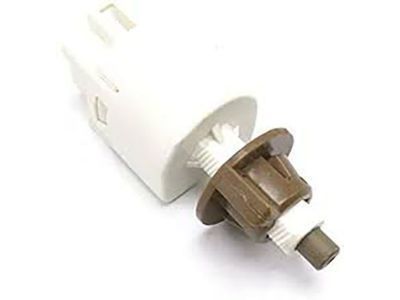
Part Number: 84340-09310$16.66 MSRP: $23.29You Save: $6.63 (29%)Ships in 1 Business DayToyota RAV4 Stop Lamp Switch Assembly
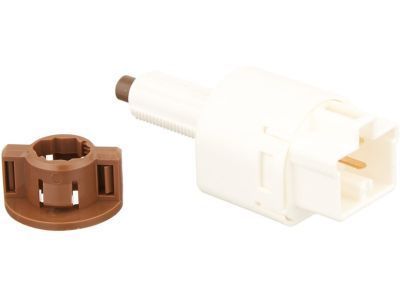
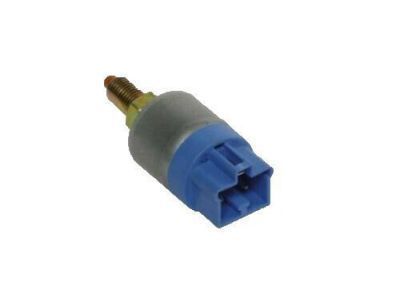
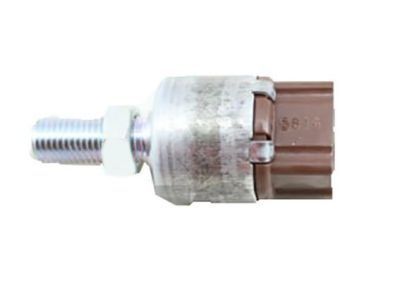
Part Number: 84340-09070$16.66 MSRP: $23.29You Save: $6.63 (29%)Ships in 1-2 Business DaysToyota RAV4 Stop Lamp Switch Assembly
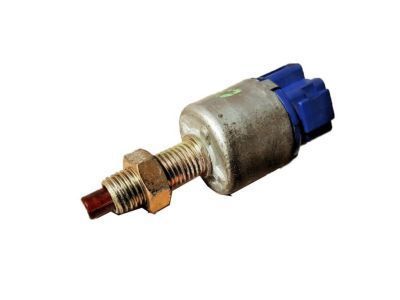
Part Number: 84340-69075$43.42 MSRP: $60.69You Save: $17.27 (29%)Ships in 1-2 Business DaysToyota RAV4 Switch Assembly, Stop La
Part Number: 84340-09291$36.88 MSRP: $51.54You Save: $14.66 (29%)Ships in 1-3 Business DaysToyota RAV4 Stop Lamp Switch Assembly
Part Number: 84340-42020$85.42 MSRP: $120.42You Save: $35.00 (30%)Ships in 1-2 Business DaysToyota RAV4 Stop Lamp Switch Assembly
Part Number: 84340-19025$16.66 MSRP: $23.29You Save: $6.63 (29%)Ships in 1-2 Business DaysToyota RAV4 Stop Lamp Switch Assembly
Part Number: 84340-42010$34.74 MSRP: $48.55You Save: $13.81 (29%)Ships in 1-3 Business DaysToyota RAV4 Stop Lamp Switch Assembly
Part Number: 84340-32110$85.42 MSRP: $120.42You Save: $35.00 (30%)Ships in 1-3 Business DaysToyota RAV4 Stop Lamp Switch Assembly
Part Number: 84340-32090$34.74 MSRP: $48.55You Save: $13.81 (29%)Ships in 1-3 Business DaysToyota RAV4 Switch Assembly, Stop Lamp
Part Number: 84340-19026$16.66 MSRP: $23.29You Save: $6.63 (29%)Ships in 1-3 Business DaysToyota RAV4 Switch Assembly, Stop Lamp
Part Number: 84340-39015$44.02 MSRP: $61.53You Save: $17.51 (29%)Ships in 1-3 Business DaysToyota RAV4 Switch Assembly, Stop La
Part Number: 84340-49105$39.50 MSRP: $55.21You Save: $15.71 (29%)Ships in 1-3 Business DaysToyota RAV4 Stop Lamp Switch Assembly
Part Number: 84340-20060$75.27 MSRP: $106.11You Save: $30.84 (30%)Ships in 1-3 Business DaysToyota RAV4 Switch Assembly, Stop Lamp
Part Number: 84340-49065$65.95 MSRP: $92.97You Save: $27.02 (30%)Ships in 1-3 Business DaysToyota RAV4 Switch Assembly, Stop Lamp
Part Number: 84340-30130$76.81 MSRP: $108.26You Save: $31.45 (30%)Ships in 1-3 Business Days
Toyota RAV4 Brake Light Switch
If you are in demand for superior quality and affordable OEM Toyota RAV4 Brake Light Switch, then shop with us! We own a wide range of the reduced-priced genuine Toyota RAV4 Brake Light Switch. You can purchase in confidence as all parts come with a manufacturer's warranty. Any issues with our products? No need to worry as we have a hassle-free return policy to guide you every step of the way.
Toyota RAV4 Brake Light Switch Parts Questions & Experts Answers
- Q: How to check and replace the brake light switch on Toyota Rav4?A:The brake light switch is situated on a bracket near the top of the brake pedal and activates the rear brake lights when the pedal is pressed. To check its functionality, observe if the brake lights illuminate when the pedal is pressed and turn off when released; if they do not, first check the fuse. If the lights remain unresponsive, the issue may lie with the switch not receiving voltage, a defective switch, or a faulty circuit between the switch and the lights, though it's unlikely that all brake light bulbs are burned out. Use a voltmeter or test light to confirm voltage at one side of the switch connector; if absent, troubleshoot the circuit from the switch to the fuse box. If voltage is present, check the other terminal while the brake pedal is pressed; if absent, replace the switch, and if present, troubleshoot the circuit leading to the brake lights. To replace the brake light switch, unplug the electrical connector, rotate the switch counterclockwise about a quarter turn to detach it from the bracket, and reinstall by reversing the removal steps, ensuring proper self-adjustment upon installation. For the brake light switch adjuster bracket, remove the switch from the bracket, press the two plastic adjuster clips inward, and pull the adjuster out of the metal bracket, with installation following the reverse of removal.
Related Toyota RAV4 Parts
Browse by Year
2024 Brake Light Switch 2023 Brake Light Switch 2022 Brake Light Switch 2021 Brake Light Switch 2020 Brake Light Switch 2019 Brake Light Switch 2018 Brake Light Switch 2017 Brake Light Switch 2016 Brake Light Switch 2015 Brake Light Switch 2014 Brake Light Switch 2013 Brake Light Switch 2012 Brake Light Switch 2011 Brake Light Switch 2010 Brake Light Switch 2009 Brake Light Switch 2008 Brake Light Switch 2007 Brake Light Switch 2006 Brake Light Switch 2005 Brake Light Switch 2004 Brake Light Switch 2003 Brake Light Switch 2002 Brake Light Switch 2001 Brake Light Switch 2000 Brake Light Switch 1999 Brake Light Switch 1998 Brake Light Switch 1997 Brake Light Switch 1996 Brake Light Switch
