×
- Live Chat
- 1-888-905-9199


My Garage
My Account
Cart
Genuine Toyota RAV4 Door Latch Assembly
Door Latch- Select Vehicle by Model
- Select Vehicle by VIN
Select Vehicle by Model
orMake
Model
Year
Select Vehicle by VIN
For the most accurate results, select vehicle by your VIN (Vehicle Identification Number).
46 Door Latch Assemblys found
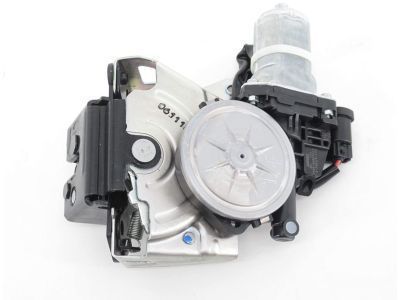
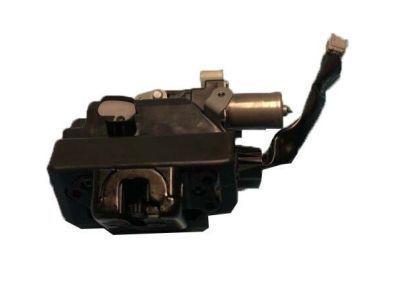
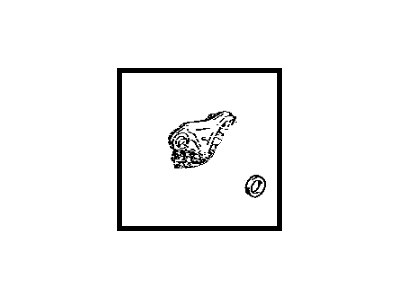
Toyota RAV4 Back Door Lock Assembly
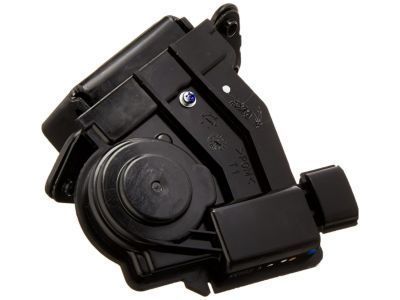
Part Number: 69350-0E100$327.21 MSRP: $469.20You Save: $141.99 (31%)Ships in 1-3 Business DaysToyota RAV4 Rear Door Lock Assembly W/Motor, Right
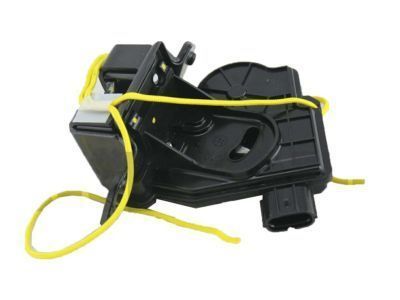
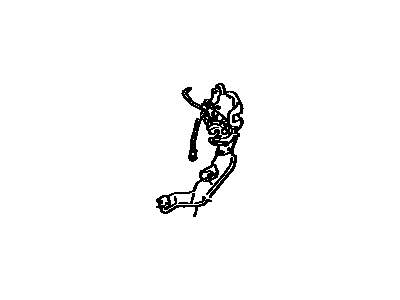
Part Number: 69050-06100$235.40 MSRP: $337.55You Save: $102.15 (31%)Ships in 1-2 Business DaysToyota RAV4 Rear Door Lock Assembly W/Motor, Left
Part Number: 69060-06100$235.40 MSRP: $337.55You Save: $102.15 (31%)Ships in 1-3 Business DaysToyota RAV4 Back Door Lock Assembly
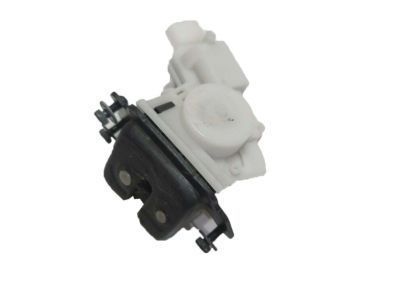
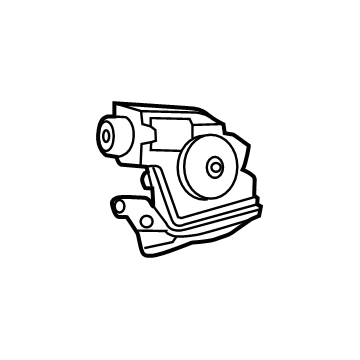
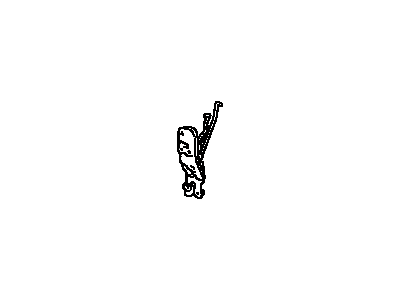
Part Number: 69350-42070$190.68 MSRP: $273.42You Save: $82.74 (31%)Ships in 1 Business DayToyota RAV4 Back Door Lock Assembly
Part Number: 69350-0R030$190.68 MSRP: $273.42You Save: $82.74 (31%)Ships in 1-3 Business DaysToyota RAV4 Back Door Lock Assembly
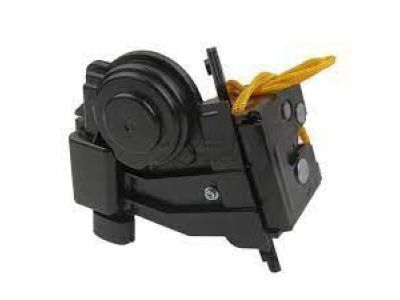
Part Number: 69350-28151$169.77 MSRP: $241.36You Save: $71.59 (30%)Ships in 1 Business DayToyota RAV4 Rear Door Lock Assembly W/Motor, Right
Part Number: 69050-33120$235.40 MSRP: $337.55You Save: $102.15 (31%)Ships in 1-3 Business DaysToyota RAV4 Back Door Lock Assembly
Part Number: 69350-0R020$324.87 MSRP: $465.84You Save: $140.97 (31%)Ships in 1-3 Business DaysToyota RAV4 Back Door Lock Assembly
Part Number: 69350-0E090$327.21 MSRP: $469.20You Save: $141.99 (31%)Ships in 1-3 Business DaysToyota RAV4 Back Door Lock Assembly
Part Number: 69350-42060$324.87 MSRP: $465.84You Save: $140.97 (31%)Ships in 1-3 Business DaysToyota RAV4 Back Door Lock Assembly
Part Number: 69350-0R050$190.91 MSRP: $273.75You Save: $82.84 (31%)Ships in 1-3 Business DaysToyota RAV4 Back Door Lock Assembly
Part Number: 69350-42090$190.91 MSRP: $273.75You Save: $82.84 (31%)Ships in 1-3 Business DaysToyota RAV4 Rear Door Lock Assembly W/Motor, Left
Part Number: 69060-33120$235.40 MSRP: $337.55You Save: $102.15 (31%)Ships in 1-2 Business DaysToyota RAV4 Rear Door Lock Assembly W/Motor, Right
Part Number: 69050-02340$229.29 MSRP: $328.78You Save: $99.49 (31%)Ships in 1-3 Business DaysToyota RAV4 Back Door Lock Assembly
Part Number: 69350-42080$324.87 MSRP: $465.84You Save: $140.97 (31%)Ships in 1-3 Business DaysToyota RAV4 Rear Door Lock Assembly, Right
Part Number: 69330-42011$132.50 MSRP: $188.37You Save: $55.87 (30%)Ships in 1-3 Business DaysToyota RAV4 Rear Door Lock Assembly W/Motor, Left
Part Number: 69060-02340$229.29 MSRP: $328.78You Save: $99.49 (31%)Ships in 1-3 Business DaysToyota RAV4 Back Door Lock Assembly
Part Number: 69110-42020$303.69 MSRP: $435.46You Save: $131.77 (31%)Ships in 1-3 Business DaysToyota RAV4 Lock Assy, Back Door
Part Number: 69350-42101$324.87 MSRP: $465.84You Save: $140.97 (31%)Ships in 1-3 Business DaysToyota RAV4 Back Door Lock Assembly
Part Number: 69350-0R040$315.45 MSRP: $452.33You Save: $136.88 (31%)Ships in 1-3 Business Days
| Page 1 of 3 |Next >
1-20 of 46 Results
Toyota RAV4 Door Latch Assembly
If you are in demand for superior quality and affordable OEM Toyota RAV4 Door Latch Assembly, then shop with us! We own a wide range of the reduced-priced genuine Toyota RAV4 Door Latch Assembly. You can purchase in confidence as all parts come with a manufacturer's warranty. Any issues with our products? No need to worry as we have a hassle-free return policy to guide you every step of the way.
Toyota RAV4 Door Latch Assembly Parts Questions & Experts Answers
- Q: How to remove and install a door latch,Lock Cylinder and Door Handle on Toyota Rav4?A: To replace the door latch, first raise the window and remove the door trim panel and watershield. Through the large access hole, disengage the outside door handle-to-latch rod and outside door lock-to-latch rod by detaching the plastic clips on the actuating rods. All door lock rods are attached by plastic clips that can be removed by unsnapping the portion engaging the connecting rod and pulling the rod out of its locating hole. For models with power door locks, disconnect the electrical connectors at the latch. Next, remove the screws securing the latch to the door and take out the latch assembly through the door opening. If the latch is difficult to remove, consider taking out the outside door handle inner housing and unbolting the outer-end door window glass track to facilitate removal. For the outside handle and door lock cylinder, remove the plastic plug from the edge of the door to access the retaining bolt for the lock cylinder and outside handle, then loosen the bolt to pull the lock cylinder out. Withdraw the lock cylinder from the door handle and remove the outside handle by sliding it rearward and pulling it off the door, disconnecting the electrical connector if equipped. The trim pads for the outside handle can be removed by releasing the claw-type clips securing them to the door. For the inside door handle, remove the door trim panel and note the cables' locations for correct installation. Disconnect the cables from the inside handle and release the side clips to remove the assembly. Installation is the reverse of removal for all components.
Related Toyota RAV4 Parts
Browse by Year
2024 Door Latch Assembly 2023 Door Latch Assembly 2022 Door Latch Assembly 2021 Door Latch Assembly 2020 Door Latch Assembly 2019 Door Latch Assembly 2018 Door Latch Assembly 2017 Door Latch Assembly 2016 Door Latch Assembly 2015 Door Latch Assembly 2014 Door Latch Assembly 2013 Door Latch Assembly 2012 Door Latch Assembly 2011 Door Latch Assembly 2010 Door Latch Assembly 2009 Door Latch Assembly 2008 Door Latch Assembly 2007 Door Latch Assembly 2006 Door Latch Assembly 2005 Door Latch Assembly 2004 Door Latch Assembly 2003 Door Latch Assembly 2002 Door Latch Assembly 2001 Door Latch Assembly 2000 Door Latch Assembly 1999 Door Latch Assembly 1998 Door Latch Assembly 1997 Door Latch Assembly 1996 Door Latch Assembly
