×
- Live Chat
- 1-888-905-9199


My Garage
My Account
Cart
Genuine Toyota Sienna Antenna
Radio Antenna- Select Vehicle by Model
- Select Vehicle by VIN
Select Vehicle by Model
orMake
Model
Year
Select Vehicle by VIN
For the most accurate results, select vehicle by your VIN (Vehicle Identification Number).
55 Antennas found
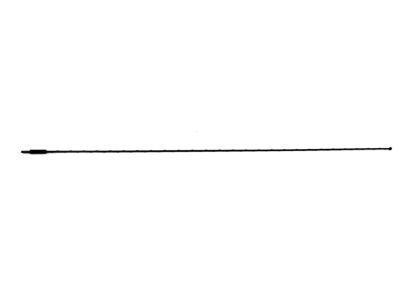
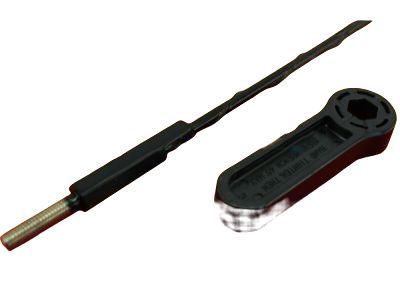
Toyota Sienna Pole Sub-Assembly, Pull
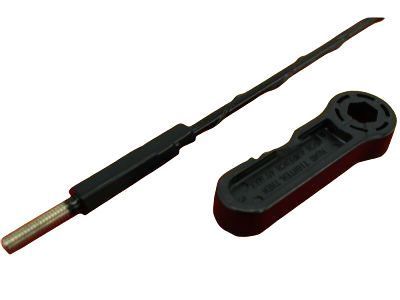
Part Number: 86309-0C020$37.84 MSRP: $51.26You Save: $13.42 (27%)Ships in 1-3 Business DaysToyota Sienna Pole Sub-Assy, Pull Top Antenna
Part Number: 86309-AA040$37.84 MSRP: $51.26You Save: $13.42 (27%)Ships in 1-2 Business DaysToyota Sienna Pole Sub-Assembly, PILLA
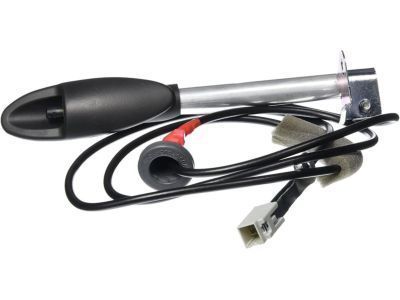
Part Number: 86309-08040$41.46 MSRP: $56.16You Save: $14.70 (27%)Ships in 1 Business DayToyota Sienna Antenna Assy, W/Holder
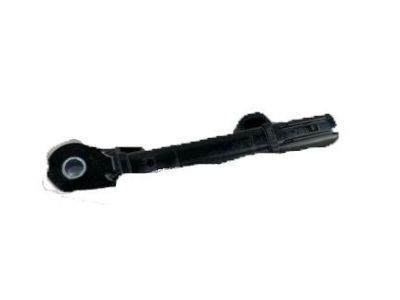
Part Number: 86300-AE010$68.90 MSRP: $94.13You Save: $25.23 (27%)Ships in 1-3 Business DaysToyota Sienna Pole Sub-Assy, Pull Top Antenna
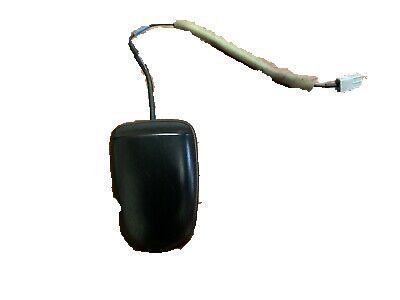
Part Number: 86309-AA041$37.84 MSRP: $51.26You Save: $13.42 (27%)Ships in 1-2 Business DaysToyota Sienna Antenna, Electrical
Part Number: 89997-0E050$35.55 MSRP: $49.68You Save: $14.13 (29%)Ships in 1-2 Business DaysToyota Sienna Pole Sub-Assembly, Pull
Part Number: 86309-AA042$37.84 MSRP: $51.26You Save: $13.42 (27%)Ships in 1 Business DayToyota Sienna Antenna Assembly, AMPLIF
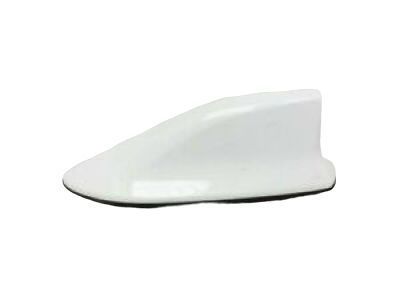
Part Number: 86300-0R090$166.28 MSRP: $236.40You Save: $70.12 (30%)Ships in 1-3 Business DaysToyota Sienna Antenna Assembly, SATELL
Part Number: 86960-08011$77.56 MSRP: $109.33You Save: $31.77 (30%)Ships in 1-2 Business DaysToyota Sienna Pole Sub-Assembly, PILLA
Part Number: 86309-08030$37.84 MSRP: $51.26You Save: $13.42 (27%)Ships in 1-2 Business DaysToyota Sienna Antenna Assembly, SATELL
Part Number: 86960-08021$36.81 MSRP: $51.45You Save: $14.64 (29%)Ships in 1-2 Business DaysToyota Sienna Antenna Assembly, SATELL
Part Number: 86960-08010$77.56 MSRP: $109.33You Save: $31.77 (30%)Ships in 1-3 Business DaysToyota Sienna Antenna Assembly, TELEPH
Part Number: 86760-04010$166.28 MSRP: $236.40You Save: $70.12 (30%)Ships in 1-2 Business DaysToyota Sienna Antenna Assembly, TELEPH
Part Number: 86760-06060$191.54 MSRP: $266.20You Save: $74.66 (29%)Ships in 1-3 Business DaysToyota Sienna Antenna Assembly, TELEPH
Part Number: 86760-04020$166.28 MSRP: $236.40You Save: $70.12 (30%)Ships in 1-3 Business DaysToyota Sienna Antenna, Electrical
Part Number: 89997-08020$93.56 MSRP: $131.88You Save: $38.32 (30%)Ships in 1-3 Business DaysToyota Sienna Antenna Assembly, TELEPH
Part Number: 86760-08011-G0$208.22 MSRP: $289.38You Save: $81.16 (29%)Ships in 1-3 Business DaysToyota Sienna Antenna Assembly, NAVIGA
Part Number: 86860-0E070$399.60 MSRP: $588.21You Save: $188.61 (33%)Ships in 1-3 Business DaysToyota Sienna Antenna Assembly, TELEPH
Part Number: 86760-08011-A1$189.18 MSRP: $262.92You Save: $73.74 (29%)Ships in 1-3 Business DaysToyota Sienna Antenna Assembly, TELEPH
Part Number: 86760-08011-C0$208.22 MSRP: $289.38You Save: $81.16 (29%)Ships in 1-3 Business Days
| Page 1 of 3 |Next >
1-20 of 55 Results
Toyota Sienna Antenna
If you are in demand for superior quality and affordable OEM Toyota Sienna Antenna, then shop with us! We own a wide range of the reduced-priced genuine Toyota Sienna Antenna. You can purchase in confidence as all parts come with a manufacturer's warranty. Any issues with our products? No need to worry as we have a hassle-free return policy to guide you every step of the way.
Toyota Sienna Antenna Parts Questions & Experts Answers
- Q: How to troubleshoot and repair antenna issues on Toyota Sienna?A: For vehicles that made from 2003 and before, the radio signal is normally received through a wire grid-type antenna bonded on the rear window glass. In the event of problems with reception of radio signals the prognosis is to check the continuity of the antenna wires with an ohmmeter. For this, take a small part of aluminium foil, place the tip of the probe on the wires of the antenna grid while moving one probe along the wire while the other is at the terminal of the antenna until a break is noticed. If a break is found, repair the wire similarly to a rear window defogger wire ONLY when the circuit is found. For models from 2004 and later, if reception from the radio is a problem, check the connections of the antenna mast and cables. Mast and trim bezel can be accessed and detached by unscrewing them, and lifting them in an upward position-installation is essentially the reverse of this. For getting access to the antenna base, first, you have to replace the fender inner splash shield for more working space in order to proceed, the mounting nut that follows is to be removed, after that the antenna mast along with the trim bezel. Disassemble the right A-pillar cover with a thin flat-head screwdriver or a trim tool, follow the path of the Antenna cables to the connector and then cut it from the Guide cables, and the antenna connection at 2007 and other later models is behind the right W-Pillar. However, if you're to uninstall the BGA, tie a string on the antenna cable that helps in the installation of the new assembly which is the reverse of the above process. Regarding the lead-in cable for the fan, you would have to follow the following procedures; remove the outer instrument panel cover, then to remove the lead-in cable you have to disconnect both ends of the lead-in cable and then unclip it from the five retainers and to install it the procedure is the same in reverse. For vehicles equipped with premium sound system the amplifier antenna is incorporated into the headliner which is rather difficult and should be installed by a qualified installation shop. If the headliner is being replaced, then the connectors are disconnected, the 3 bolts are taken off and 16 clips are released while the replacement is instituted through a reversal of the procedure.
Related Toyota Sienna Parts
Browse by Year
2024 Antenna 2023 Antenna 2022 Antenna 2021 Antenna 2020 Antenna 2019 Antenna 2018 Antenna 2017 Antenna 2016 Antenna 2015 Antenna 2014 Antenna 2013 Antenna 2012 Antenna 2011 Antenna 2010 Antenna 2009 Antenna 2008 Antenna 2007 Antenna 2006 Antenna 2005 Antenna 2004 Antenna 2003 Antenna 2002 Antenna 2001 Antenna 2000 Antenna 1999 Antenna 1998 Antenna
