×
- Live Chat
- 1-888-905-9199


My Garage
My Account
Cart
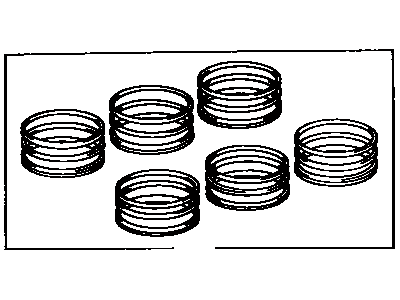
Genuine Toyota Sienna Piston Ring Set
Piston Ring- Select Vehicle by Model
- Select Vehicle by VIN
Select Vehicle by Model
orMake
Model
Year
Select Vehicle by VIN
For the most accurate results, select vehicle by your VIN (Vehicle Identification Number).
17 Piston Ring Sets found
Toyota Sienna Ring Set, Piston
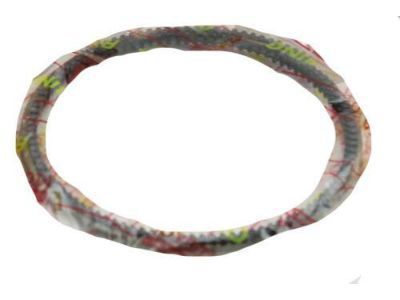
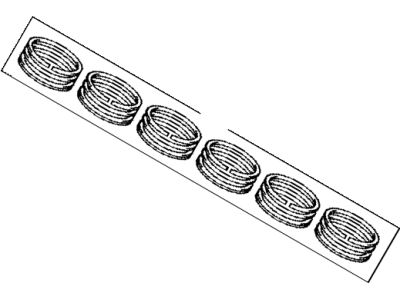
Part Number: 13011-31130$264.18 MSRP: $378.81You Save: $114.63 (31%)Ships in 1-3 Business DaysToyota Sienna Ring Set, Piston
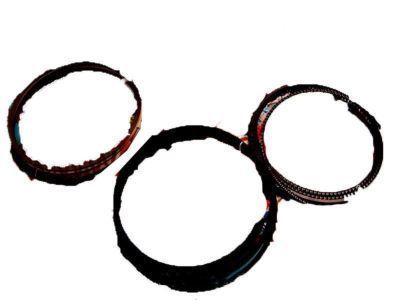
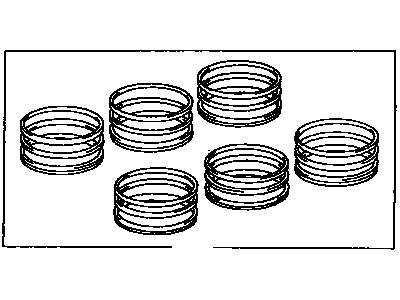
Part Number: 13011-36020$182.18 MSRP: $261.22You Save: $79.04 (31%)Ships in 1-3 Business DaysToyota Sienna Ring Set, Piston
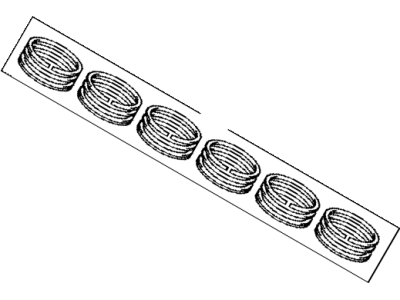
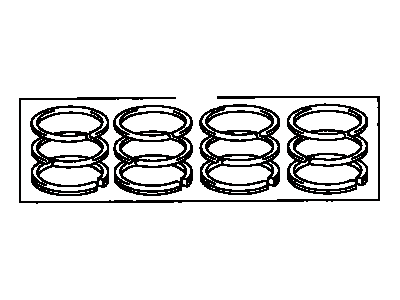
Part Number: 13011-0P051$264.18 MSRP: $378.81You Save: $114.63 (31%)Ships in 1-2 Business DaysToyota Sienna Ring Set, Piston
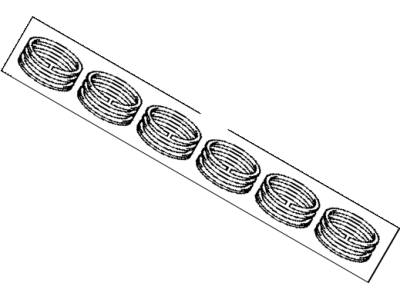
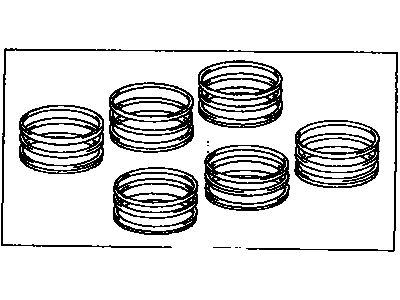
Part Number: 13011-F0040$155.59 MSRP: $221.19You Save: $65.60 (30%)Ships in 1-3 Business DaysToyota Sienna Ring Set, Piston
Part Number: 13011-0V040$166.91 MSRP: $237.29You Save: $70.38 (30%)Ships in 1-3 Business DaysToyota Sienna Ring Set, Piston
Part Number: 13011-0P040$291.59 MSRP: $418.12You Save: $126.53 (31%)Ships in 1-3 Business DaysToyota Sienna Ring Set, Piston
Part Number: 13011-0A020$299.07 MSRP: $428.84You Save: $129.77 (31%)Ships in 1-3 Business DaysToyota Sienna Ring Set, Piston
Part Number: 13011-20022$299.07 MSRP: $428.84You Save: $129.77 (31%)Ships in 1-3 Business DaysToyota Sienna Ring Set, Piston
Part Number: 13011-36060$182.18 MSRP: $261.22You Save: $79.04 (31%)Ships in 1-3 Business DaysToyota Sienna Ring Set, Piston
Part Number: 13011-0P030$291.59 MSRP: $418.12You Save: $126.53 (31%)Ships in 1-3 Business DaysToyota Sienna Ring Set, Piston
Part Number: 13011-0A031$316.52 MSRP: $453.87You Save: $137.35 (31%)Ships in 1-3 Business DaysToyota Sienna Ring Set, Piston
Part Number: 13011-0A010$299.07 MSRP: $428.84You Save: $129.77 (31%)Ships in 1-3 Business DaysToyota Sienna Ring Set, Piston
Part Number: 13011-0P060$264.18 MSRP: $378.81You Save: $114.63 (31%)Ships in 1-3 Business DaysToyota Sienna Ring Set, Piston
Part Number: 13011-20012$299.07 MSRP: $428.84You Save: $129.77 (31%)Ships in 1-3 Business DaysToyota Sienna Ring Set, Piston
Part Number: 13011-20020$299.07 MSRP: $428.84You Save: $129.77 (31%)Ships in 1-3 Business DaysToyota Sienna Ring Set, Piston
Part Number: 13011-20021$299.07 MSRP: $428.84You Save: $129.77 (31%)Ships in 1-3 Business DaysToyota Sienna Ring Set, Piston
Part Number: 13011-0A030$316.52 MSRP: $453.87You Save: $137.35 (31%)Ships in 1-3 Business Days
Toyota Sienna Piston Ring Set
If you are in demand for superior quality and affordable OEM Toyota Sienna Piston Ring Set, then shop with us! We own a wide range of the reduced-priced genuine Toyota Sienna Piston Ring Set. You can purchase in confidence as all parts come with a manufacturer's warranty. Any issues with our products? No need to worry as we have a hassle-free return policy to guide you every step of the way.
Toyota Sienna Piston Ring Set Parts Questions & Experts Answers
- Q: How should the piston rings be installed and what steps are involved in checking their end gaps on Toyota Sienna?A: Before installing the new Piston rings, the ring end gaps must be checked, assuming that the piston ring groove clearance has been verified correct. Lay out the piston/connecting rod assemblies and the new ring sets to match the ring sets with the same piston and cylinder during the end gap measurement and engine assembly. Insert the top ring into the first cylinder, ensuring it is square with the cylinder walls by pushing it in with the top of the piston, positioning the ring near the bottom of the cylinder at the lower limit of ring travel. To measure the end gap, slip feeler gauges between the ends of the ring until a gauge equal to the gap width is found, ensuring the feeler gauge slides between the ring ends with slight drag. Compare the measurement to the specified values; if the gap is larger or smaller than specified, double-check to ensure the correct rings are being used. If the gap is too small, replace the rings without filing the ends to increase clearance. Excess end gap isn't critical unless it exceeds 0.040-inch, so verify the correct rings for your engine. Repeat the procedure for each ring in the first cylinder and the remaining cylinders, keeping rings, pistons, and cylinders matched. Once the ring end gaps have been checked and corrected, install the rings on the pistons, starting with the oil control ring, which consists of three components. Slip the spacer/expander into the groove, ensuring any anti-rotation tang is inserted into the drilled hole in the ring groove, and stagger the ring end gaps around the piston. Install the lower side rail without using a piston ring installation tool to avoid damage, and then install the upper side rail similarly. After installing the three oil ring components, check that both side rails can turn smoothly in the ring groove. Next, install the middle ring, ensuring the identification mark faces up toward the top of the piston, and follow the instructions on the ring package, as different manufacturers may have varying requirements. Use a piston ring installation tool to ensure the mark is facing up when slipping the ring into the middle groove, taking care not to expand the ring more than necessary. Finally, install the top ring in the same manner, ensuring the mark is facing up, and be cautious not to confuse the top and middle rings, then repeat the procedure for the remaining pistons and rings.
Related Toyota Sienna Parts
Browse by Year
2024 Piston Ring Set 2023 Piston Ring Set 2022 Piston Ring Set 2021 Piston Ring Set 2020 Piston Ring Set 2019 Piston Ring Set 2018 Piston Ring Set 2017 Piston Ring Set 2016 Piston Ring Set 2015 Piston Ring Set 2014 Piston Ring Set 2013 Piston Ring Set 2012 Piston Ring Set 2011 Piston Ring Set 2010 Piston Ring Set 2009 Piston Ring Set 2008 Piston Ring Set 2007 Piston Ring Set 2006 Piston Ring Set 2005 Piston Ring Set 2004 Piston Ring Set 2003 Piston Ring Set 2002 Piston Ring Set 2001 Piston Ring Set 2000 Piston Ring Set 1999 Piston Ring Set 1998 Piston Ring Set
