
My Garage
My Account
Cart
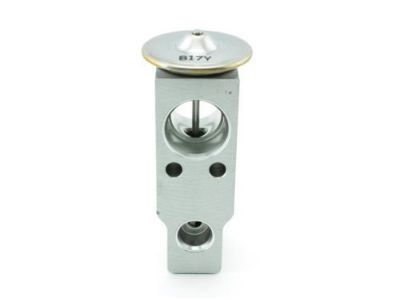
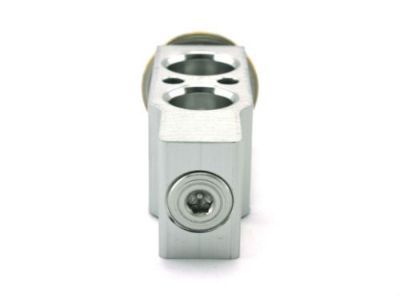
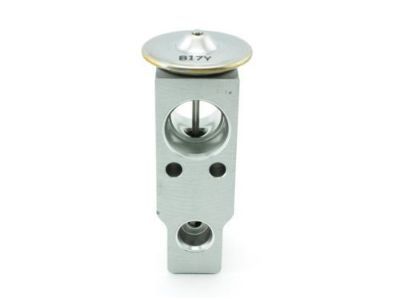
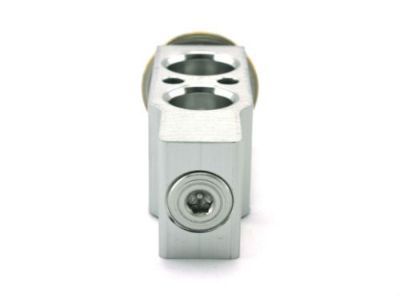
Genuine Toyota Solara A/C Expansion Valve
Air Conditioning Expansion Valve- Select Vehicle by Model
- Select Vehicle by VIN
Select Vehicle by Model
orMake
Model
Year
Select Vehicle by VIN
For the most accurate results, select vehicle by your VIN (Vehicle Identification Number).
3 A/C Expansion Valves found
Toyota Solara Cooler Expansion Valve
Part Number: 88515-07040$89.43 MSRP: $126.06You Save: $36.63 (30%)Ships in 1-3 Business DaysToyota Solara Cooler Expansion Valve
Part Number: 88515-06020$89.67 MSRP: $126.40You Save: $36.73 (30%)Toyota Solara Cooler Expansion Valve
Part Number: 88515-07020$89.43 MSRP: $126.06You Save: $36.63 (30%)Ships in 1-3 Business Days
Toyota Solara A/C Expansion Valve
Little is known to most drivers about the functions to be performed the A/C Expansion Valve in their Toyota Solara vehicles it is however a very vital component in the air conditioning system of the vehicle since it controls the flow of refrigerant. Its main task is to control flow of the refrigerant and maintain proper cooling and running of A/C system. Different models of Solara may have different A/C Expansion Valves that were installed to improve the efficiency of the systems over time. The main differences between these types are usually associated with the methods for managing flow of the refrigerant with potential influence on the efficiency of the system. The A/C Expansion Valve controls the distribution of refrigerant hence plays an important role in the cooling and ventilation of the cabin of Toyota Solara vehicles.
If you are in demand for superior quality and affordable OEM Toyota Solara A/C Expansion Valve, then shop with us! We own a wide range of the reduced-priced genuine Toyota Solara A/C Expansion Valve. You can purchase in confidence as all parts come with a manufacturer's warranty. Any issues with our products? No need to worry as we have a hassle-free return policy to guide you every step of the way.
Toyota Solara A/C Expansion Valve Parts Questions & Experts Answers
- Q: How to Remove and Install an A/C Expansion Valve and Evaporator in a Toyota Solara Air Conditioning System?A:To remove the evaporator in your air conditioning system, follow these steps. First, have the air conditioning system discharged and recovered, then disconnect the cable from the negative battery terminal. Disconnect the receiver line and suction line from the evaporator and plug both lines to prevent contaminants and moisture from entering the system. Drain the coolant and disconnect the heater hoses at the firewall. Remove the dashboard trim panels and the dashboard itself. Disconnect the electrical connectors from the blower housing and evaporator housing. The blower housing must be removed before the evaporator housing. Remove the connecting duct between the two units, along with the mounting bolts and screws, to take out the blower unit. Remove the bolts holding the A/C Expansion Valve to the evaporator core. Remove the two rear heating ducts and the fasteners retaining the evaporator housing to the firewall. Disconnect the drain hose and carefully remove the evaporator unit from the vehicle. Also, remove the thermostat sensor from the evaporator. Finally, remove the screws, separate the housing, and extract the evaporator. For installation, follow the reverse order of removal, ensuring new O-rings are installed and coated with R-134a refrigerant oil. Once installed, have the system evacuated, charged, and leak tested. If a new evaporator was installed, add 1.4 ounces of new refrigerant oil.


